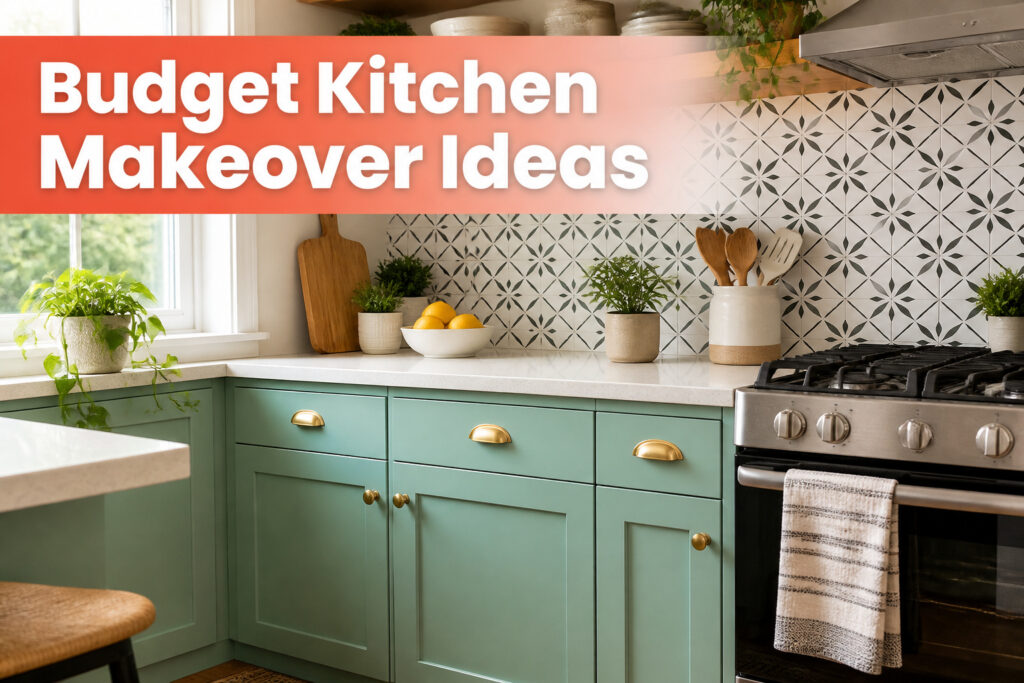
A kitchen makeover on a budget runs anywhere from a $100 cabinet repaint to a $2,000 cosmetic overhaul, and the deciding factor is how long you can live with the existing bones.
The catch is that cheap surfaces punish shortcuts: skip deglossing before painting cabinets, and the finish chips by spring.
We learned that after watching a friend’s peel-and-stick backsplash end with a ragged sliver cut at the stove, exactly where the eye lands first.
[link-whisper-related-posts]1. Paint Your Cabinets
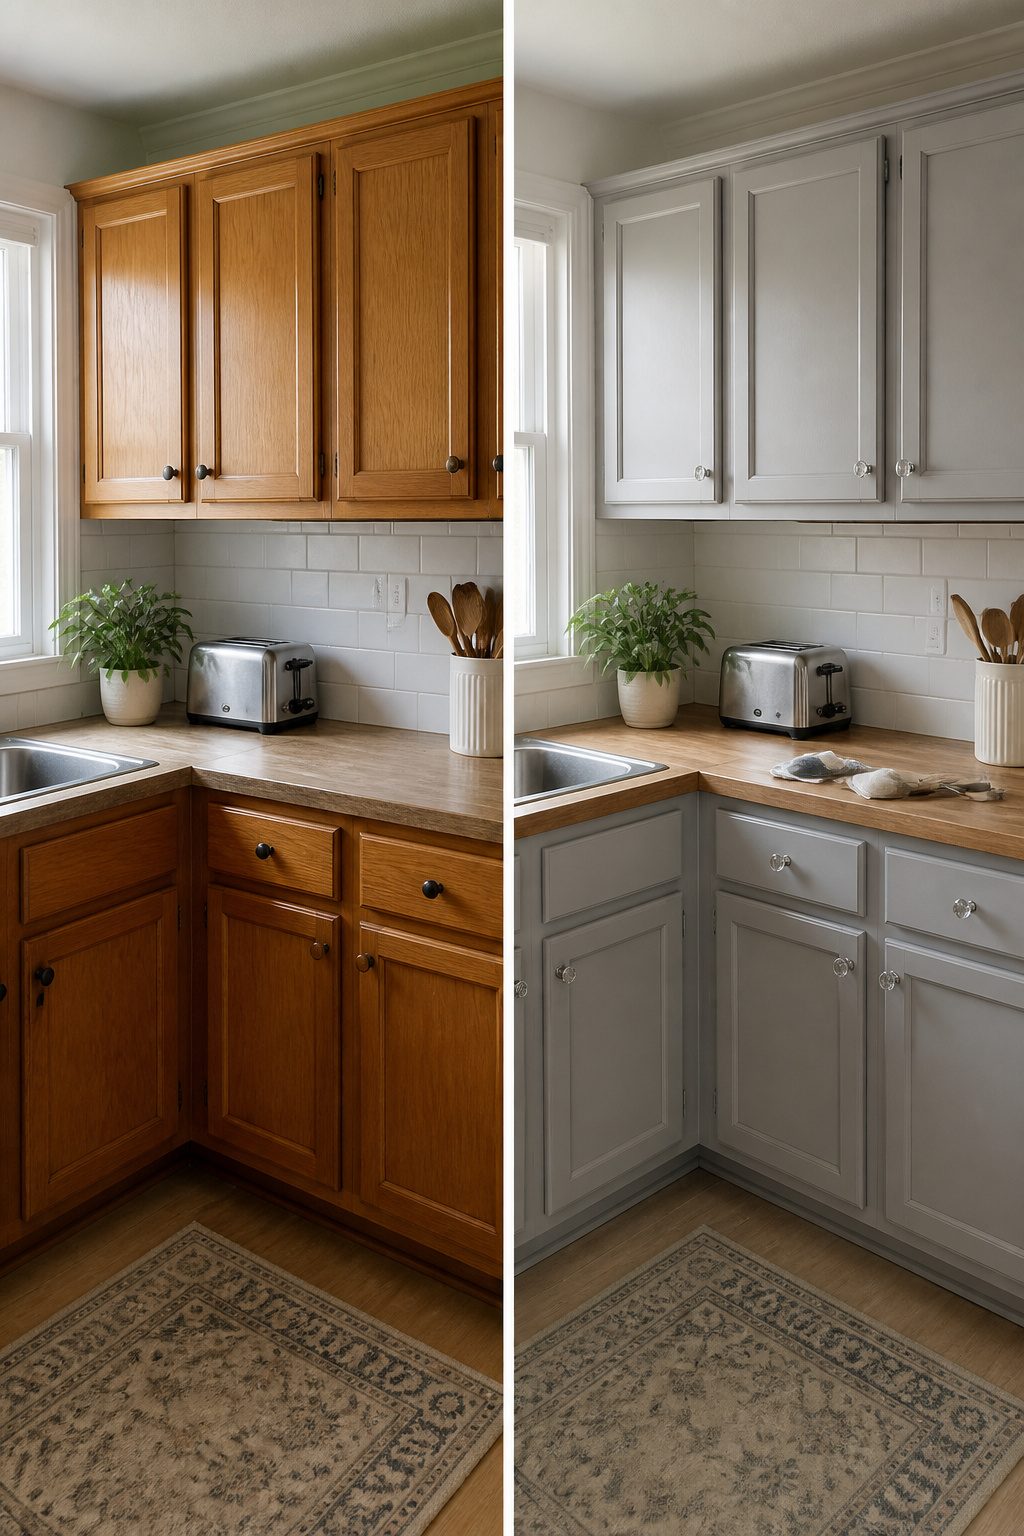
A full cabinet repaint runs about $100 if you already own a brush and drop cloth.
That makes it the cheapest full transformation in a kitchen, and the one we point renters toward first, since you leave with nothing but better paint behind you.
The catch is prep. We have watched people skip deglossing or use wall primer on cabinets, and the finish chips within months.
Kitchen cabinets take grease, steam, and daily knocks; they need sanding, a deglosser on any factory varnish, and primer labeled specifically for cabinets.
Paint follows the prep. Skip the sanding and you will see every scratch and drip by spring.
Color sets the tone the same way a new faucet never quite does. White or soft gray reads timeless; navy or sage green gives the kitchen personality without demanding new countertops to match.
The cabinets are still the boxes you started with, but the room feels new because the largest visual surface just changed.

Degreaser, Surface Cleaner

CABINET TRANSFORMATION: Refresh outdated cabinets, vanities, furniture and trim with rich Pure White color and a smooth semi-gloss finish

Includes 30 featured and newest released color card. Sprayed on color to see our colors in your homes lighting for more accurate color choices.
2. Update Cabinet Hardware
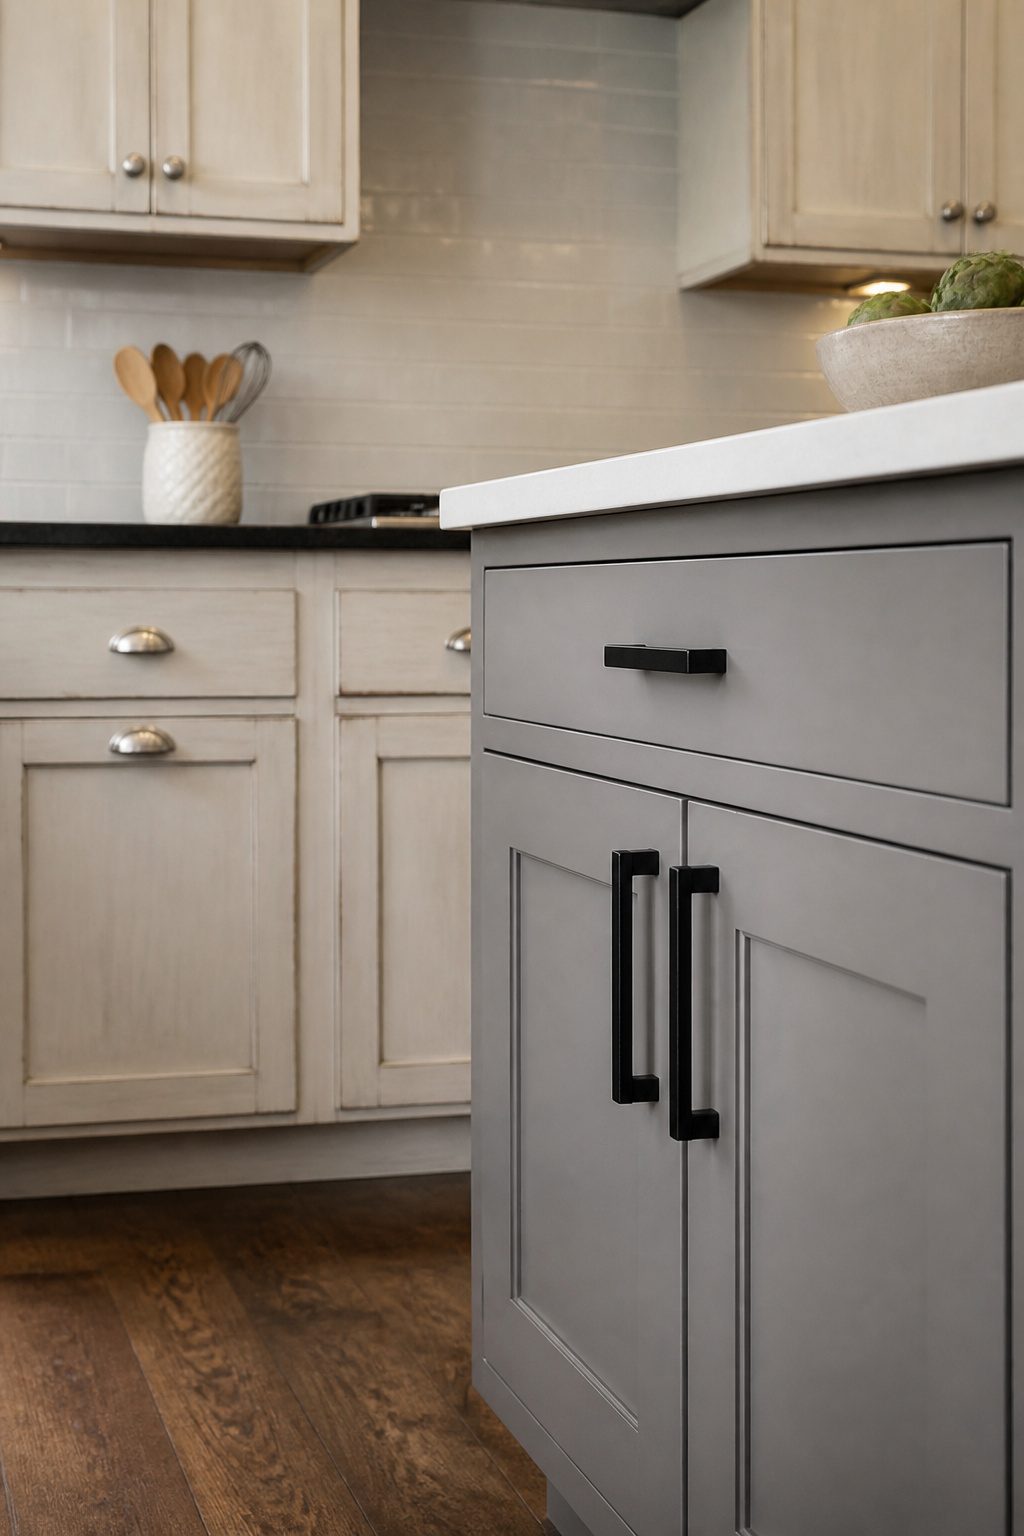
New cabinet hardware runs about the same as a takeout order for four but reads like a much bigger renovation.
We swapped the worn brass pulls in our rental kitchen last spring for matte black ones, and the landlord still asks if we replaced the cabinets.
The catch is hole spacing. Pulls are not one-size-fits-all.
Measure the center-to-center distance between your existing screw holes before you buy, or you will end up drilling new holes and patching old ones, which turns an afternoon project into a weekend of sanding and touch-up paint.
Most standard pulls run 3 to 5 inches, but that range is wide enough to ruin your timeline if you guess.
Matte black and brushed nickel tend to read more expensive than they cost. The finishes hide fingerprints and play well with both warm and cool palettes, so you are not locked into a full kitchen redesign to make them work.
A screwdriver and a measuring tape are the only tools you need if you measured right.
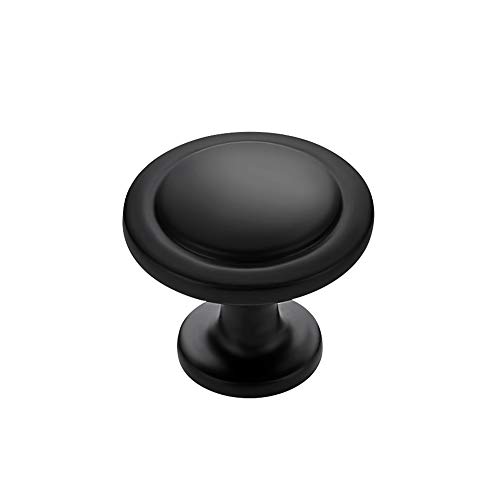
365-Day Evaluation: We believe you'll value these cabinet knobs. Use them for a full year, and if they don't meet your needs, we're here to assist

365-Day Evaluation: We believe you'll value these cabinet pulls. Use them for a full year, and if they don't meet your needs, we're here to assist

Measurement: Single Hole, Total Length:2 inch(50mm), Width: 1/2 inch(12mm), Height:1-2/5 inch(35mm)
3. Install a Peel-and-Stick Backsplash
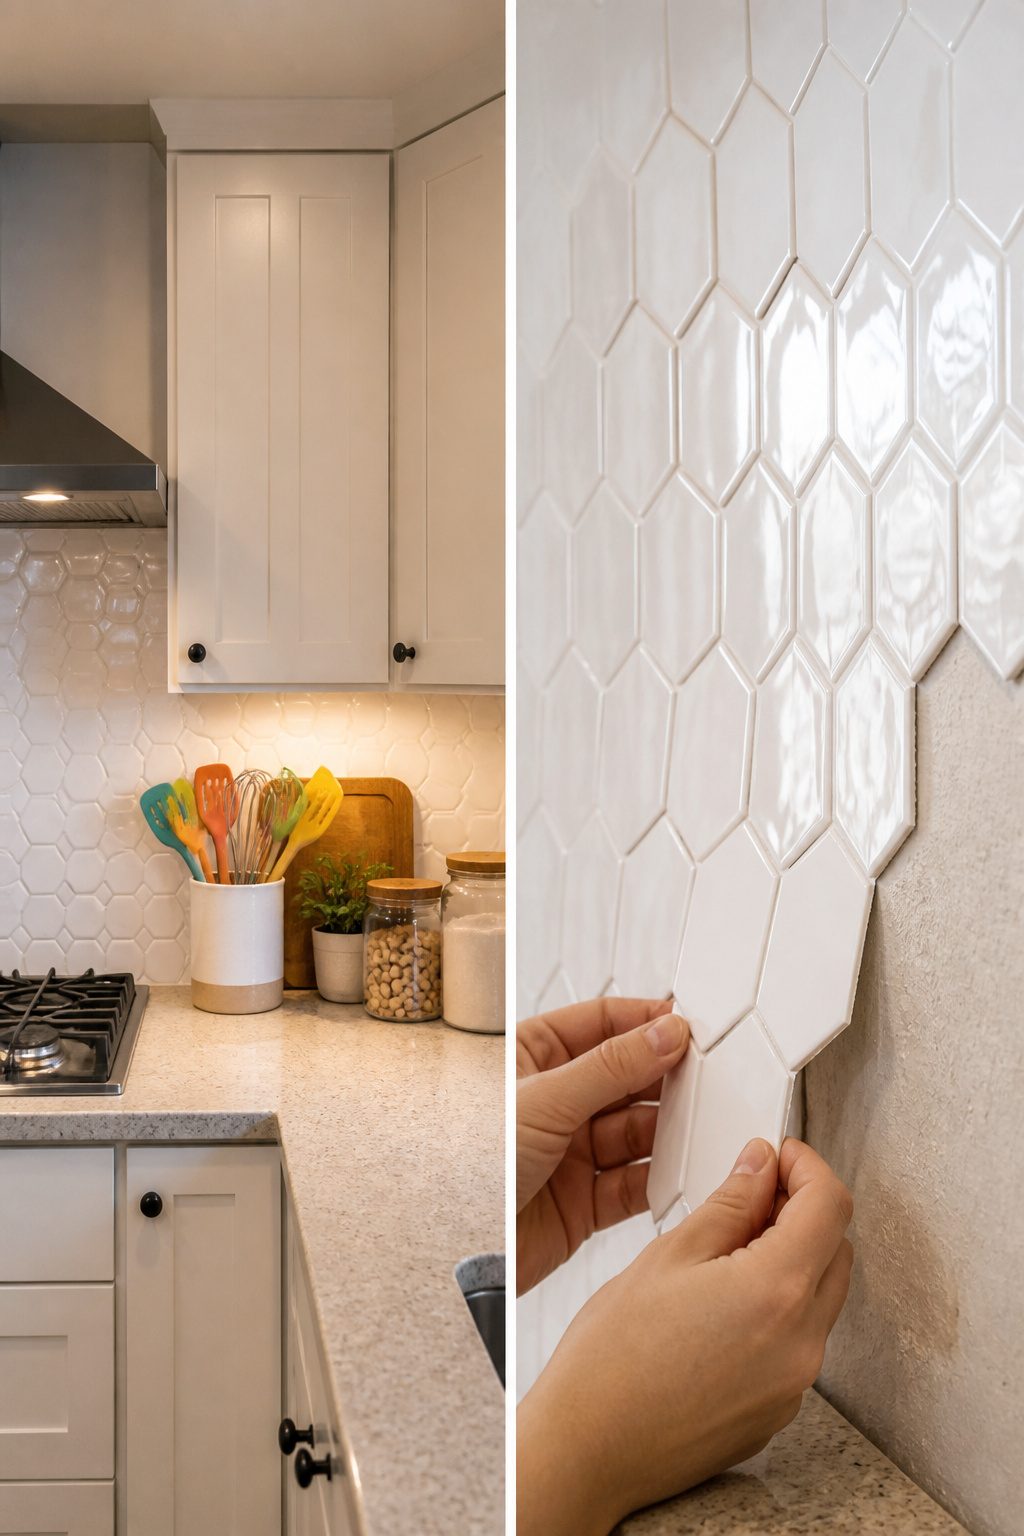
Peel-and-stick backsplash tiles run about $308 for 14 packs of hexagon tiles, enough for a typical kitchen wall. We like this option because you skip the demolition, the drywall repair, and the wet saw.
The tiles come in finishes that read as ceramic, brick, or subway tile from a few feet away, and the install is straightforward: clean the wall, measure your cuts, peel the backing, and press into place with a smoothing tool to work out bubbles.
Surface prep matters more than the product marketing suggests.
These adhere best to smooth, painted drywall. Over existing tile, the grout lines telegraph through and the bond is iffy, especially near the stove where heat cycles loosen the adhesive faster.
Start your layout centered behind the stove, not in a visible corner.
We learned this watching a friend tile her kitchen; she began in the corner by the window, worked across, and ended with a sliver cut at the stove focal point.
The eye goes straight to that ragged edge every time. Centering gives you full tiles where it counts and hides the cuts at the ends.

Traditional style cabinet pull adds a sophisticated, classic touch to cabinets, drawers or furniture and has an overall length of 4-7/8 inches with a 3 inch center-to-center measurement between mounting holes

Dimensions: Hole centers: 3 inch(76mm); Overall length: 3.5 inch(89mm);Projection: 1.26 inch(30mm)

Heritage Aesthetic: Featuring a hand-rubbed Antique Brass finish, these pulls evoke a sense of timeless elegance, transforming standard cabinetry into bespoke furniture masterpieces.
4. Upgrade Lighting Fixtures
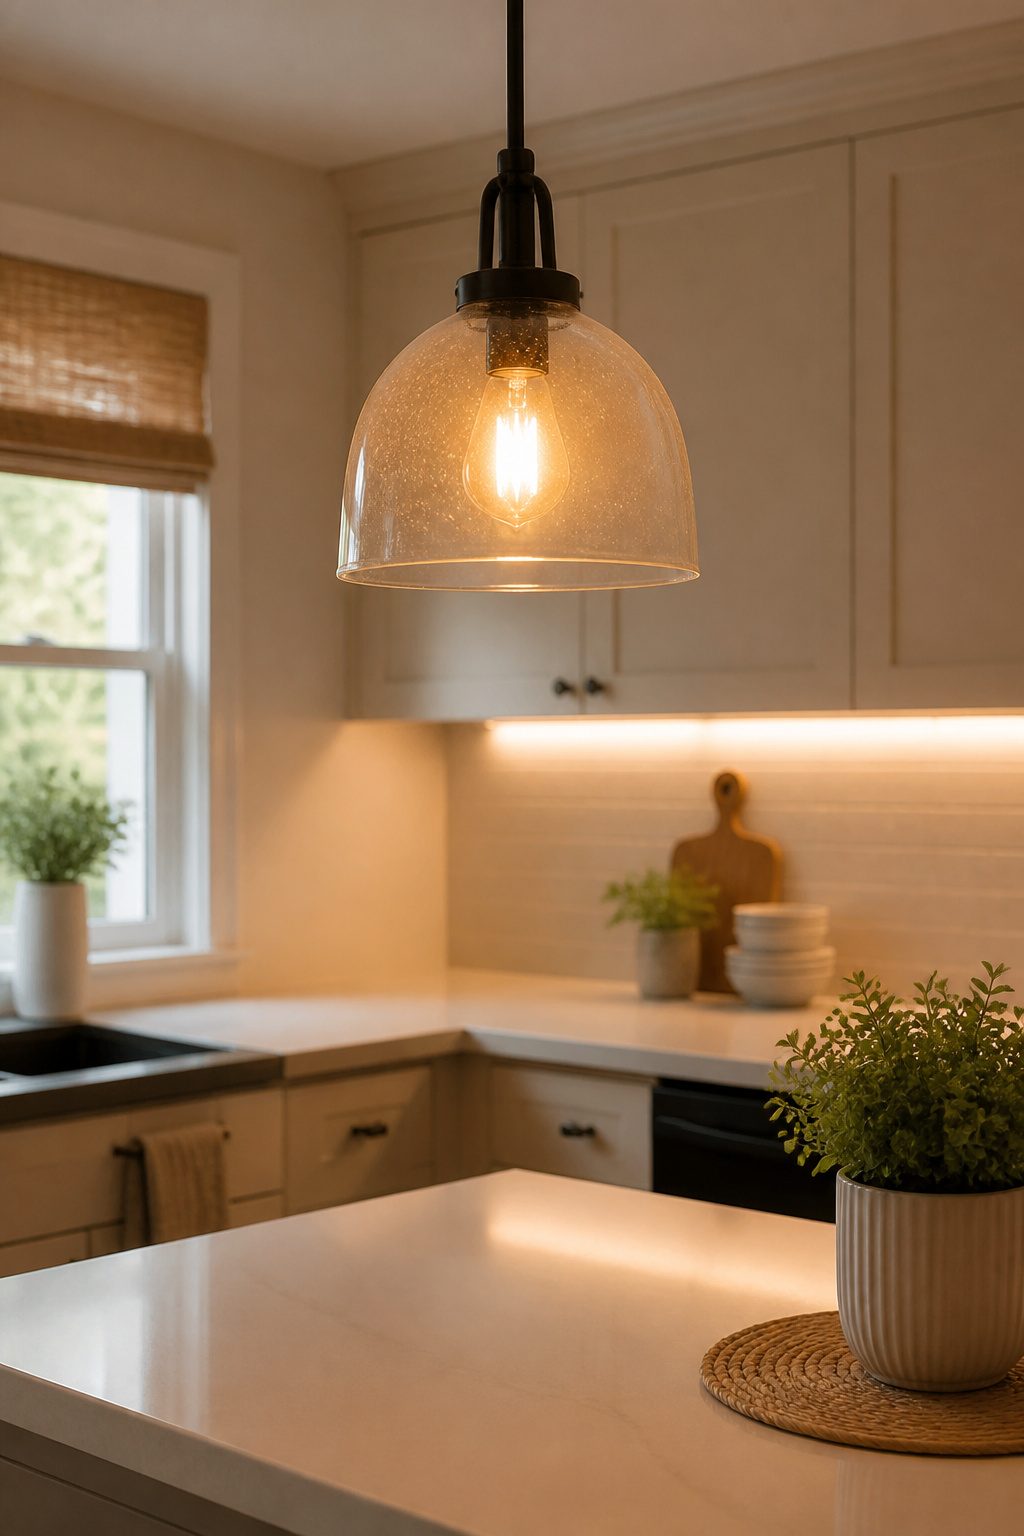
Lighting is where we always tell people to start if they want the kitchen to feel different by Sunday night.
A recessed lighting conversion kit runs $15 to $20 each, needs no electrician, and changes a ceiling from 1995 to something you can actually work under.
We swapped a flush mount for a pendant over our old island two years ago and the space finally had a center point.
Under-cabinet LED strips are the other move, whether you wire them in or go battery-powered for a tool-free install. Dimmable bulbs help if you want the room to drop to background after dinner.
The mistake we made: we picked a pendant for the look and ignored the lumens. The fixture was beautiful and the prep counter stayed half-lit for six months until we swapped the bulb.
Brightness first, style second. The style only shows up if you can see it.

Realistic Ceramic Tile Look: Glossy and shiny hexagon tile is scratch-resistant, high-impact and fade-resistant, creating a high-end look for you, long hexagon design can be installed vertically or horizontally.
4 Tile Sheets Per Pack

What You Get:10 sheets thicker self-adhesive wall tiles,12" x 12" each tile, total covers around 10 square feet area.
5. Add Open Shelving
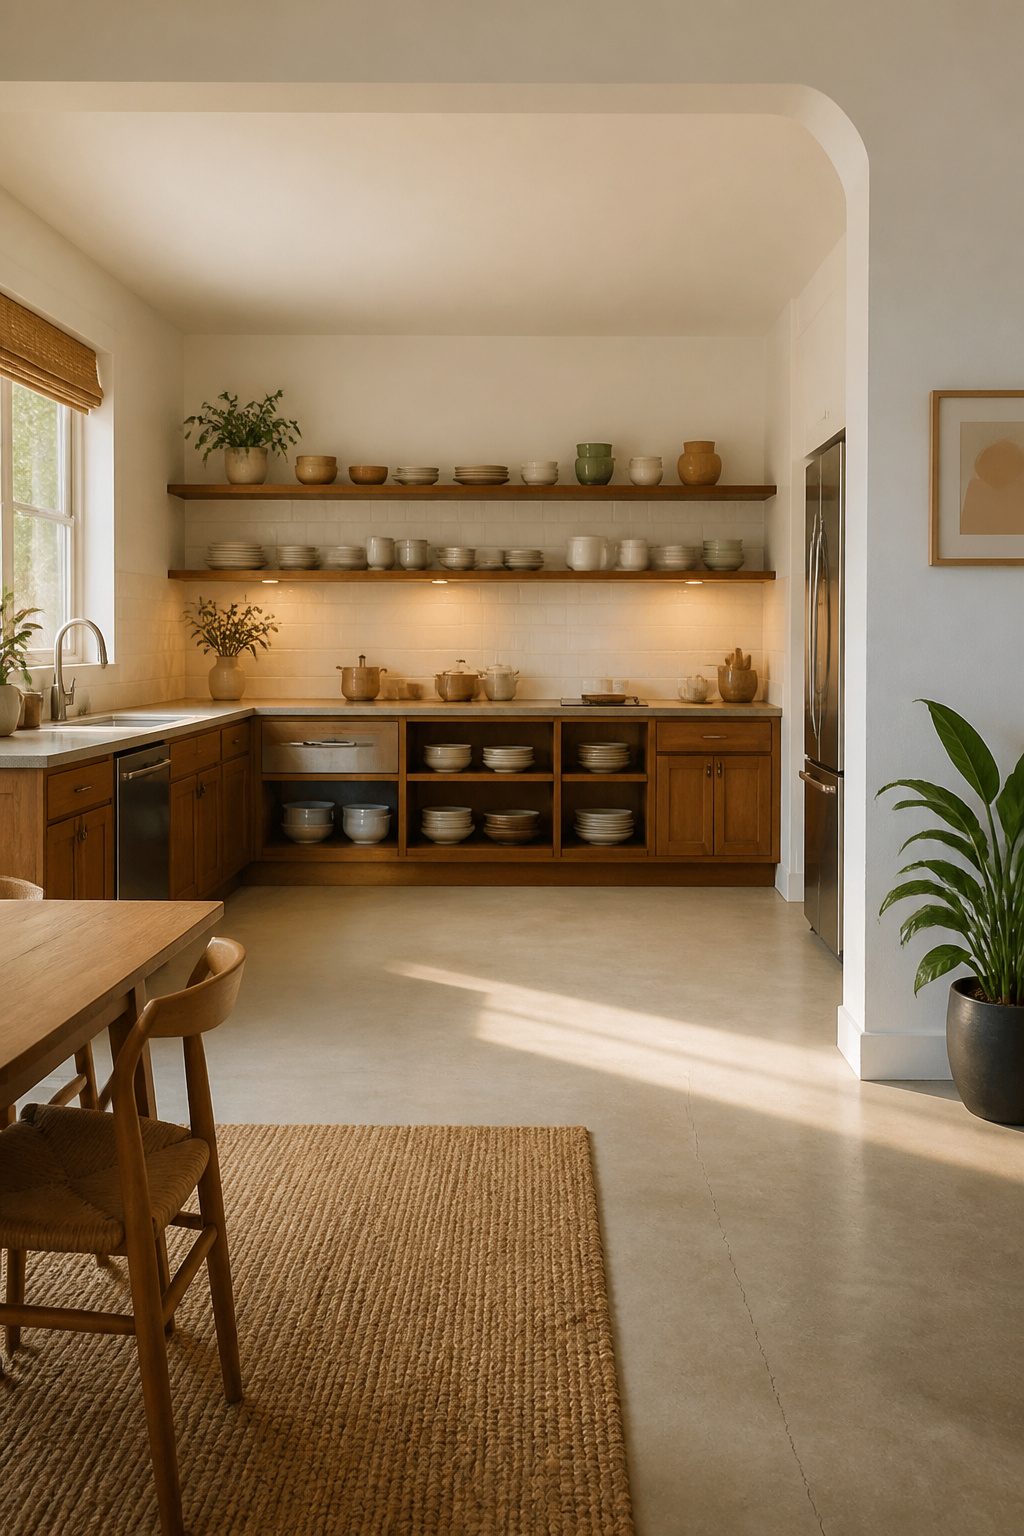
Open shelving works because your eyes travel farther in a kitchen without a wall of cabinet doors blocking them.
We removed the upper doors on one bank of cabinets in our last rental and spent about forty dollars on pine boards and simple L-brackets from the hardware store.
IKEA sells butcher block shelf slabs that run a little more but arrive already finished, which saves a weekend if you do not own a sander.
The mistake we made was loading those shelves with our entire daily dish collection. Mismatched cereal bowls and a coffee-stained travel mug do not read as airy European kitchen.
They read as clutter you can now see from the living room. Open shelving only earns its keep when you have a set of dishes you actually want to look at, or at least a unified color.
If your plates are a decade of freebies and hand-me-downs, keep the doors on and spend the money elsewhere.

Performance-Made of superior PVC, good performances of heat, water resistence and durality.

Durable Aluminum Tile Trim: Crafted from premium-quality aluminum, our tile trim helps add a professional finish to exposed tile edges while protecting against chips and wear. Perfect for kitchens, bathrooms, and accent walls needing a sleek and sturdy edge.
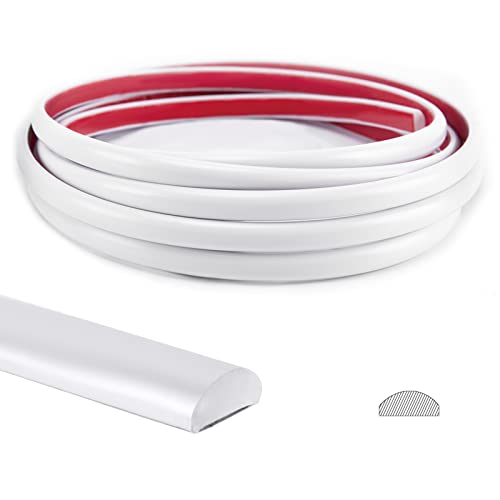
Specially Designed - The specification is designed perfectly for all kinds of backsplash tile trimming
6. Refinish or Paint Countertops
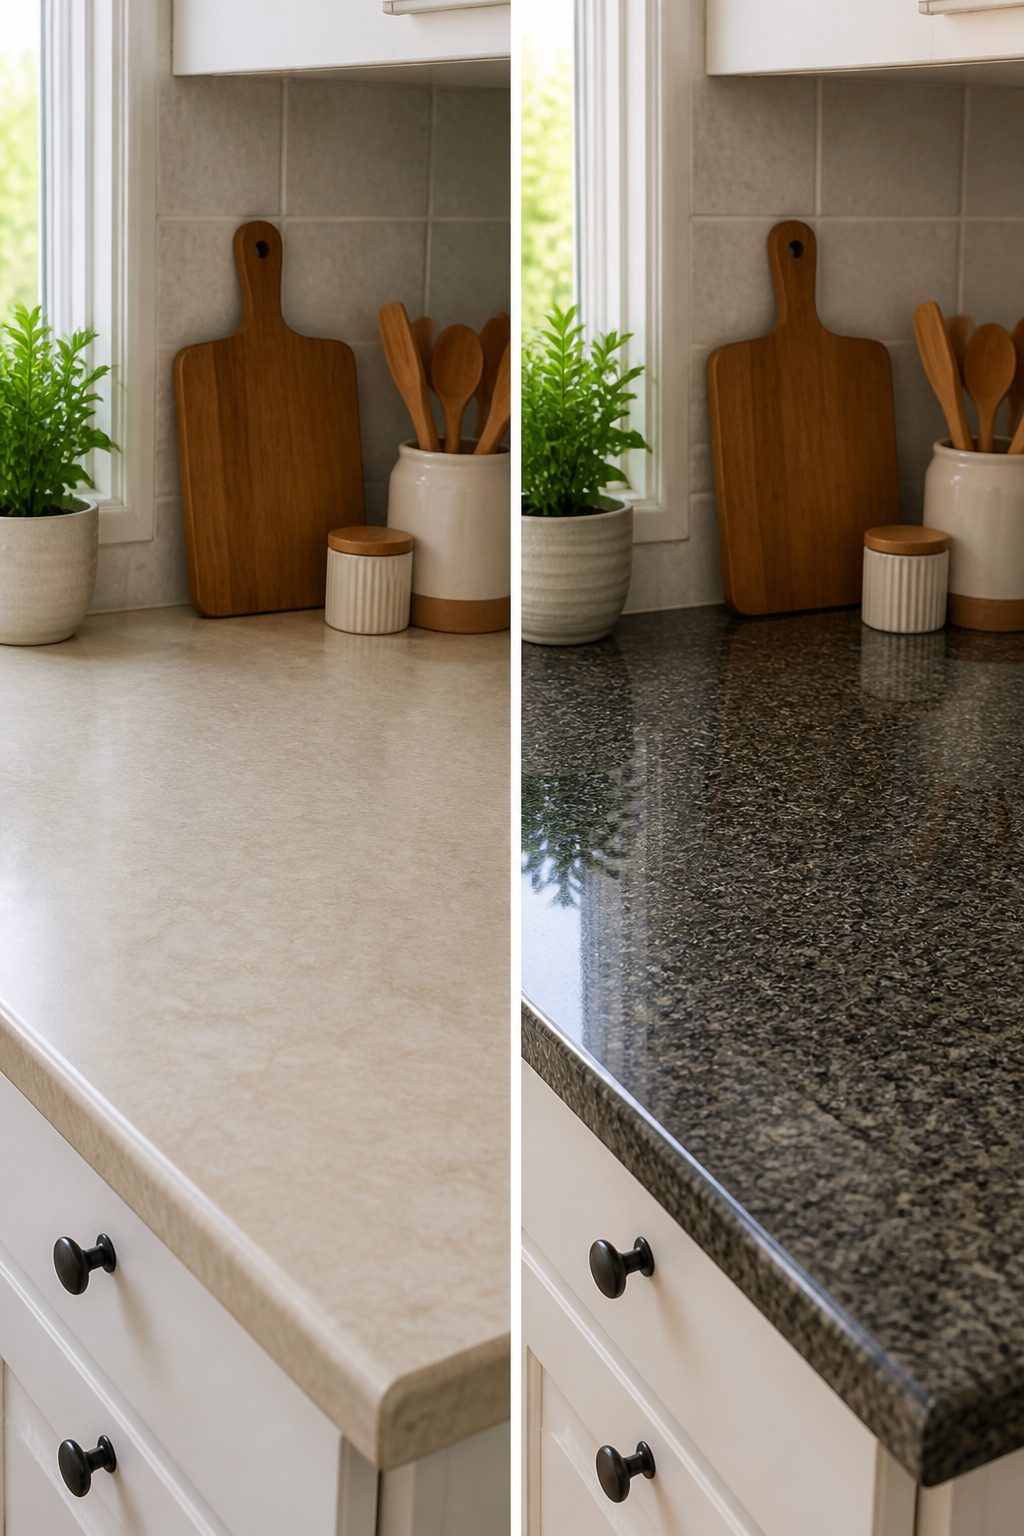
Laminate refinishing kits run $50 to $100 and will buy you two to three years of service if you do not cut directly on them or set down hot pans.
We have watched enough of these projects to know the granite-look paint kits never fool anyone who stands closer than four feet.
The fleck pattern sits on top of the surface instead of reading through it, and the finish catches light differently than stone.
Contact paper or peel-and-stick film is faster still, but edges lift near the sink within months and the seam shows at every corner.
Treat both as a pause button, not a permanent fix.
Bad countertops stay bad underneath; you are hiding the problem while you save for replacement. That is a valid move on a tight budget, but go in knowing you will revisit this.
If the laminate is swollen at the seams or the substrate is soft, paint will not stop the rot and film will bubble over it. Fix the water damage first, or budget for a real counter in year three.

✅ Paint Deglosser, Pre-Paint Cleaner, 1 qt.

Ultra-White Brilliance: Experience the transformative power of Titanium Infusion, an ultra-white hue inspired by the artist’s palette – perfect for a modern, timeless look.

Includes 30 featured and newest released color card. Sprayed on color to see our colors in your homes lighting for more accurate color choices.
7. Decorate with Plants
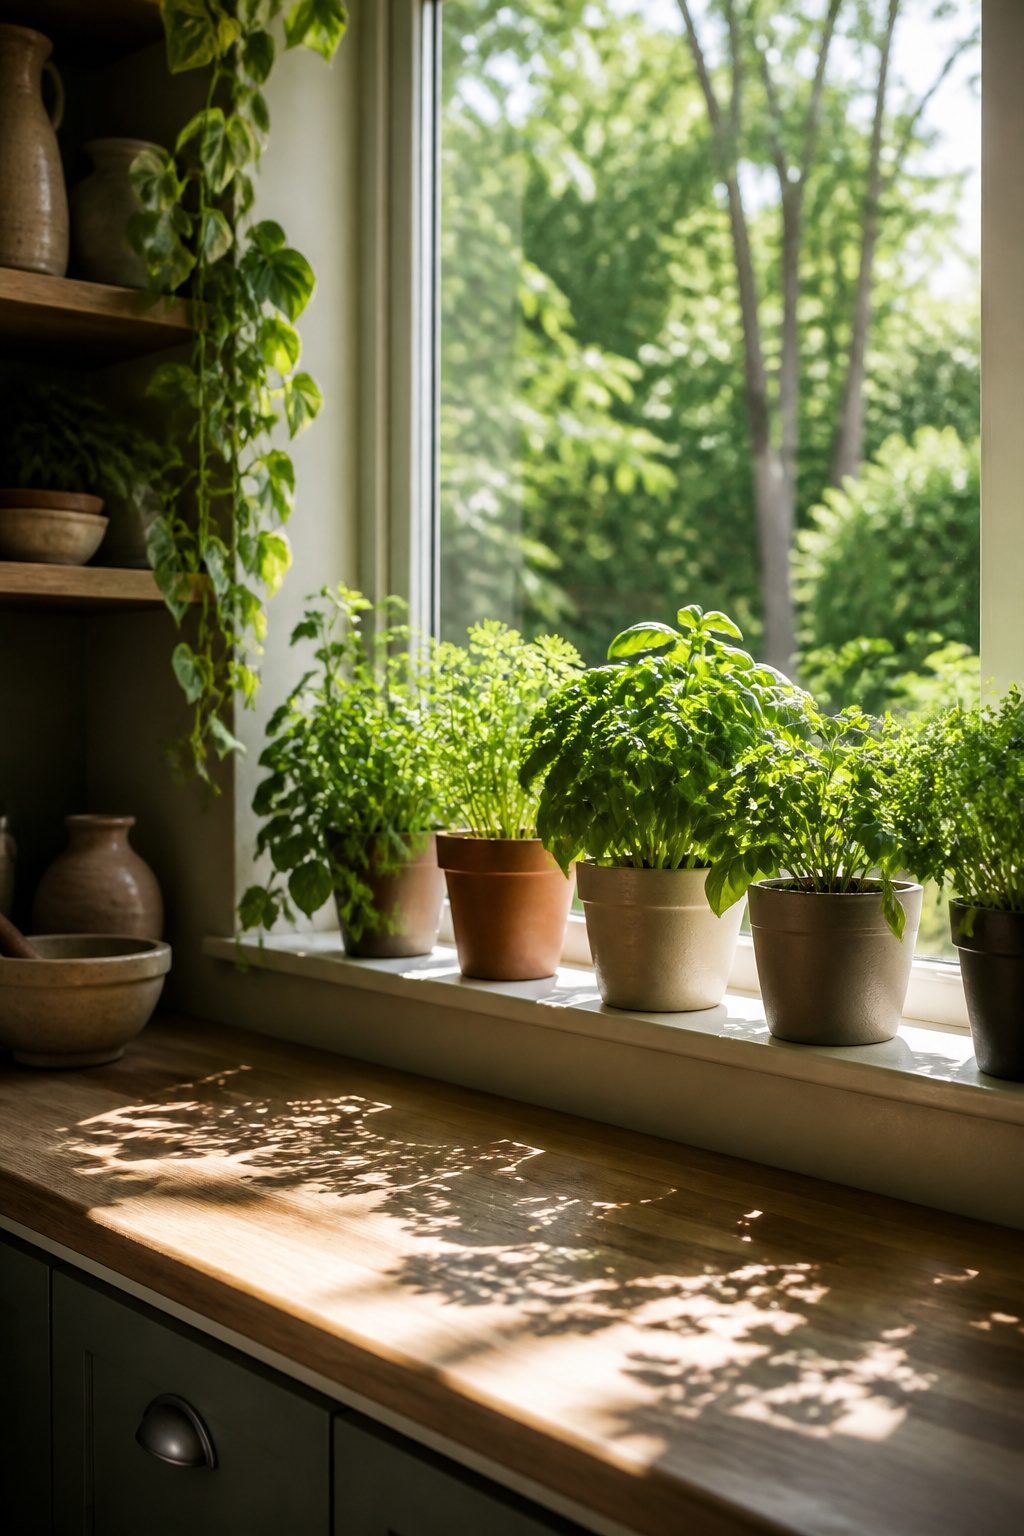
A row of potted herbs on the windowsill is the cheapest decorative move we know for a kitchen refresh.
Basil, thyme, and rosemary all work; basil in particular grows fast enough that you will clip from it within a couple of weeks.
One trailing pothos on a shelf does the same work higher up, softening the space where everything else is hard surface.
The mistake we see most is choosing plants that need more light than the kitchen actually gets. A north-facing window or one shaded by the neighbor’s house will not support succulents or rosemary long-term, no matter how much you water.
Check your actual light before you buy, or you will replace the same dead plant twice before spring.

Size Matters: Top Diameter 1-1/4 inch(32mm),Base Diameter: 1/2 inch (12.7mm),Projection: 1 inch (25mm).Cabinet knobs with a single hole are easily installed by inserting a single screw.

Dimensions of Knobs: The cabinet knobs are about 1.18 inches (30 mm) in diameter and 7/8 inches (22 mm) in height. Each knob comes with two screw sizes: a shorter one at M4*0.78 inches (20 mm) and a longer one at M4*1.75 inches (45 mm)(longer screws are packed in the bottom of the box)

After-sales commitment :We strictly control the quality of our products to ensure meet your needs. If you have any questions, please reach out to us in time and we will provide you with services
8. Change Your Faucet
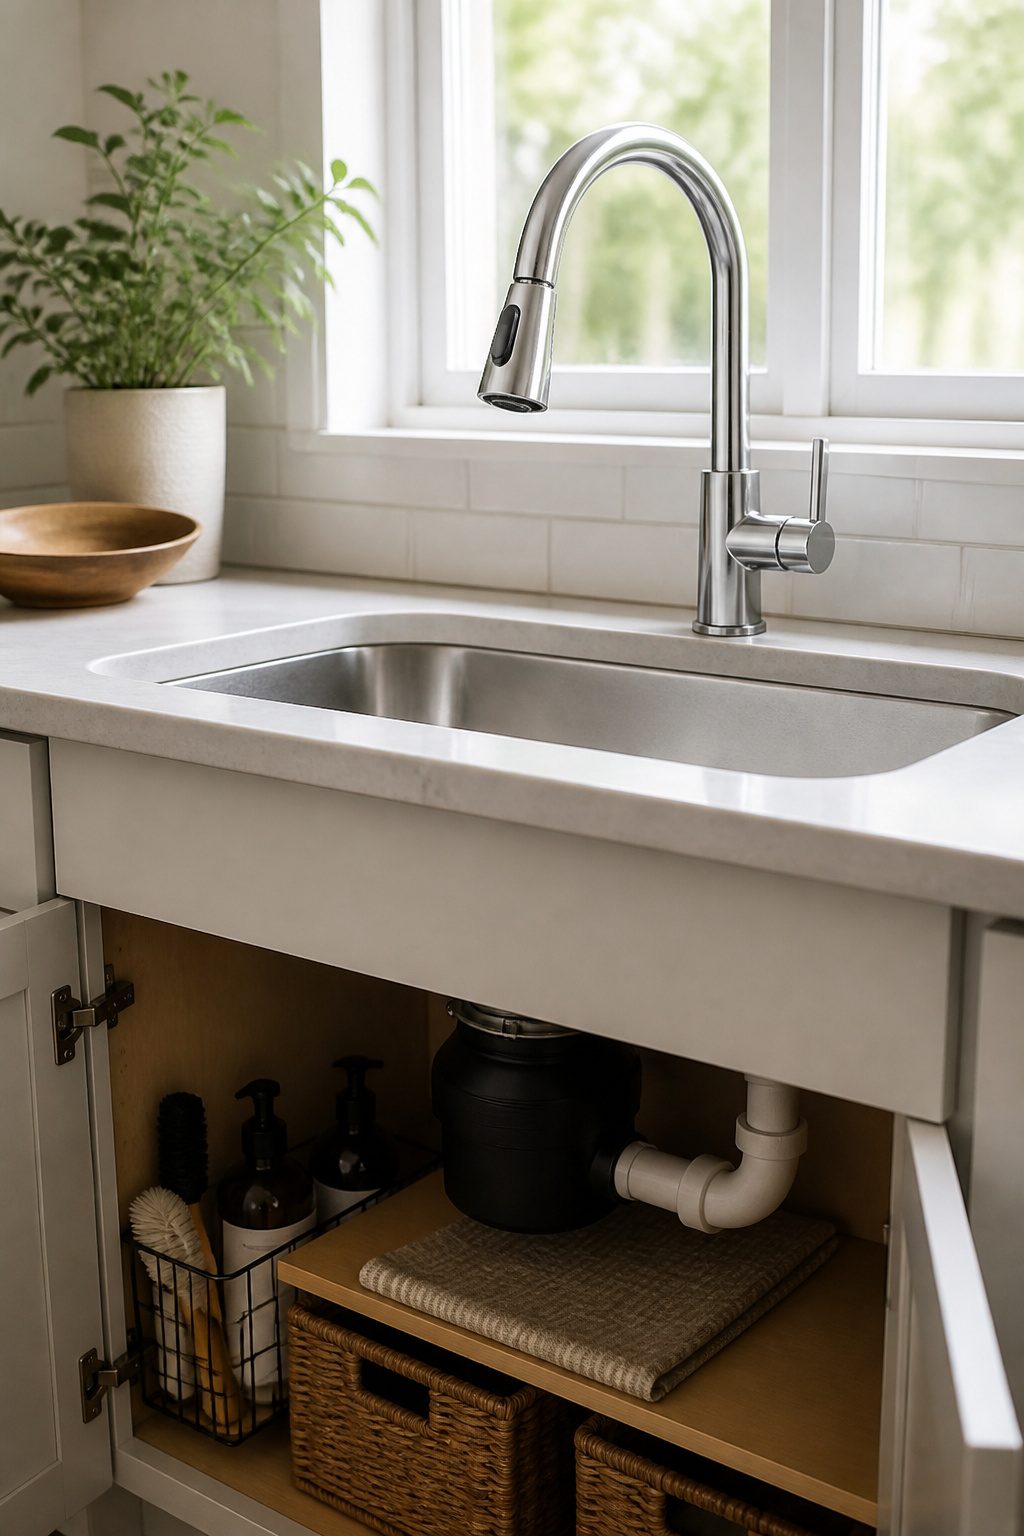
A new faucet changes how the kitchen actually works in the morning, not just how it looks in a photo.
We swapped ours during a Saturday project and the pull-down sprayer turned rinsing dishes from a two-hand fight into something you do with one thumb.
Decent pull-down models run $100 to $250, and this is one place we spent above our first guess.
The cheaper box felt fine in the store but the hose weight was wrong and it sagged; we returned it and paid the extra $60 for one that retracted properly.
Our mistake was buying for the finish without checking the sink deck.
We assumed three holes meant three holes, but the spacing was off and the escutcheon plate barely covered the old marks. Measure your hole count and spread before you order, or you will be ordering twice.
A high-quality faucet is worth the stretch even on a tight budget; it is the part you touch a hundred times a week and the cheap ones leak inside two years.

Elegant Design: The cup pulls feature a modern design with exquisite aesthetics, enhancing the overall beauty of furniture. They seamlessly complement both modern and classic styles, adding an elegant ambiance to any home decor.


[Aftersales Service]: Two-year aftersales guarantee, if any problems please contact us for replacement or refund.
9. Use Decorative Rugs or Mats
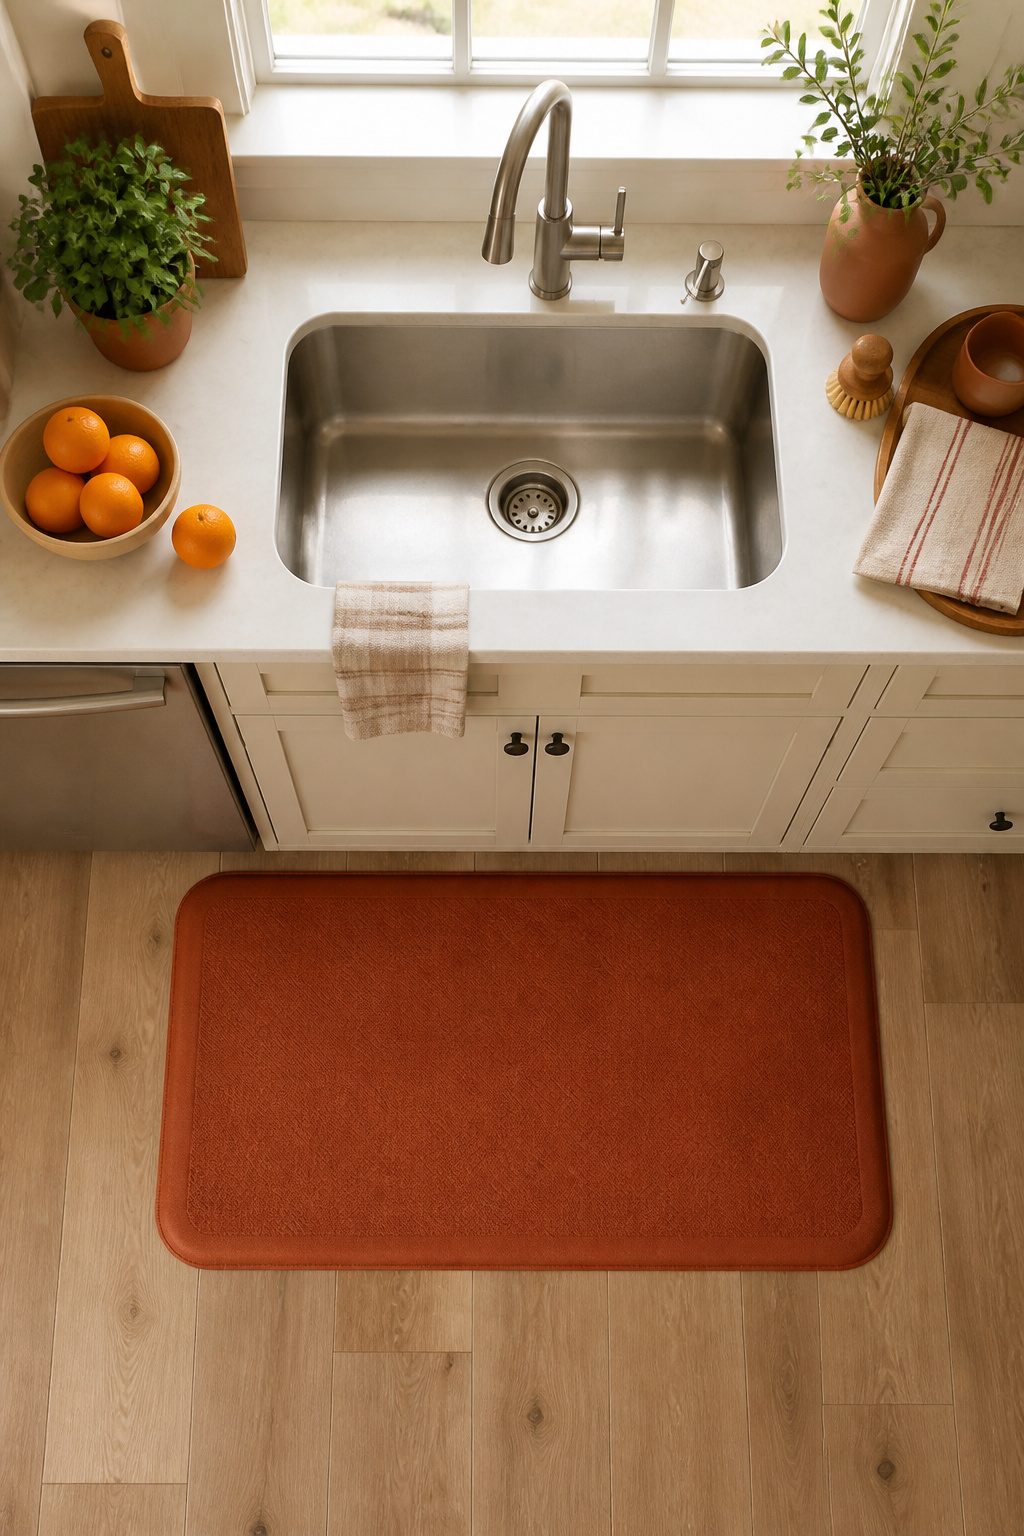
Washable kitchen rugs and gel mats run under $50 and do more than protect floors.
A 2×3 rug at the sink anchors the workspace; runners tend to slide and bunch where you step most. We tried a light cream mat near the stove once.
It looked clean for about three days, then showed every grease splatter and coffee drip. Go two shades darker than you think you need anywhere food or oil travels.
Gel mats wear fastest at the heel spot and the front edge where you pivot.
The good ones have beveled edges so they do not curl, but even those flatten where you stand to chop onions night after night. Flip them front-to-back every few months and you get another year.
"You can make a pretty ugly kitchen look really good with styling. That way, you save your money for the big renovation down the road."
That applies here: a $35 mat in charcoal or terracotta buys color and comfort now, and it rolls up when you finally redo the floors.

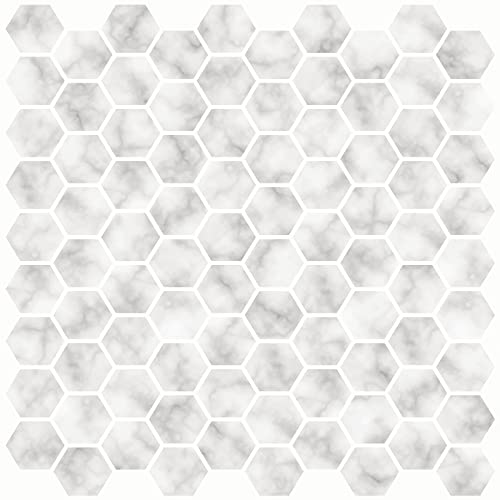
Premium-quality Hexagon Marble Peel and Stick Tile Panel: Blends with matte PVC with stone effect and shiny metal,looks like real stone high-end tiles.The hexagon tile is waterproof,color fade-less,more durable and stronger than other vinyl stickers.Total 90 individual chips are mounted by hand on an adhesive backing.Can be installed in Vertical or Horizontal styles,easily transforms your home into a magnificent space

Premium-quality Hexagon Marble Peel and Stick Tile Panel: Blends with matte PVC with stone effect and shiny metal,looks like real stone high-end tiles.The hexagon tile is waterproof,color fade-less,more durable and stronger than other vinyl stickers.Total 90 individual chips are mounted by hand on an adhesive backing.Can be installed in Vertical or Horizontal styles,easily transforms your home into a magnificent space

What You Get:10 sheets thicker self-adhesive wall tiles,12" x 12" each tile, total covers around 10 square feet area.
10. Reorganize and Declutter
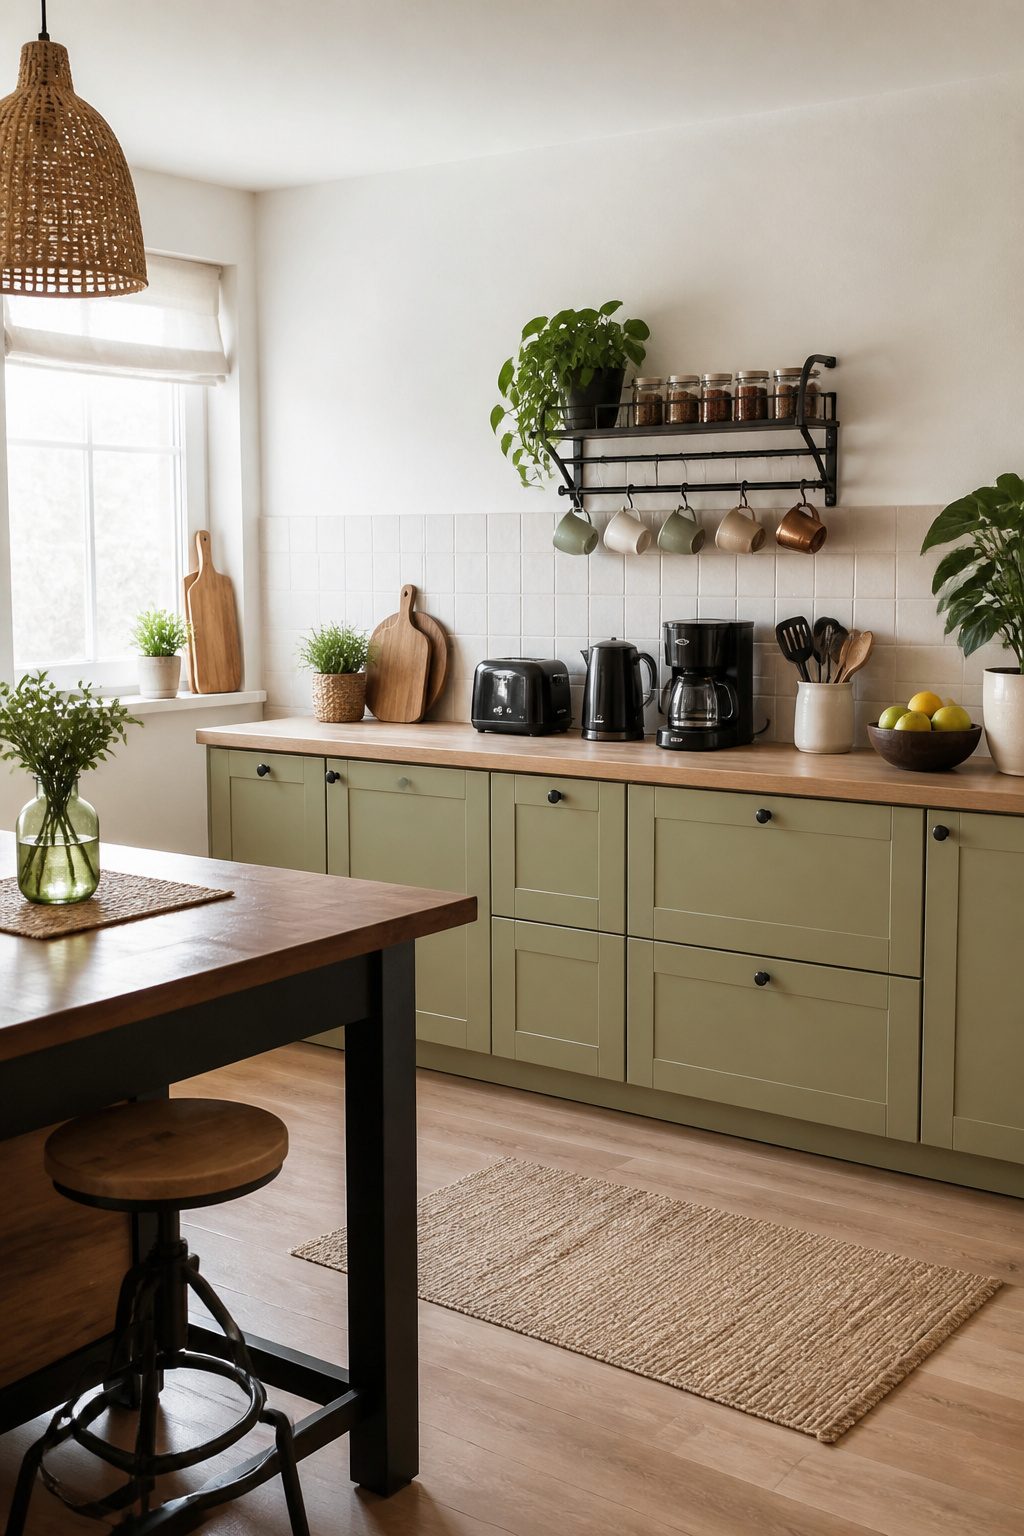
Clear counters change a kitchen faster than any paint can. We learned this after our own redo, when we boxed up half the gadgets we thought we used daily and found we never missed them.
Group what stays by task: coffee gear in one zone, baking tools in another. The vertical space inside cabinets is usually wasted; a cheap wire shelf doubles the storage for plates or mugs without a drill.
The organizer mistake we still talk about happened in the utensil drawer. We bought a sleek bamboo divider, brought it home, and watched it sit two inches too wide.
Measure every drawer before you buy anything. That return trip cost an afternoon and the gas to get there.
Do this step before paint goes up. Once you know what you actually own and where it lives, you will know whether you need a new shelf, a hook rail, or just less stuff.
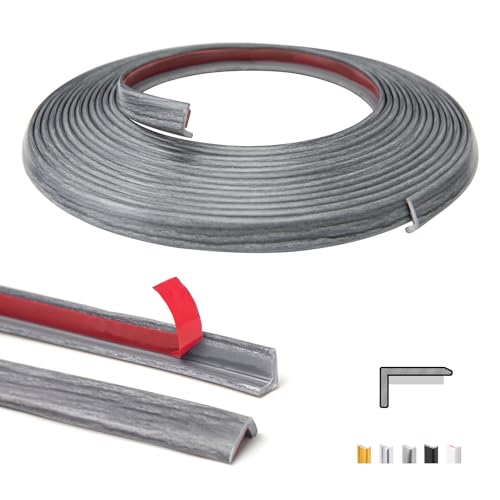
Performance - Made of superior PVC, good performances of heat, water resistence and durality.

✿Special Design: This 12" wall trim is perfect for decorating peel and stick tile edge or the end of kitchen backsplash.

Premium Quality Material: 304x1.2x0.5 cm PVC trim that is lightweight, resistant to cracks, durable, and easy to clean for long-lasting performance.
What $500 to $2,000 Actually Buys
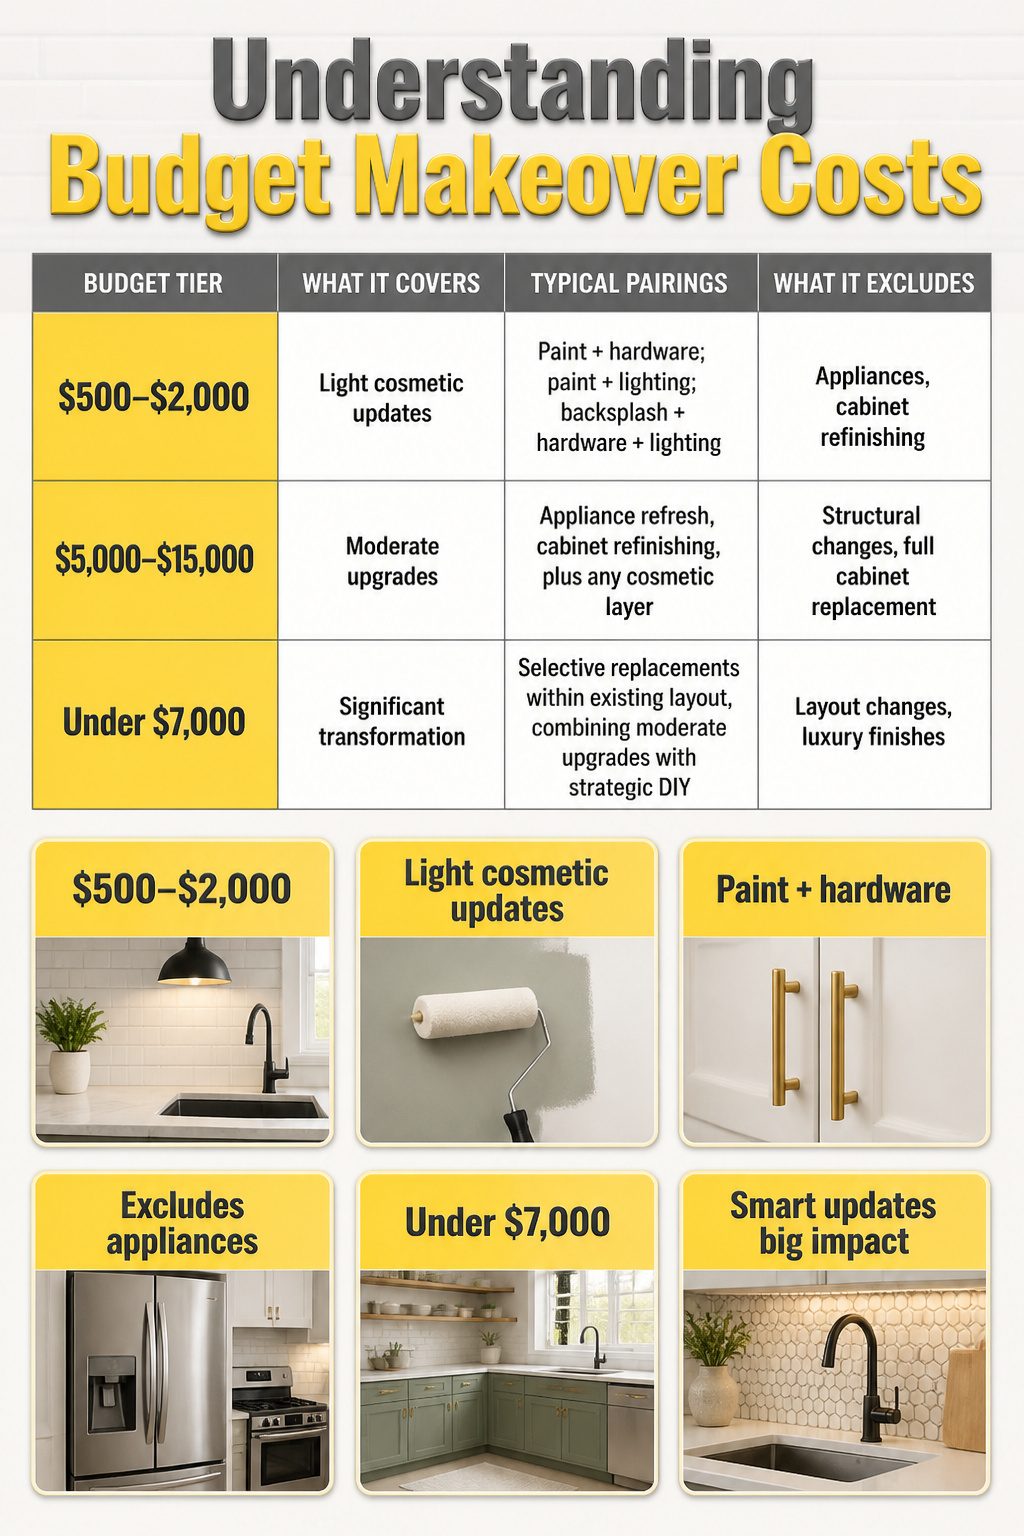
$500 to $2,000 buys light cosmetic updates: paint, lighting, hardware, and peel-and-stick backsplash, done in any combination that stays under your ceiling.
At this tier we skip appliances and cabinet refinishing entirely; the money goes to surfaces you touch and see every day.
A $600 weekend might be cabinet paint plus new pulls. Push toward $1,800 and you can add a stick-on backsplash and a pendant over the sink, still without touching a single cabinet box.
The table below shows which pairings from our ten ideas fit where. We built it from the ranges the sources give, not from rounding.
| Budget tier | What it covers | Typical pairings | What it excludes |
|---|---|---|---|
| $500–$2,000 | Light cosmetic updates | Paint + hardware; paint + lighting; backsplash + hardware + lighting | Appliances, cabinet refinishing |
| $5,000–$15,000 | Moderate upgrades | Appliance refresh, cabinet refinishing, plus any cosmetic layer | Structural changes, full cabinet replacement |
| Under $7,000 | Significant transformation | Selective replacements within existing layout, combining moderate upgrades with strategic DIY | Layout changes, luxury finishes |
The gap between $2,000 and $5,000 is where most people stall.
Our read: save the extra months and cross into moderate territory only when you need appliances or the cabinets are too far gone for paint. Otherwise, the cosmetic tier done well outlasts a half-finished moderate job.
Where DIY Saves and Where It Costs
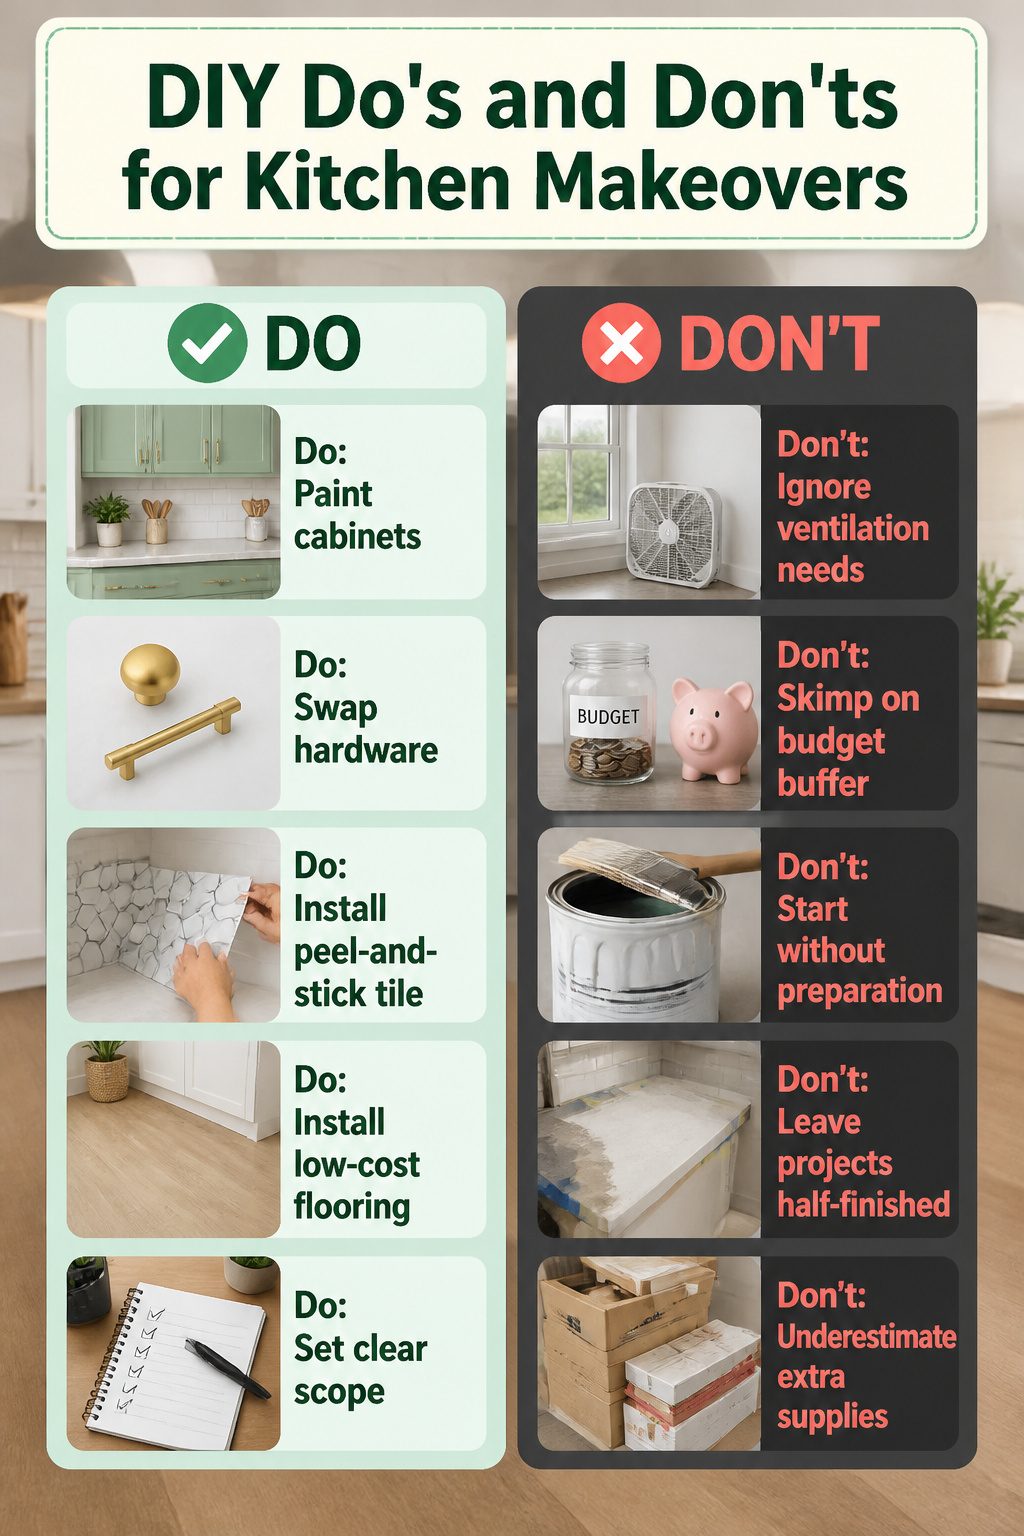
Painting cabinets, swapping hardware, and laying peel-and-stick tile are where we reliably cut labor costs on a kitchen makeover on a budget.
These are weekend jobs: a $100 cabinet paint job, $1.29-per-square-foot flooring you can install in a day, backsplash tiles that skip the demolition mess entirely. The savings are real because the mistakes are visible and fixable.
Countertop refinishing is where we learned the hard way.
The kit looked straightforward, but we started without proper ventilation and had to stop halfway through, wasting material and a Saturday. Set aside 10 to 15 percent of your budget for exactly this kind of surprise.
We skipped that buffer on a $400 refresh because the scope felt too small to need one. The ventilation problem ate the margin we did not have, and the project sat half-finished for two weeks while we reordered supplies.
Materials That Look Expensive
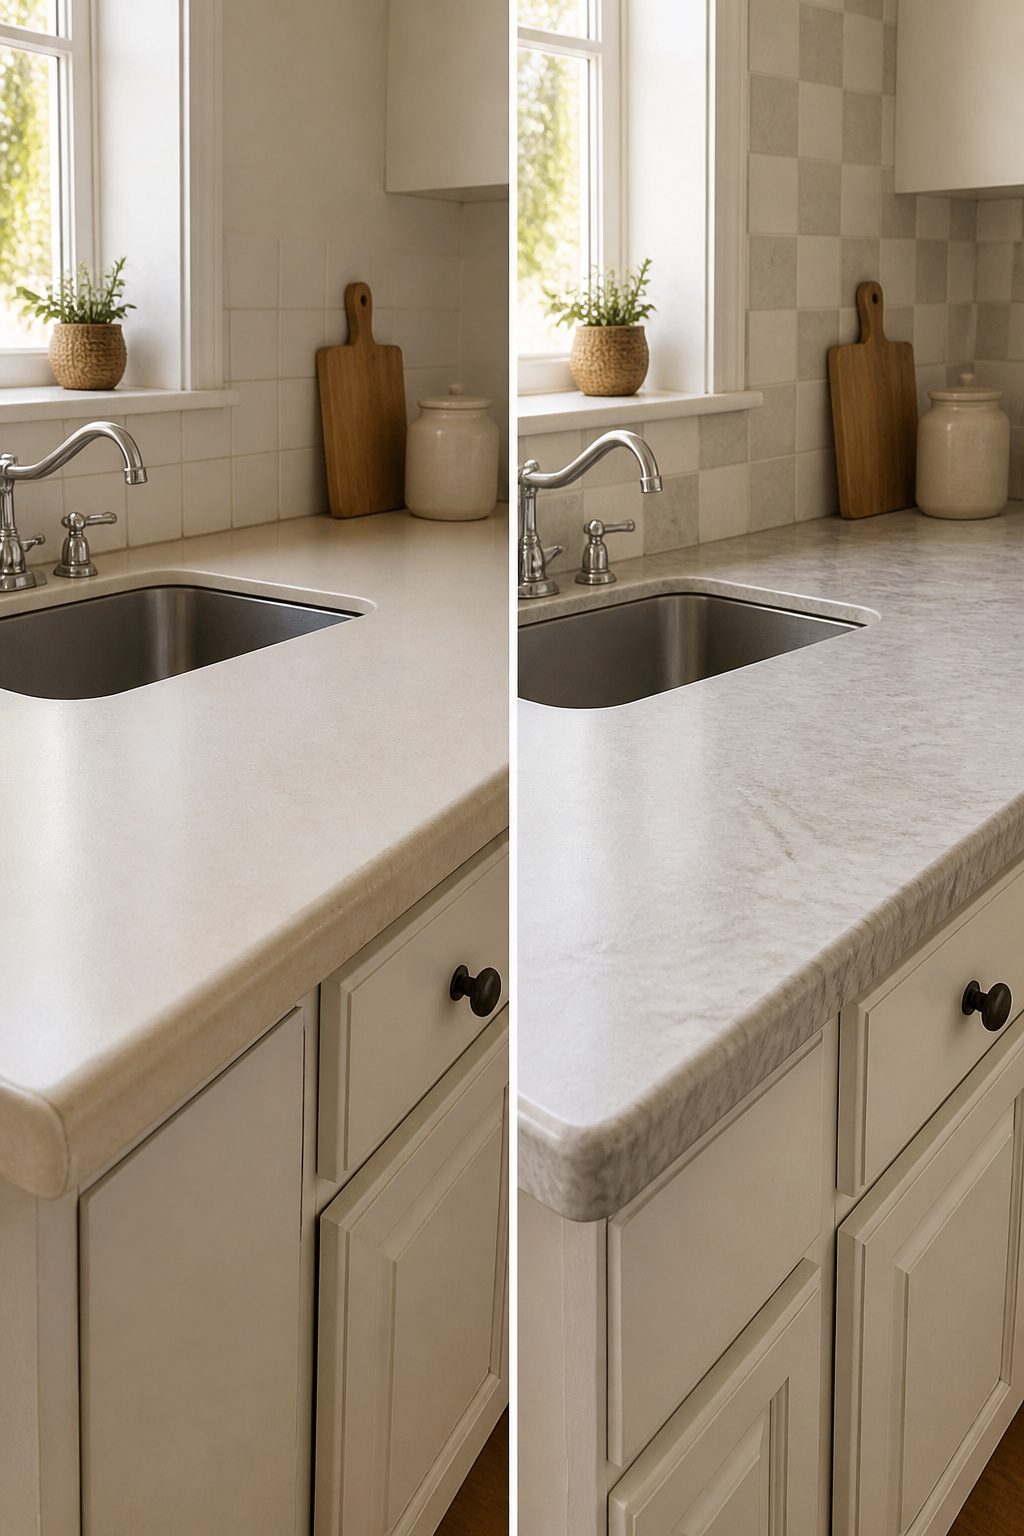
Laminate countertops are the first place a budget kitchen lives or dies. The pattern matters more than the price.
We once ordered the absolute cheapest gray speckle the warehouse had, installed it over a weekend, and watched the room flatten into something between a break room and a dentist’s office. The pattern read as office furniture, not stone.
The problem was the uniformity: real granite shifts, and your eye notices when it doesn’t. The fix costs nothing extra.
Step up one price tier to a laminate with veining variation, or go for a honed matte finish instead of high-gloss. Both read as intentional.
Peel-and-stick backsplash tiles land in the same territory. The good ones mimic marble or ceramic well enough to survive a glance, and the adhesive backing means you can pull them up later if your landlord objects or your taste shifts.
We have seen them at $1.29 a square foot in stone-and-marble checkerboard patterns that install in a day.
The diamond layout takes about 10% more material and 20% more cutting time, but the angles hide the seams better than a straight grid. For a weekend project on a few hundred dollars, that trade is worth making.
Three Mistakes We Made So You Do Not Have To
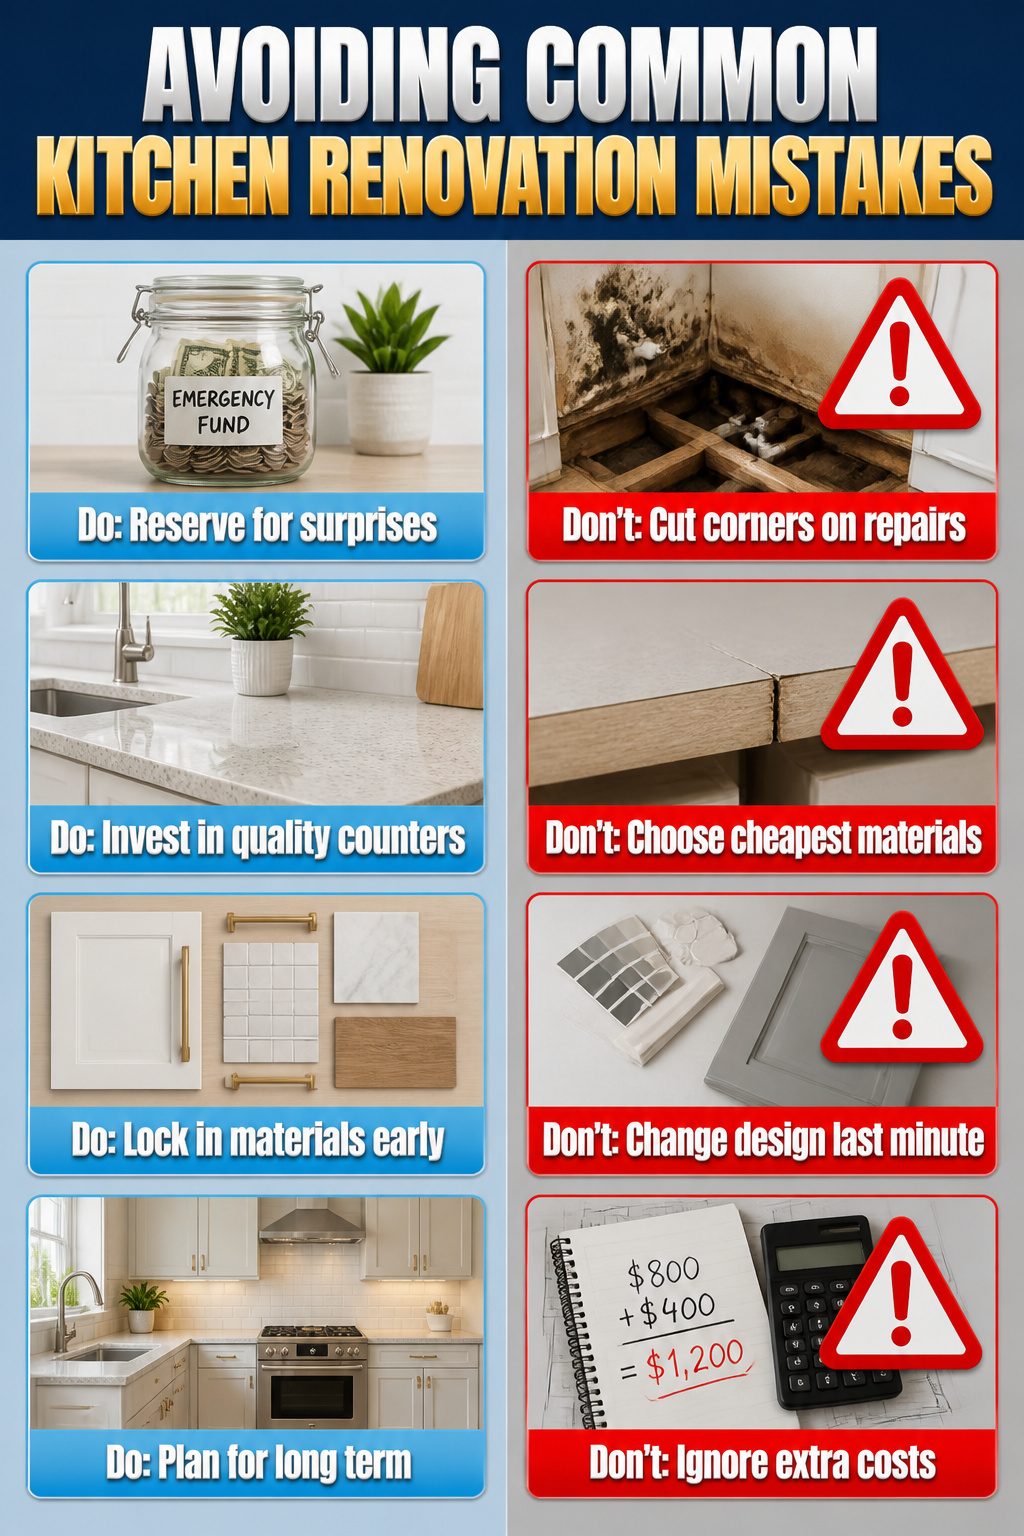
Everything added up quicker than we thought it would. Here is where we bled money on our own kitchen, so you can plan around it.
- We did not reserve money for surprises. Our budget looked tight but workable on paper, and then we hit a water-damaged subfloor behind the stove. Experts recommend holding 10–15% of your total aside for exactly this. We held zero. The repair ate what we had planned for paint and hardware, which meant those got pushed to a second round of spending we had not budgeted for.
- We chose the cheapest laminate countertops we could find. Within two years they had swollen at the seams from water sitting too long. The price difference to the next grade up would have been roughly 30% more upfront; instead we paid 100% of that again to replace them early. If we did it now, we would buy the mid-grade product the first time.
- We changed the backsplash design after the cabinets were already ordered. The new tile needed a different edge trim, and the cabinet color we had picked suddenly looked wrong against it. One change forced three others. The extra tile, the new trim, and the cabinet repaint added almost $400 to a project that had started under $800. Lock your materials list two weeks before you touch a tool, and charge yourself a real penalty, in dollars, for breaking that lock.
Small Storage Moves That Feel Like Renovation
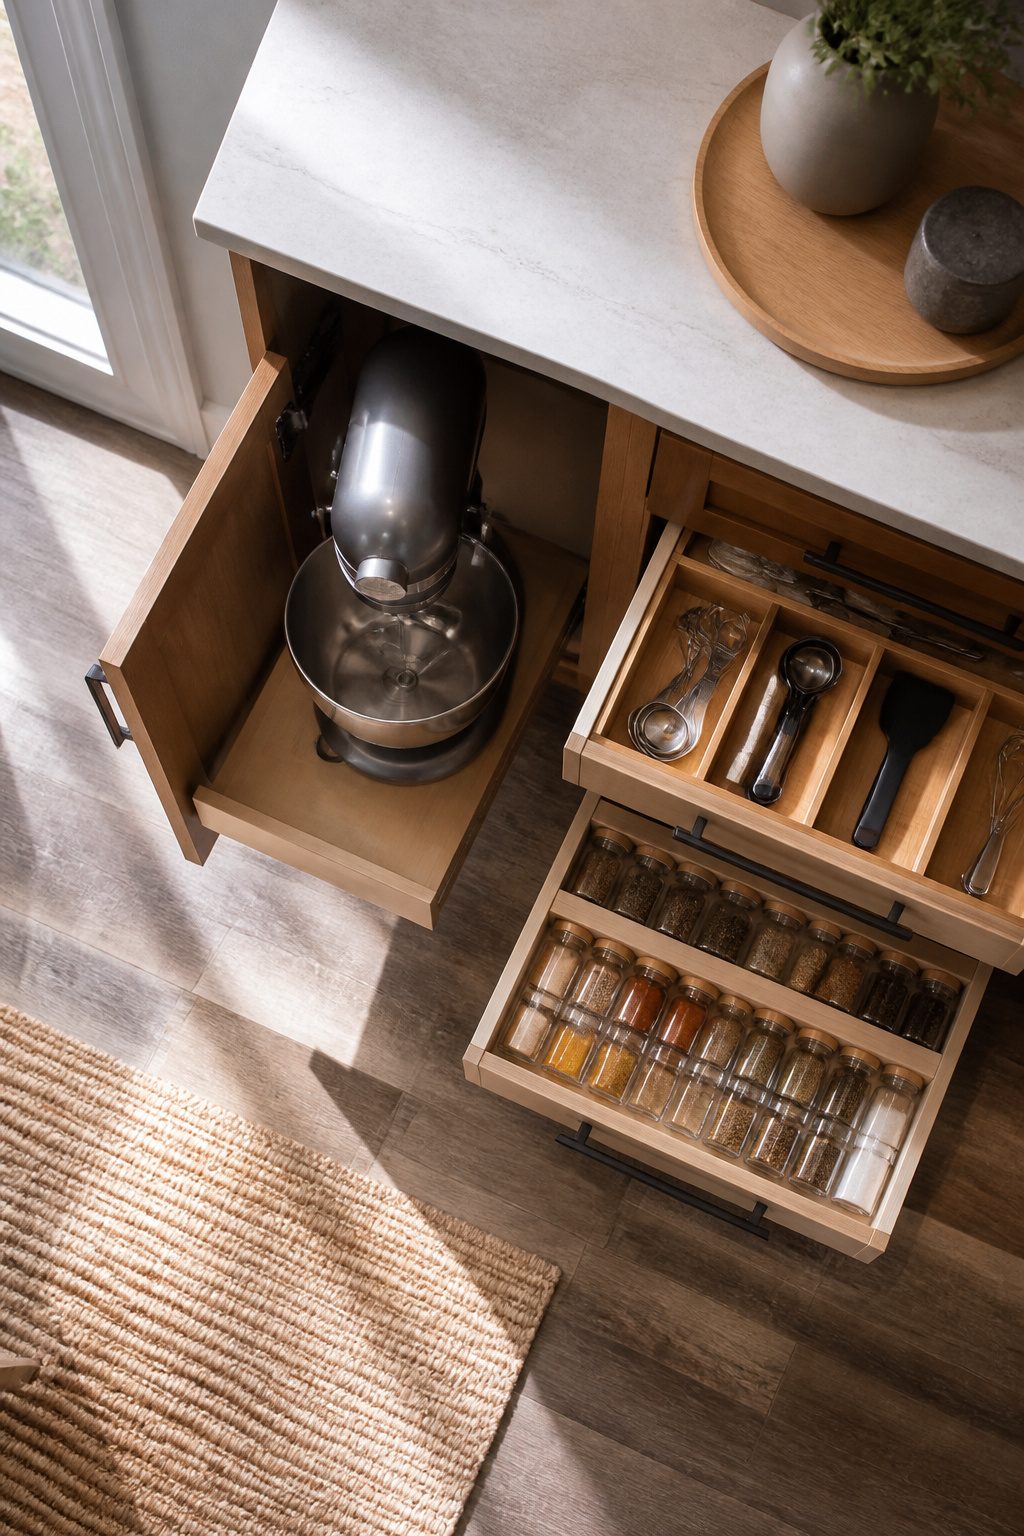
Pull-out shelves, drawer organizers, and vertical storage do not show up in after photos, but they change how a kitchen feels every time you cook.
We added a Rev-A-Shelf pull-out to a base cabinet last spring and suddenly the mixer was reachable without kneeling into the dark.
The mistake came on the second install: we centered the shelf on the cabinet width without checking the door hinge swing, and the bracket caught the hinge pin by half an inch.
The drawer opened three inches and stopped hard. Measure hinge clearance before you order the shelf depth, not after the rails are drilled in.
Drawer organizers cost less and matter more than most of what reads as "makeover." A bamboo utensil tray and a few acrylic bins turned a junk drawer into a spice station without a single new cabinet.
Vertical storage, same principle: a simple tension rod inside a deep cabinet corrals baking sheets upright, and you gain the whole stack for something else.
These are the changes that make a kitchen work better without touching the layout the sources warn against.
No plumbing moves, no wall removal, just the existing square footage used twice as hard. The investment is small enough to fit inside a weekend, and the return is daily.
Frequently Asked Questions
What is the cheapest way to update a kitchen?
Painting your cabinets runs about $100 if you already own a brush and drop cloth, making it the cheapest full transformation.
Replacing hardware costs about the same as a takeout order for four, and updating lighting with a recessed conversion kit runs $15 to $20 each. These three moves together change how the kitchen looks and feels without touching a cabinet box.
Can you remodel a kitchen on a very tight budget?
Yes, by focusing on cosmetic updates, DIY work, and keeping the existing layout.
A $500 to $2,000 budget covers paint, hardware, lighting, and peel-and-stick backsplash in any combination. The article skips appliances and cabinet refinishing at this tier entirely, putting money toward surfaces you touch and see daily instead.
Are budget kitchen remodels worth it?
They are worth it when planned carefully, improving daily use and appearance without the financial burden of a full renovation.
The article notes that a cosmetic tier done well outlasts a half-finished moderate job. Setting aside 10 to 15 percent of your budget for surprises keeps a small project from stalling halfway through.