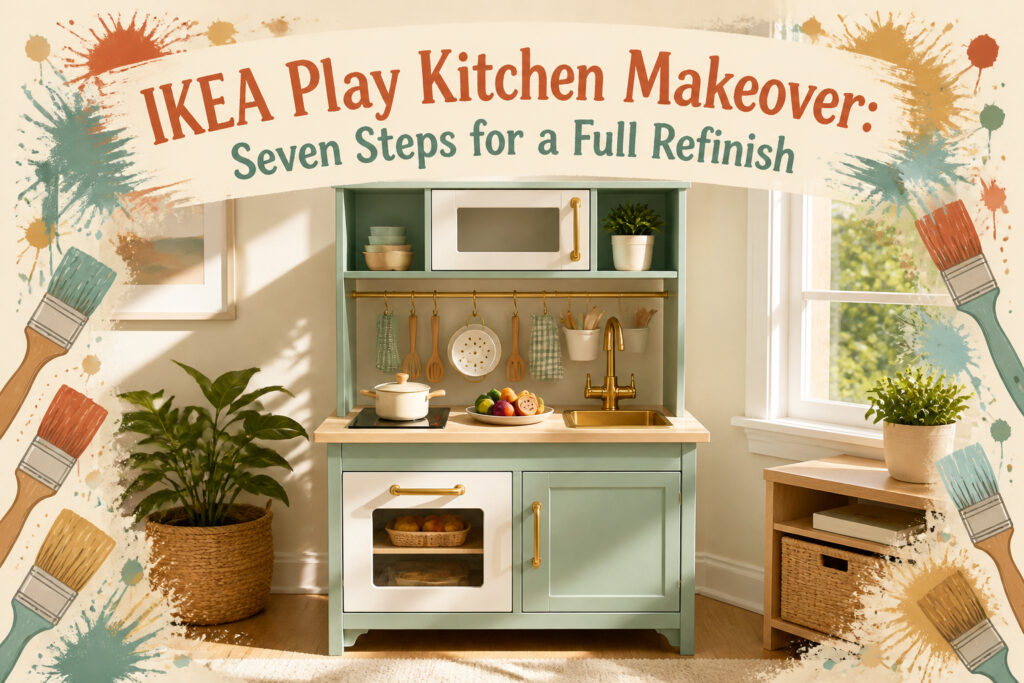
An IKEA play kitchen makeover takes a finished Duktig from flat-pack toy to custom furniture with nothing more than primer, paint, and a weekend of drying time.
The catch is that every plastic and laminate surface must be sanded first; skip that step and the new finish peels where small hands grab hardest.
We have learned to mark each visible panel with painter’s tape before a single screw turns, because the box holds more parts than it looks like it should.
[link-whisper-related-posts]Planning and Organization
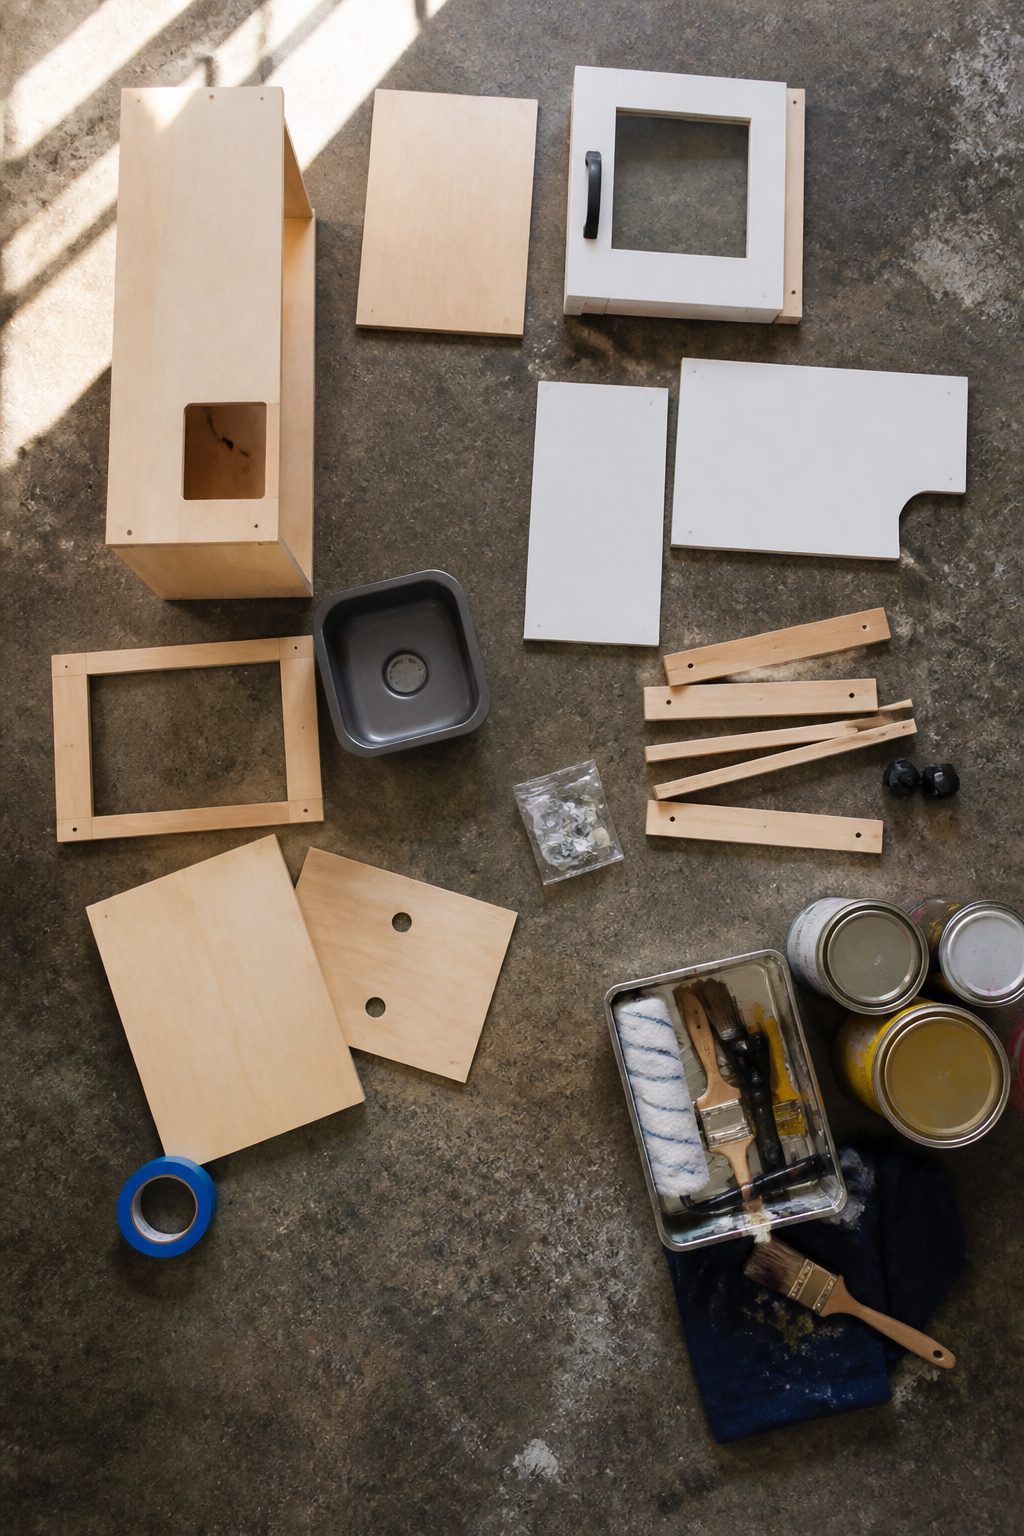
Unpack the IKEA Duktig kitchen and lay every piece on the floor before you touch a screwdriver.
The box holds more parts than it looks like it should, and finding the sink basin or a leg brace after you have already painted around it wastes an afternoon.
We mark the face of each panel that will be seen with a small strip of painter’s tape; the back and inside edges do not need paint, and skipping them saves hours.
The assembled kitchen stands 37 inches high, 28 3/8 inches wide, and 15 3/4 inches deep, with the counter surface at 22 inches.
The legs adjust, so the height can grow with a child, but that also means the feet come off for painting and go back on last.
Plan for the stock build to take one to two hours, then set aside a full weekend for the makeover itself. Drying time between coats, not the brushing or spraying, is what stretches the schedule.
A garage, a covered patio, or any space where dust will not settle on wet paint in the first ten minutes works; we have used a basement with a box fan in the window and a drop cloth on the concrete.

Removes material quickly with 400 grit abrasive for fast paint stripping heavy surface prep and aggressive sanding jobs on wood metal and drywall

High-Precision Abrasive Paper: This Shineboc sandpaper set comes with 21 sheets of 400 grit sandpaper, providing ample supply for demanding sanding tasks.
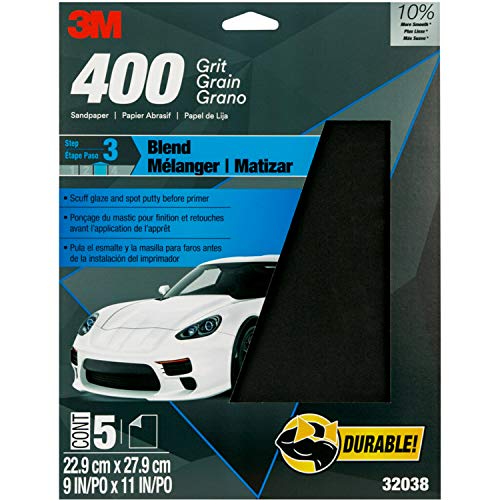
BLEND PRIMER AND PAINT - 400 GRIT is perfect for scuffing glaze and spot putty before primer. Best for aerosol Primers
Sanding the Surfaces
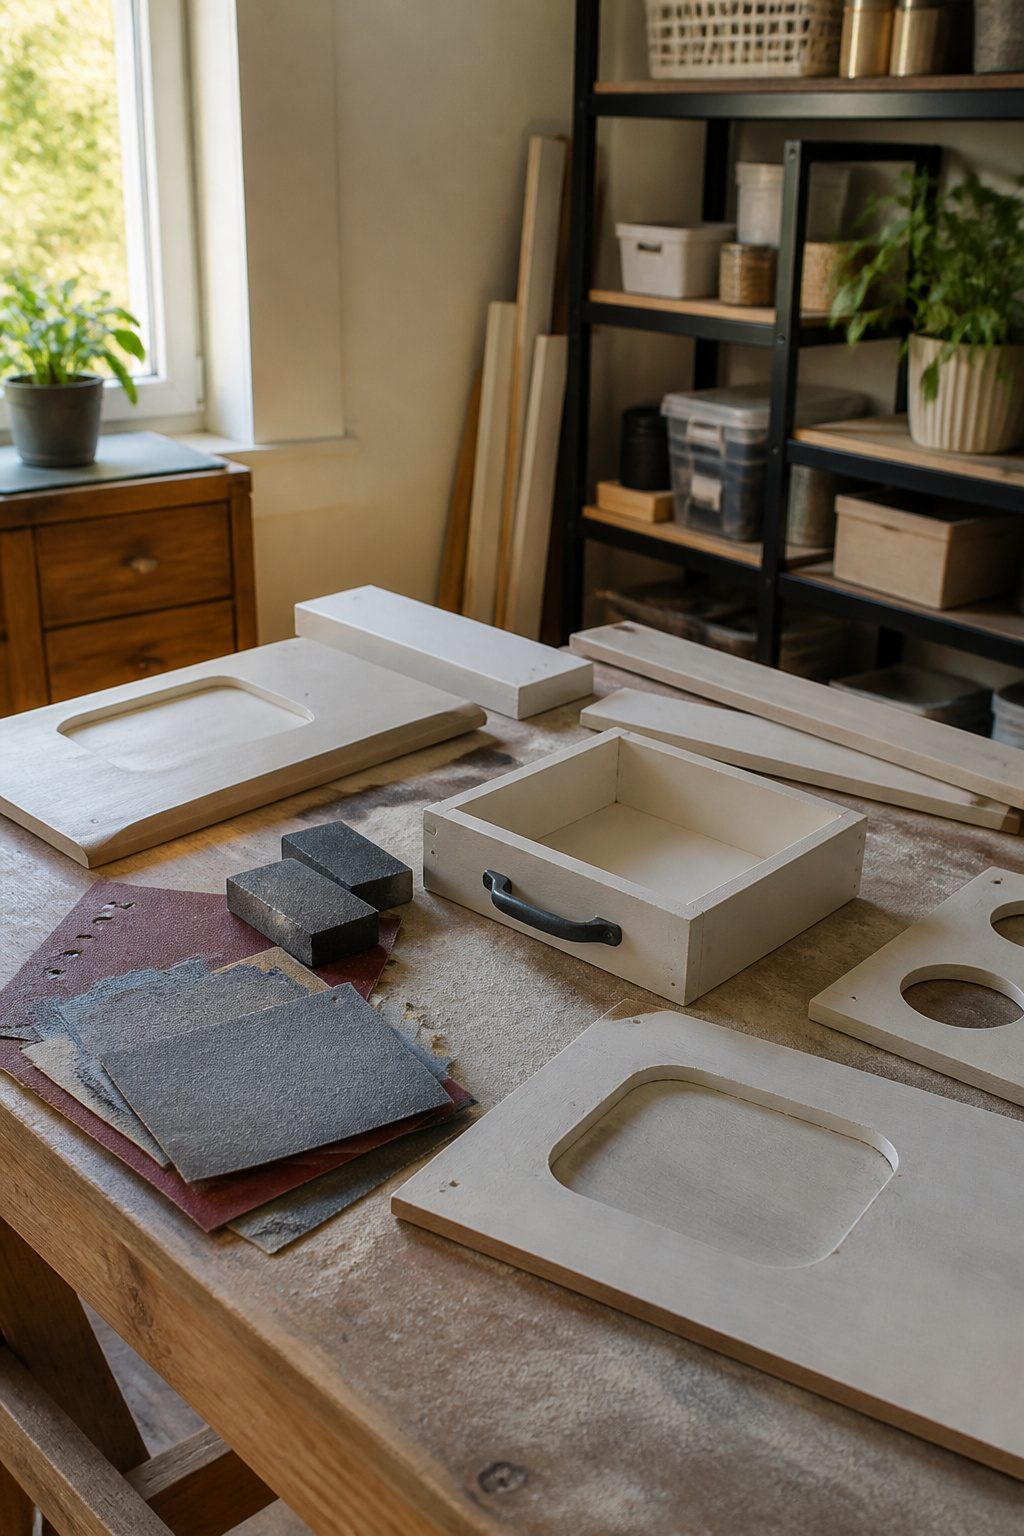
Lightly sanding every plastic and laminate surface is what separates a finish that lasts from one that chips inside a month.
We use 400 grit sandpaper on the plastic faucet, sink, and hook bar, just enough to break the gloss without gouging the surface.
Skip this step and the primer sits on top of the factory coating instead of gripping it; the paint will peel in sheets where little hands grab hardest.
The wood veneer calls for something more aggressive: 80 grit first to knock off the factory sheen, then 320 grit to smooth out the scratches before stain or paint touches it.
The countertop needs the same two-step treatment, 80 grit to kill the shine, 320 grit to level the field. Eight out of ten write-ups on this project flag sanding as the make-or-break stage, and we agree.
One caution from the field: plastic can go rough on you if you sand too hard, so keep it light and even, checking your work by eye as you go.

【VALUE PACK】 Each set contains 8 PCS 320 grit sandpaper block, each measuring 3.9 x 2.76 x 0.9 inches, this set of sandpaper block is perfectly suited for your daily life use.

80 Grits: Includes 8 sanding blocks (80 grit, coarse medium), our sanding sponge is reusable, washable, and suitable for all your sanding needs

6 Pack 320 Grit Superfine Sanding Sponge, Washable and Reusable Sanding Blocks
Priming Before Color
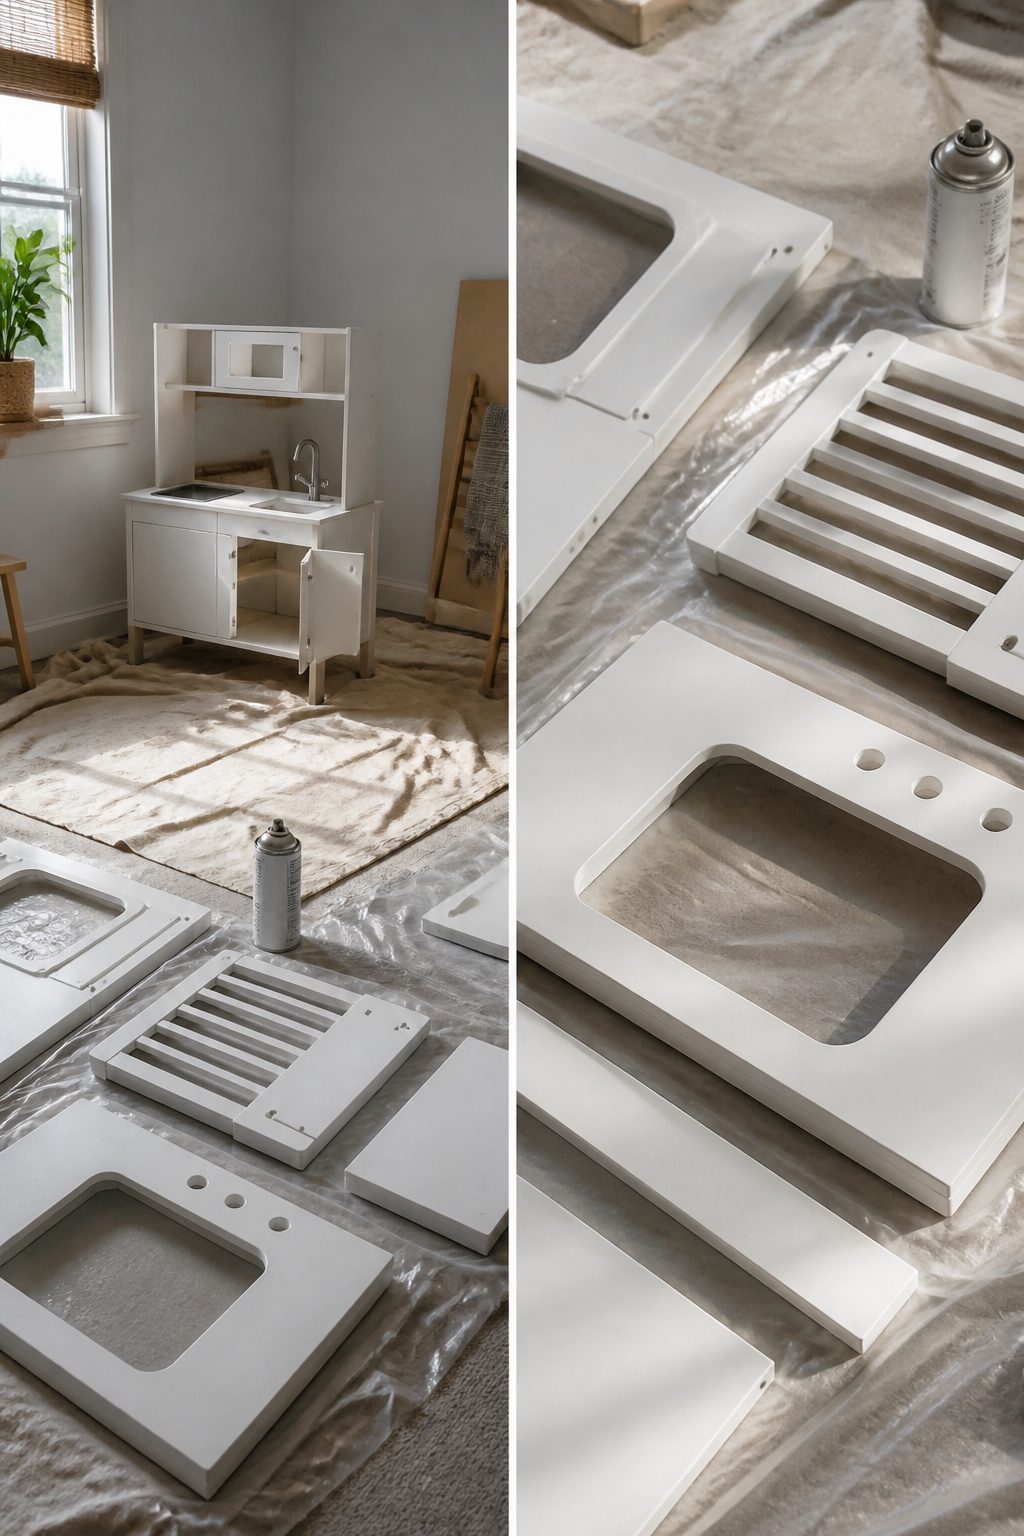
Plastic and laminate surfaces will reject paint if you skip this step, so primer is non-negotiable on every piece: body, doors, sink, tap, anything removable.
We have seen the aftermath of trying to paint straight onto that slick IKEA shell, and it is not pretty.
The sources split on method. One approach uses Rust-Oleum Surface Primer sprayed on first, followed by color coats.
Another route is a combined paint-and-primer made for plastic, such as Rust-Oleum Metallic Paint & Primer, which saves a separate pass if you are already buying spray cans. Either works; the combined product wins on speed, the dedicated primer on insurance.
Do not sand the plastic sink or tap beforehand. One builder tried light sanding to help adhesion and ended up with a permanently rough surface that clear lacquer could not fully hide.
The roughness is barely visible, but it is there, and it was avoidable. On the laminate frame, light sanding plus primer is the standard prep, but plastic behaves differently.
If you are brushing the frame and spraying the fixtures, prime each surface with the formulation that matches its coating. Mismatched layers flake.

Bonds topcoats to vinyl, plastic, fiberglass and more

Improves top coat adhesion to plastic and chrome
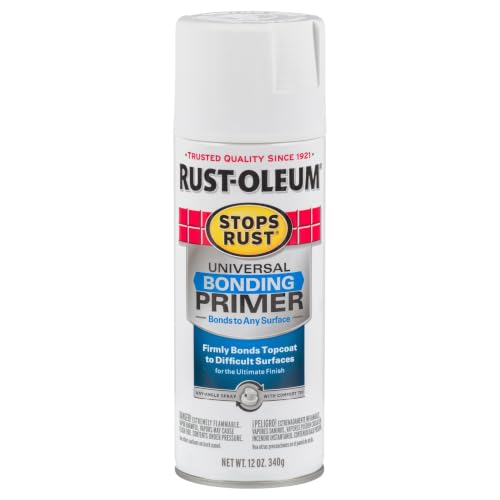
Exterior/interior use, great for galvanized steel, wrought iron, railings, furniture, laminate, PVC, porcelain, masonry, glazed brick and more
Painting the Kitchen
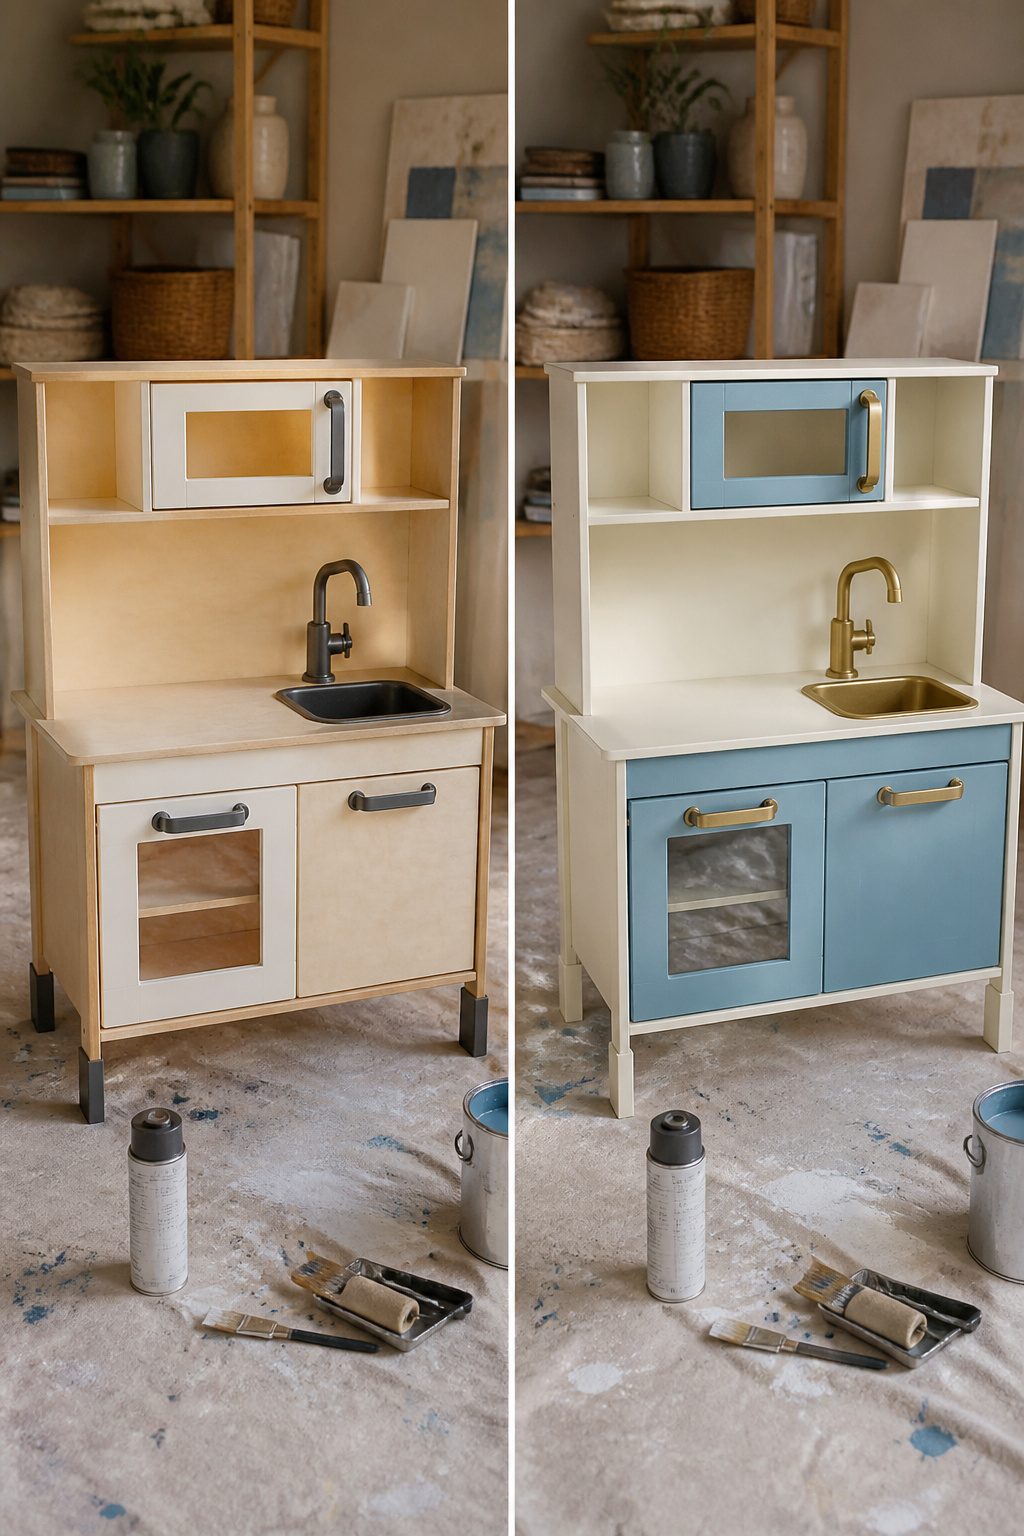
We have had better luck with brush-and-roller work on the flat cabinet faces and spray paint on the faucet, sink, and anything curved.
For the cabinets, Magnolia Home "Yarn" reads as a warm light gray that covers well in three coats, while Benjamin Moore "Blue Danube" gives that deeper saturated look if you are matching a real kitchen.
We used mini rollers and laid on the paint thin; two coats looked finished but three left no streaks or holidays.
Spray wins on speed. Rust-Oleum Painter’s Touch 2X, Krylon Premium Metallic, and Behr’s comparable cans all build fast, and we have sprayed a faucet gold in under twenty minutes of actual work time.
The catch is control. Overspray drifts, plastic needs 400-grit sanding first, and you will want 2-3 coats of Rust-Oleum Matte Clear afterward if the piece is going to take real play.
Brush work is slower and demands sanding between coats with 220-400 grit, but you can cut in around the oven window without masking half the garage.
Either way, prime first. Rust-Oleum Painter’s Touch 2X Flat White Primer is what we have reached for on plastic IKEA surfaces; one coat, let it cure, then sand only where you see unevenness before you start your color.

READY. SET. PAINT!: 1 ScotchBlue Original Multi-Surface Painter's Tape Applicator and Starter Roll (1.41 inch wide x 20 yards), the go-to tool for faster, easier precision paint prep

STRONG ADHESION: High sticking power on smooth surfaces including glass, wood, and painted walls for reliable performance

FOR MULTI-SURFACE USE: Frog Tape 2 inch wide paint tape with medium adhesion is ideal for a variety of surfaces such as cured painted walls, baseboards and trim, glass, carpet and metal
Sealing the Finish
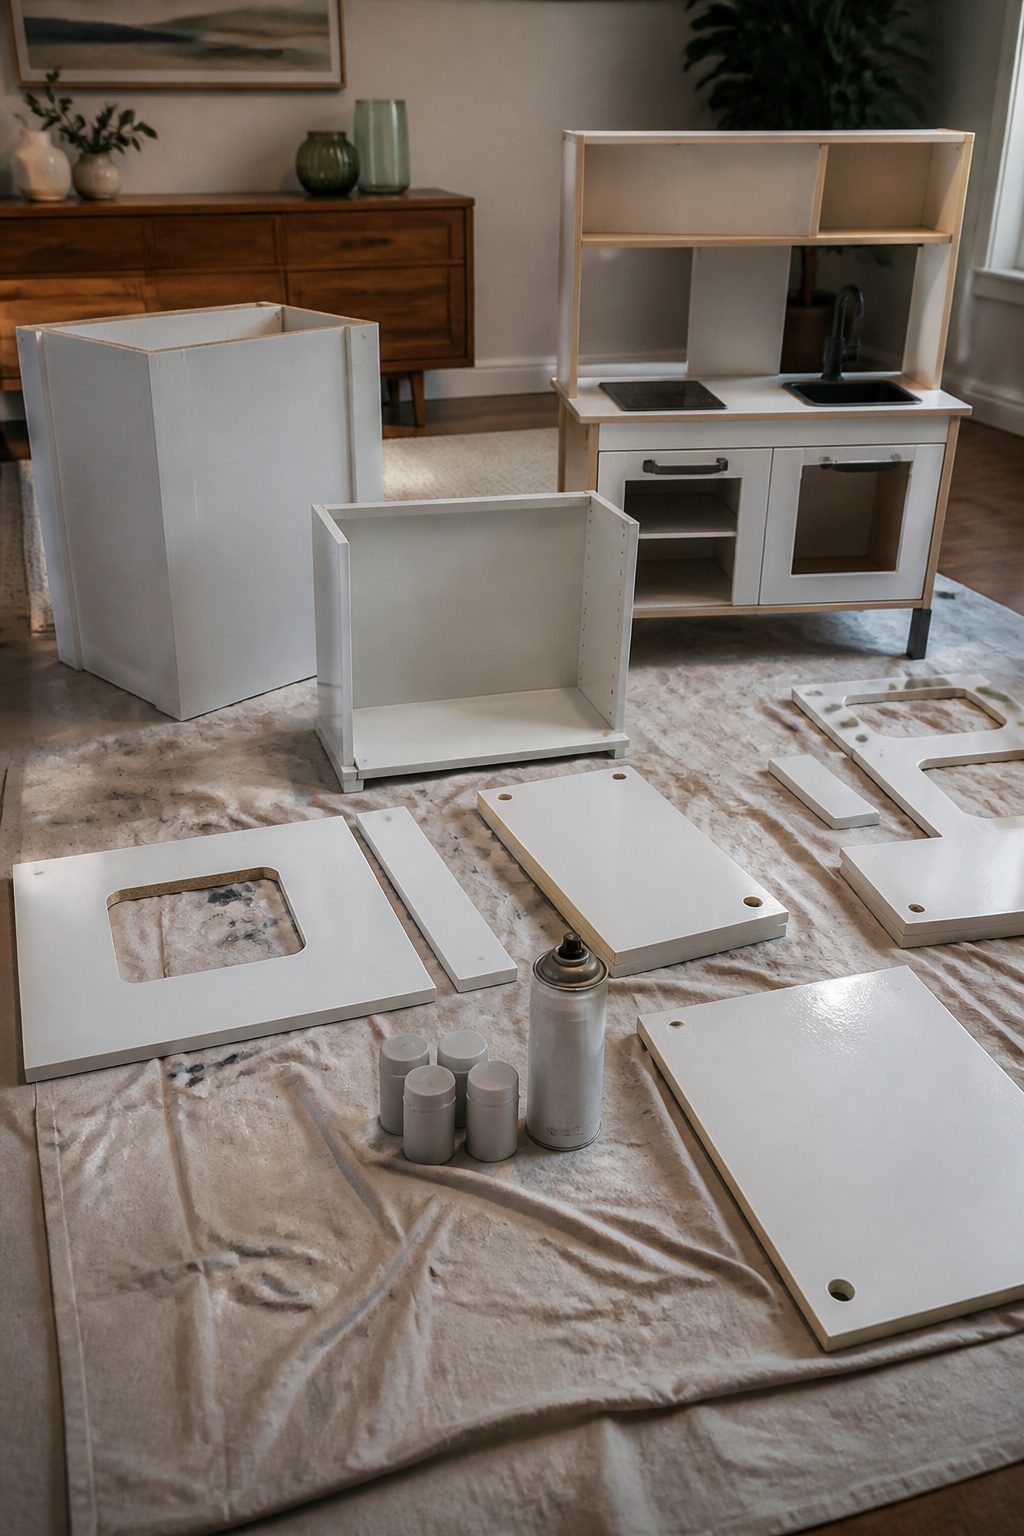
A clear top coat is what separates a kitchen that looks good for a month from one that survives daily play.
We seal every painted surface, wood or plastic, because paint on a play kitchen chips exactly where small hands grab: door edges, the faucet, the stove knobs.
Plastic in particular shows a soft, worn sheen over time that reads as grime even when it is clean; sealant keeps the surface harder and the color truer.
Polycrylic spray is the finish we see most often, though it demands patience.
The spray comes out spitty, so light coats are the only way to avoid drips. Several thin passes with dry time between beats one heavy coat every time.
For wood veneer pieces, some makers brush the first coat and follow with a dry roller or a final spray; on the plastic sink and tap, Rust-Oleum Clear Lacquer spray builds the same armor.
What we cannot promise is a durability timeline. Most builders include this step, seven out of ten by our count, but nobody has tracked how these kitchens look at two years versus five.
The sealant is cheap insurance against the wear you can already picture: the scratched stove top, the faucet dulled by a hundred pretend dishwashing sessions.
Apply it, let it cure fully, and the surface at least starts life harder than the factory finish it replaced.

Beyond paint counter top paint pint - color - bone
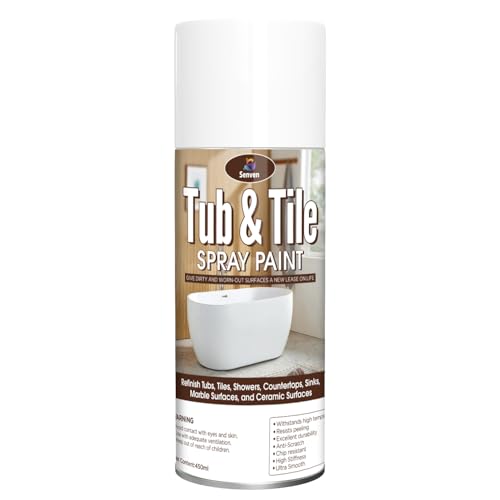
SENVEN TUB & TILE REFINISHING SPRAY PAINT: Apply this Tile Spray Paint to ceramic, porcelain, or fiberglass surfaces, including tiles, sinks, and tubs. Specifically for ceramic, porcelain surfaces like bathtubs, tile floors/walls, toilets, sinks and countertops. DIY refinish your bathroom with just one quick and easy spray step for a refreshed look. The SENVEN Tub & Tile Refinishing Kit is here to reduce costs without breaking the bank on new fixtures or hiring a contractor

APPLIANCE REFINISHING: Renews the exterior of refrigerators, dishwashers, laundry machines, and other indoor metal surfaces.
Adding Hardware and Accents
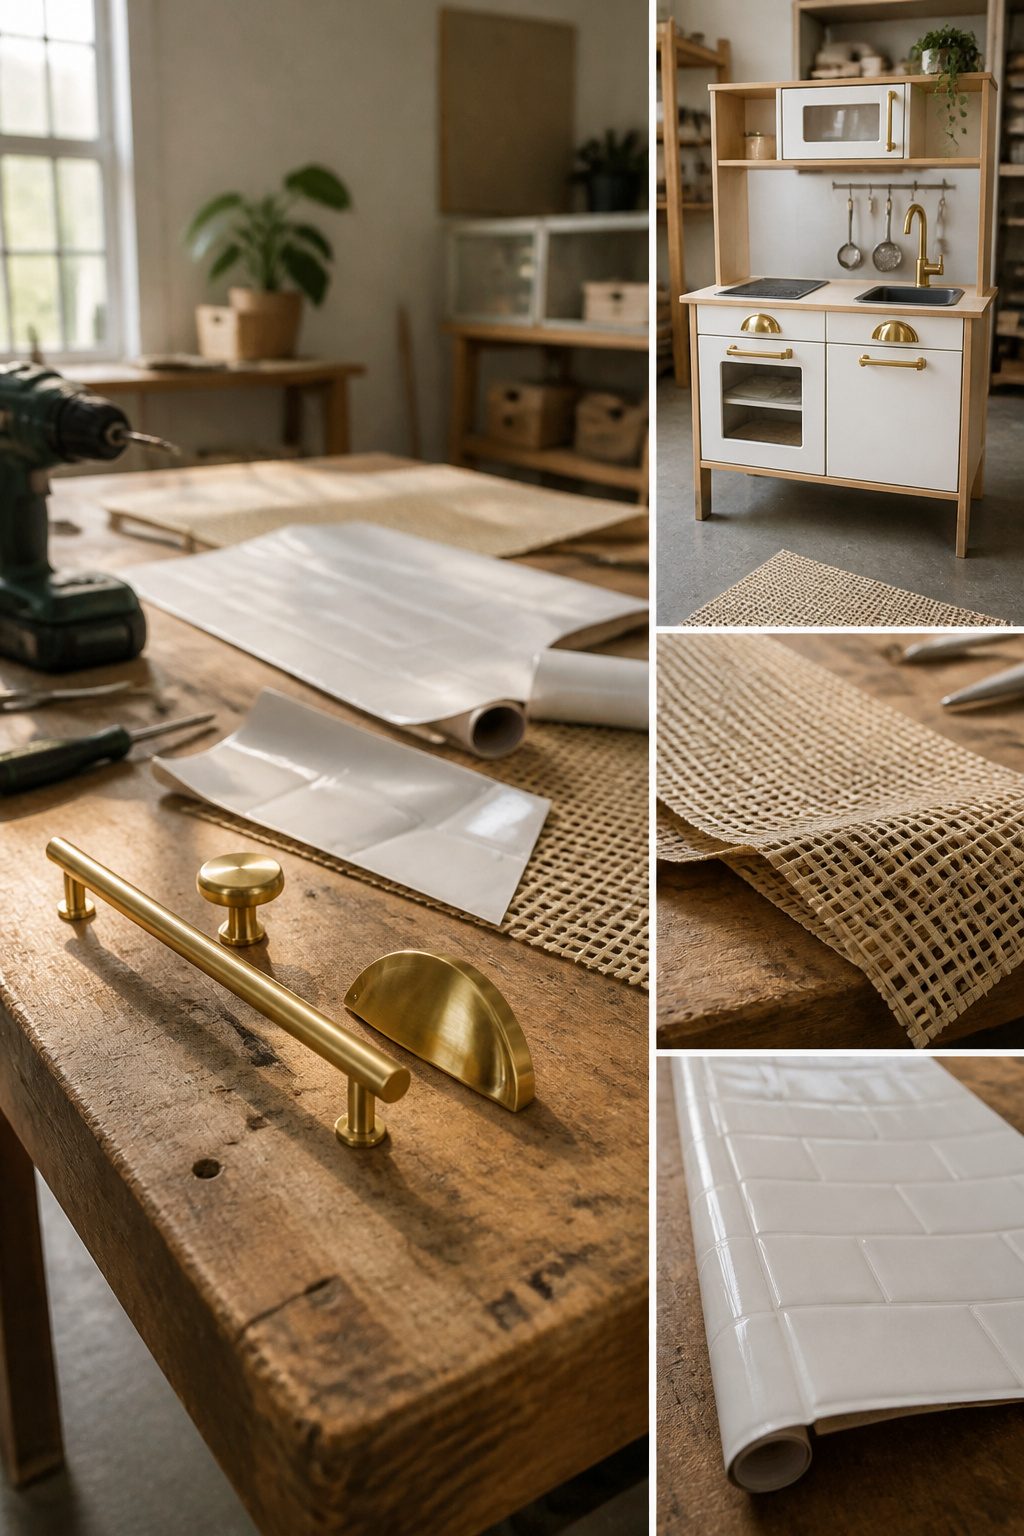
The plastic handles that come with the DUKTIG are the first giveaway that this is a toy, not a kitchen. We swapped ours for satin brass pulls with a 5-inch center-to-center spread, which matched the existing holes exactly.
If you choose different hardware, check that dimension carefully or you will be drilling new holes in a door that is only 3/8-inch thick.
Wooden ball knobs, about 1-1/2 inches, also work well and feel better in small hands than the original plastic.
For the backsplash, contact paper is the renter-friendly move: faux subway tile or a stick-tile sheet goes up in ten minutes and peels off when the kitchen is passed along.
Wallpaper or real tile work too if you want permanence. We have seen woven plastic placemats from Goodwill cut to size and mounted as microwave doors; the texture reads as rattan from two feet away and costs under two dollars.
Battery LED touch lights under the cabinet or inside the oven add a glow that children actually use. Decals on the back wall turn the blank panel into a window scene or a menu board.
Stove knobs that click, a play oven rack, or leather loop handles on the hook bar: each piece nudges the kitchen closer to real. The limit is your weekend, not your budget.


Removes material quickly with 400 grit abrasive for fast paint stripping heavy surface prep and aggressive sanding jobs on wood metal and drywall

Premium Sandpaper Sheets:400 grit silicon carbide sand paper,easily cuts into 1/4,1/3,or 1/2 sheets to fit any sanding block or tool.Suitable for woodworking, metalworking, crafting, and DIY projects.
Assembly and Accessorizing
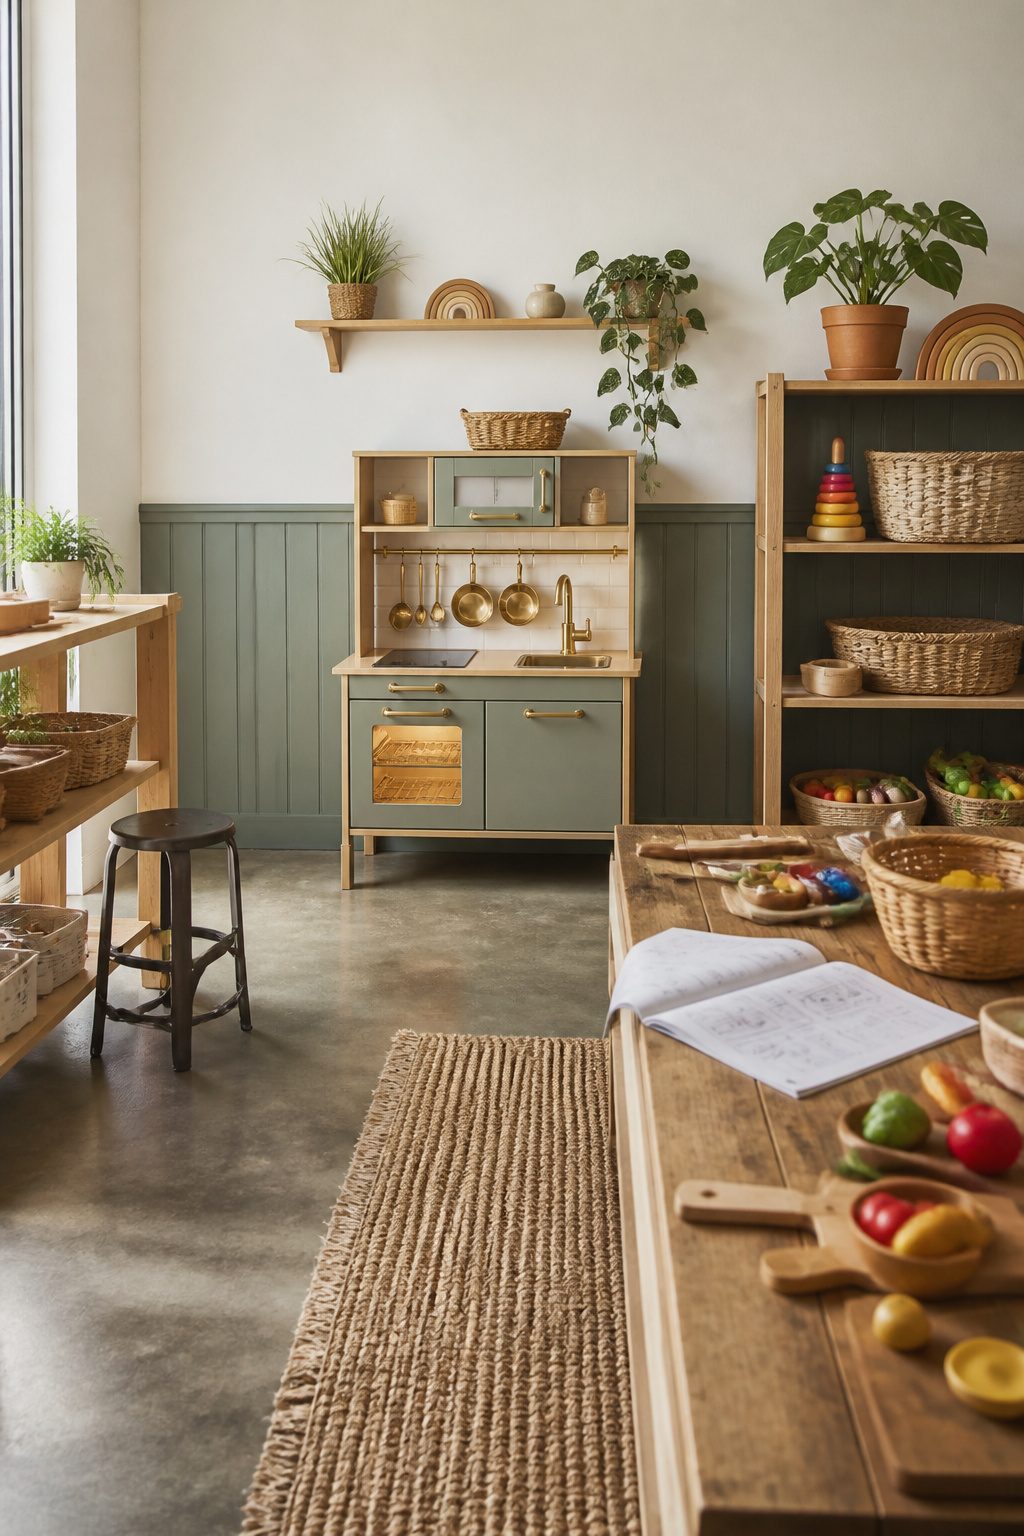
Reassembly follows the IKEA manual exactly, which we kept from the first build.
The Duktig runs $79–$99 depending on whether you catch a sale, and that base price is what makes the whole project workable. Once the shell is back together, accessories are where the budget actually lives.
Play food sets, wooden utensils, and small cookware fill the oven and cabinets fast; we have seen complete kitchens stocked for under $30 on Temu or closer to $50 on Amazon, but costs climb if you want matching aesthetics.
Battery-operated LED lights inside the oven or microwave are the upgrade most people skip and almost nobody regrets.
Stick-on puck lights from any hardware store, sometimes found in dollar-shop bins, run a few dollars each and install with the adhesive backing already on them.
A working faucet with a small pump is another advanced option that shows up in only a handful of builds we have tracked; it adds realism but also complexity, so we would only go there if you are already comfortable with small plumbing projects.
For most weekend timelines, lights and a fresh set of play food get you 90 percent of the way to a kitchen that feels finished.

Assorted Grit Sanding Blocks – This set includes 8 sponge sanding blocks (4 x 2.6 x 0.7 inches) in per 2 pcs of 120, 220, 320, and 400 grits, covering coarse to ultra-fine sanding needs. Color-coded for easy identification.
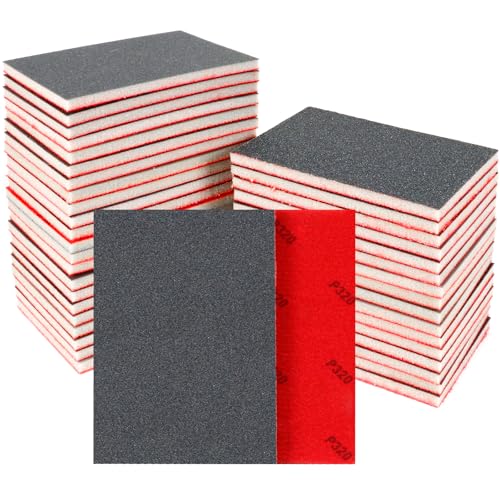
Package Contains: This sanding sponge set includes 24 Pcs 320 grit sandpaper, each measuring 3.93 x 2.75 x 0.19 inches, perfect for smoothing wood furniture, metal, or drywall.

【Package Included】:You are about to receive 12 pieces of 320 grit double sided sanding sponges (4.7“ x 3.9” x 2.7"), the sanding block is designed to be easier to grip, wet or dry, meet all kinds of sanding needs.
What You Need to Start
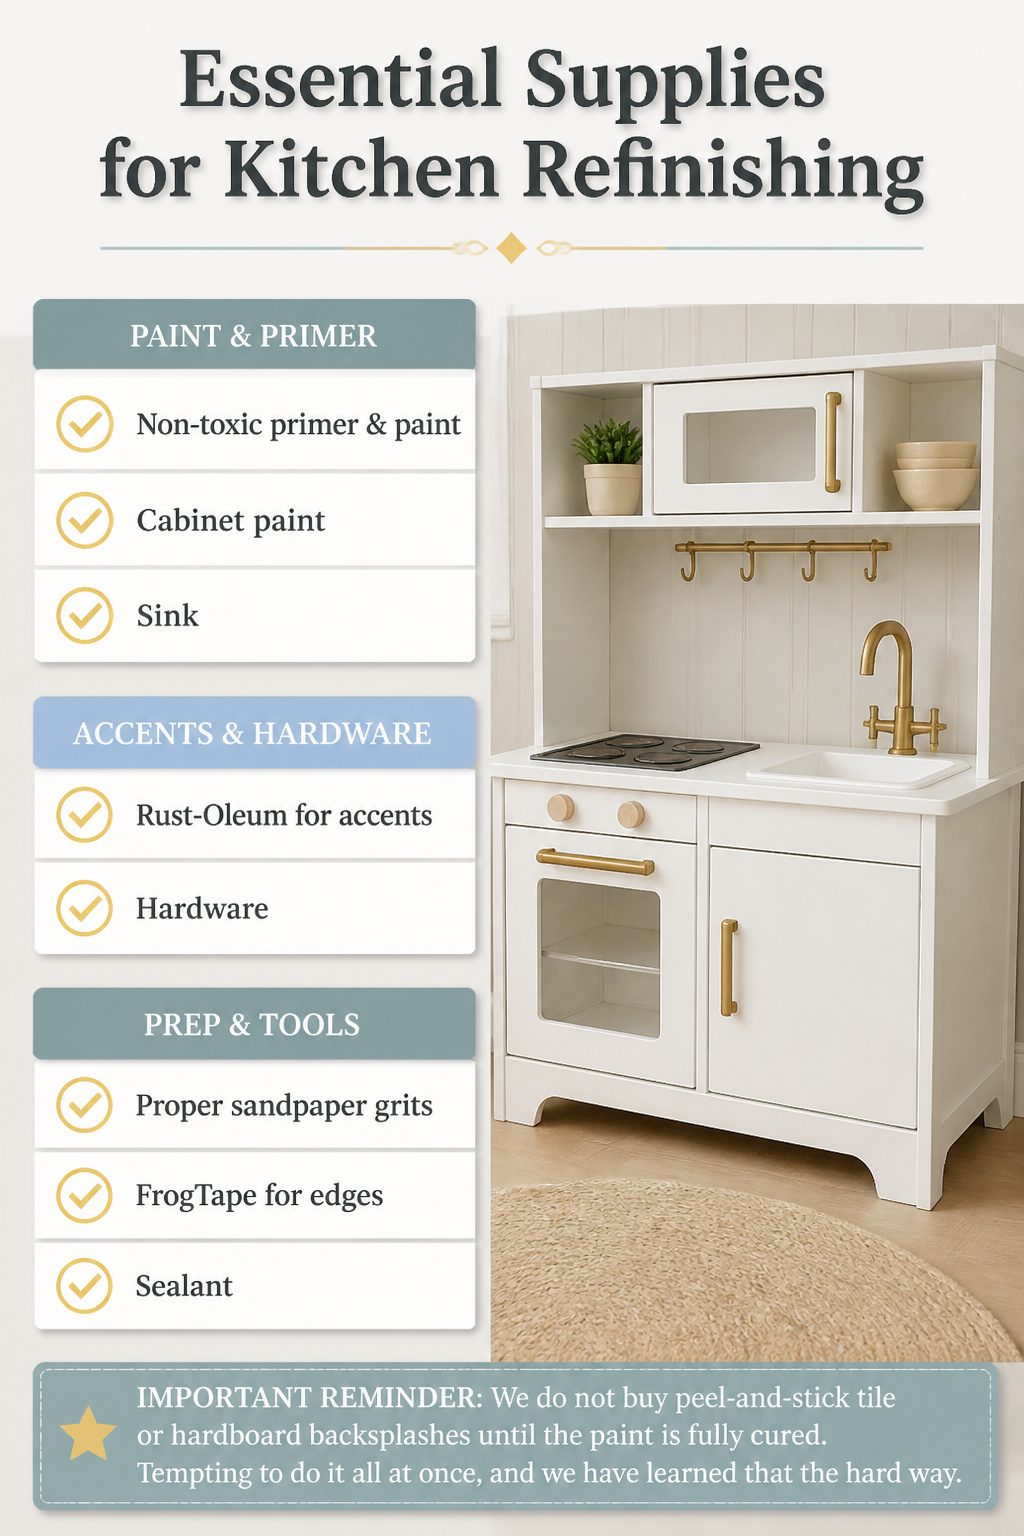
We have refinished three of these kitchens in the last two years, and we have settled on a short list that we order the same way every time.
Non-toxic paint is non-negotiable for a toy used by children 3 years and up, so we skip anything without a clean safety sheet even if the color is perfect.
- Primer: Rust-Oleum Painter’s Touch 2X Flat White Primer. Two cans covers a Duktig with careful coats.
- Cabinet paint: Behr or Magnolia Home in a satin or matte finish. We have used Behr’s cabinet-grade latex and gotten a surface that survives daily banging.
- Metallic accents: Rust-Oleum Universal Pure Gold or Krylon Premium Metallic 18K Gold for the faucet and hooks.
- Sink: Rust-Oleum Painter’s Touch 2X Semi-Gloss White, or match your cabinet color.
- Sealant: Rust-Oleum Painter’s Touch 2X Matte Clear. Three thin coats, not two, if the kitchen will see heavy use.
- Sandpaper: 150 grit for the first pass on laminate, 220 for smoothing between primer coats, 400 for scuffing plastic hardware before paint.
- Tape: FrogTape, the green kind, for edges you cannot remove.
- Hardware: Satin brass cabinet pulls fit the existing holes without drilling. For oven knobs, 1-1/2 inch unfinished wood balls with thread locker so they spin but do not fall off.
We do not buy peel-and-stick tile or hardboard backsplashes until the paint is fully cured. Tempting to do it all at once, and we have learned that the hard way.

Ideal for use on interior/exterior surfaces including wood, plastic, plaster, metal, masonry and unglazed ceramic

OPTIMAL ADHESION: Promotes maximum adhesion to plastic surfaces, eliminating the need for specialized pretreatments. Ensures strong, long-lasting bonding for automotive plastics, DIY projects, and more.

Safety for Kids and the Kitchen
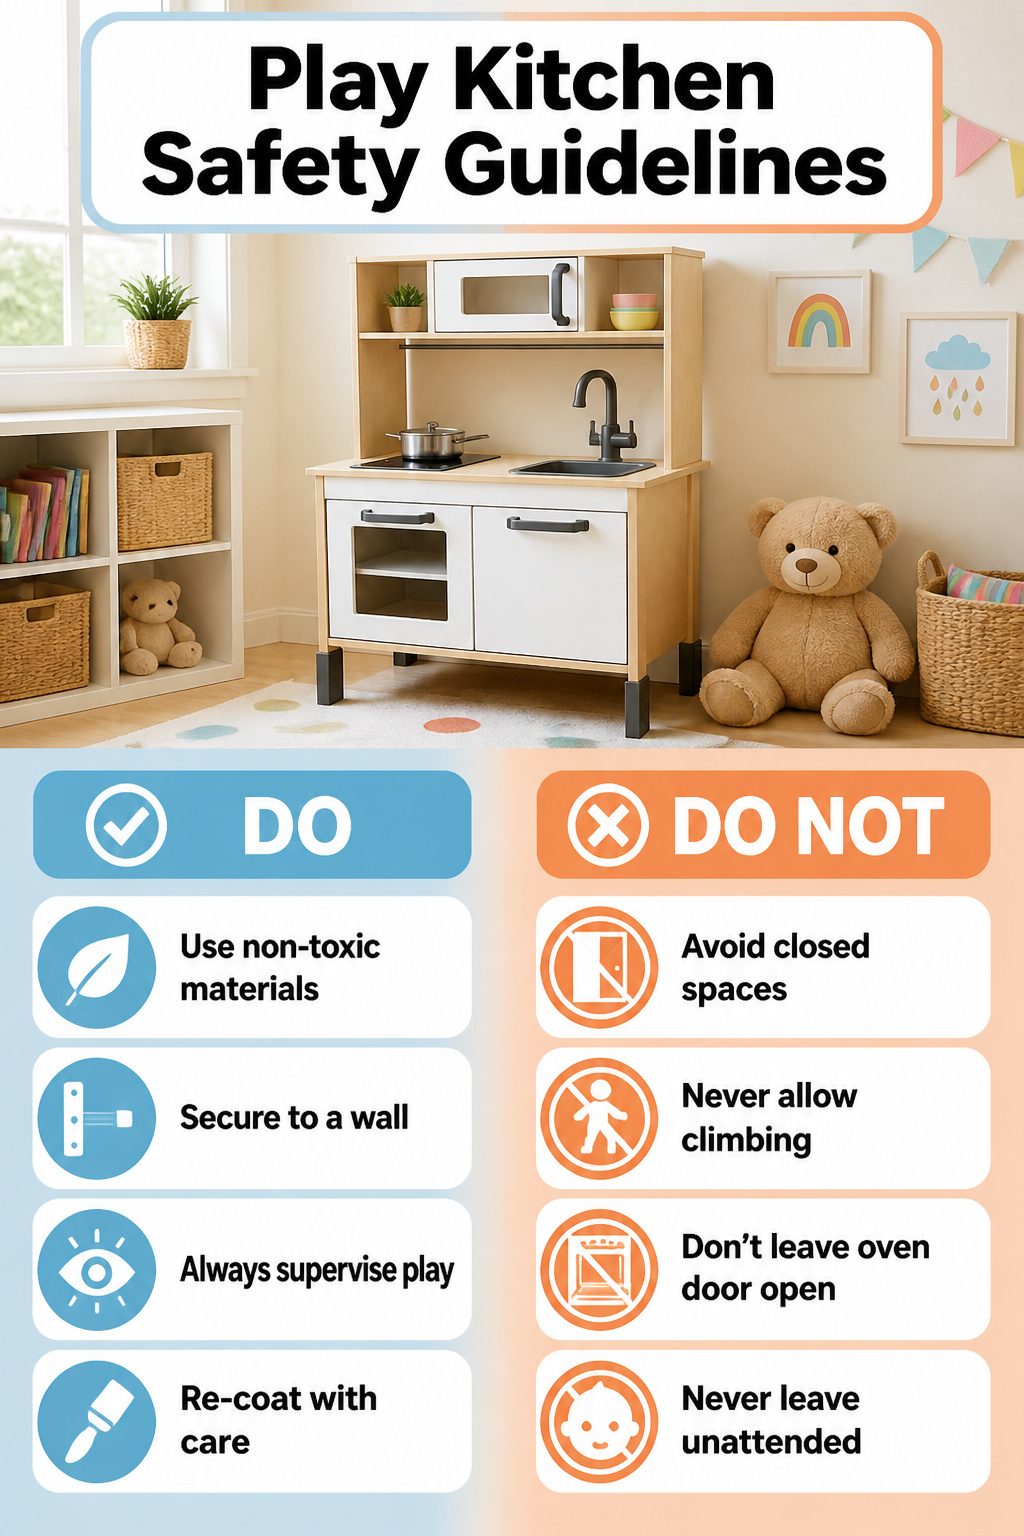
Non-toxic paint matters more on a play kitchen than on a bookshelf, because every surface is at mouth height.
We used a brush-applied finish rather than spray, partly so we could read the label on the can and partly because a rolled or brushed coat is easier to control around edges a toddler grips.
If you are re-coating a Duktig that has already seen a year of use, sand down any flaking spots first; fresh paint over loose paint is what chips into small pieces.
Secure the unit to a wall with a bracket or strap, the same way you would a tall dresser. The Duktig is light when empty, but a child leaning on an open oven door shifts the center of gravity fast.
We have seen one tip forward during a heavy play session; no one was hurt, but the lesson stuck. Wall attachment takes ten minutes and a stud finder.
Supervision is the piece no finish can replace.
A play kitchen is not a babysitter. We keep ours in the main living area, not a closed bedroom, so the adult in the room notices when play turns into climbing.
The age range on the box is a starting point; your own child’s balance and impulse control matter more.
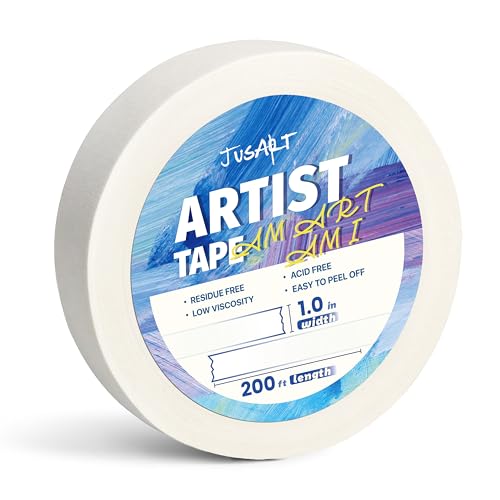
Formula Upgrade: This 200 ft rolls are made from premium pulp, offering tear resistance and a translucent cool white finish that balances aesthetics with visibility

Professional Mask Tape - Multi-Surface adhesive tape made of high quality blue crepe paper not easy to lift or curl, has sunlight, UV, heat, moisture resistant, sturdy to use. So, blue tape painters tape is very much suitable for indoor and outdoor, office, home decoration, classroom. And, its paper use environment friendly material, harmless to human body, using blue paint tape can reduce the natural burden. Excellent blue masking tape for packaging, closing, and light duty masking and sealing.
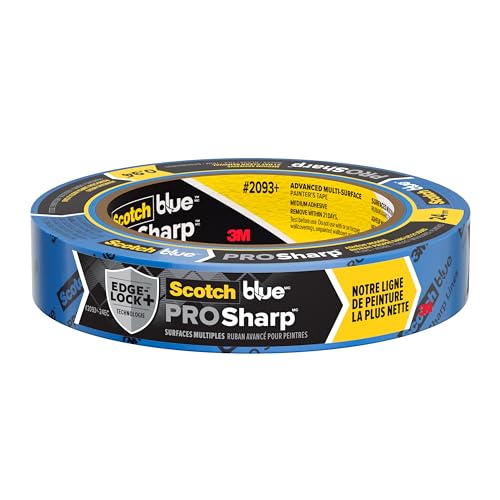
BLUE PAINTER'S TAPE: Includes One 0.94 in x 60 yd roll of ScotchBlue PROSharp Painter's Tape, a blue masking tape for painting that helps protect surfaces by preventing paint bleed.
Why a Play Kitchen Lasts
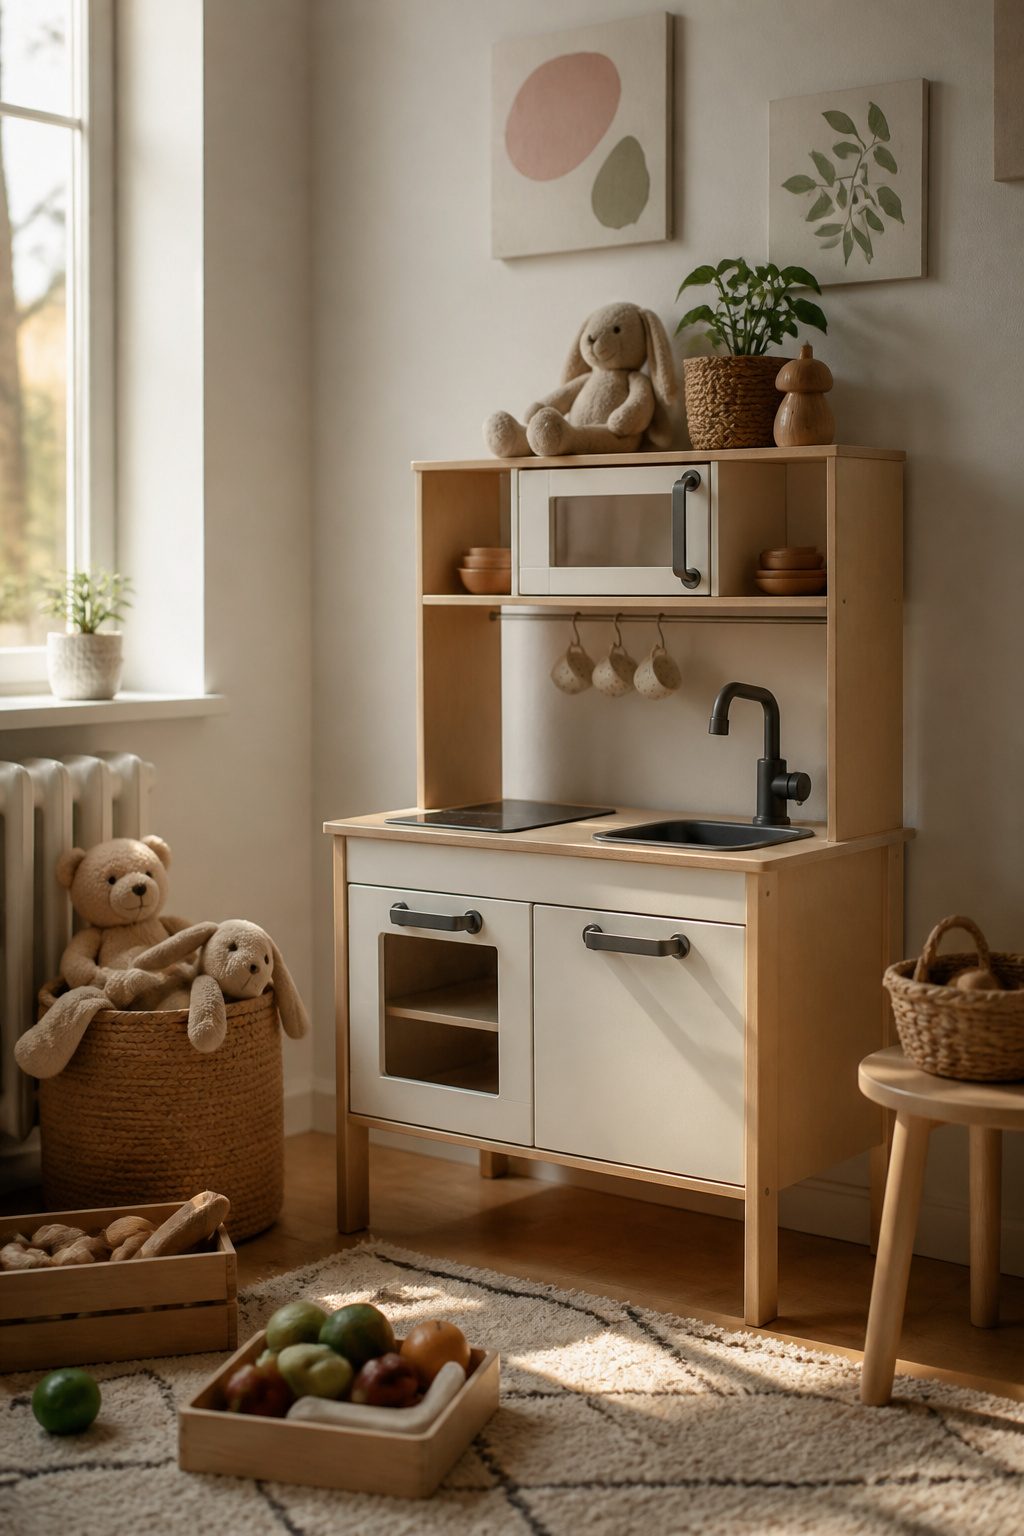
A play kitchen earns its spot in the house because children return to it across years, not weeks.
We have watched kids move from banging pots at two to running full dinner-party scenarios at five, and the same wooden frame handles both stages.
That stretch of use is what separates a toy that grows from one that gathers dust.
The developmental payoff sits in the pretending itself. When a child decides the blue block is a phone to order groceries, or that a stuffed bear needs a plate, they are practicing the back-and-forth of social roles.
Sharing the sink with a sibling or a visiting cousin forces the same negotiations adults face: who washes, who dries, who gets to "run" the oven this time.
The kitchen gives those conflicts a structure kids can work through without the stakes of real dishes.
Cognitive growth follows the same path. A child who has to decide what goes into a pot, in what order, and how to explain the "recipe" to someone else is building problem-solving habits one step at a time.
The vocabulary expands because they need names for what they are doing, not because anyone is drilling them. Emotional development works similarly; acting out being the frustrated cook or the proud server lets them rehearse feelings at a safe distance.
At Hammond Toy Store, we stock play kitchens with this timeline in mind. A piece that only suits a three-year-old is a poor buy even at half the price.
The IKEA Duktig line lasts long enough that a refinish at year four or five feels worthwhile, which is exactly why we are walking through one.

Ultra-White Brilliance: Experience the transformative power of Titanium Infusion, an ultra-white hue inspired by the artist’s palette – perfect for a modern, timeless look.

Affordable - With NADAMOO white marble countertop paint kit, you can effortlessly update the outdated countertops to the look of natural marble within just a couple of days without making a significant investment

Moisture resistant formula helps prevent brown spotting from humidity in kitchens and bathrooms
Spray Paint Versus Brush Paint
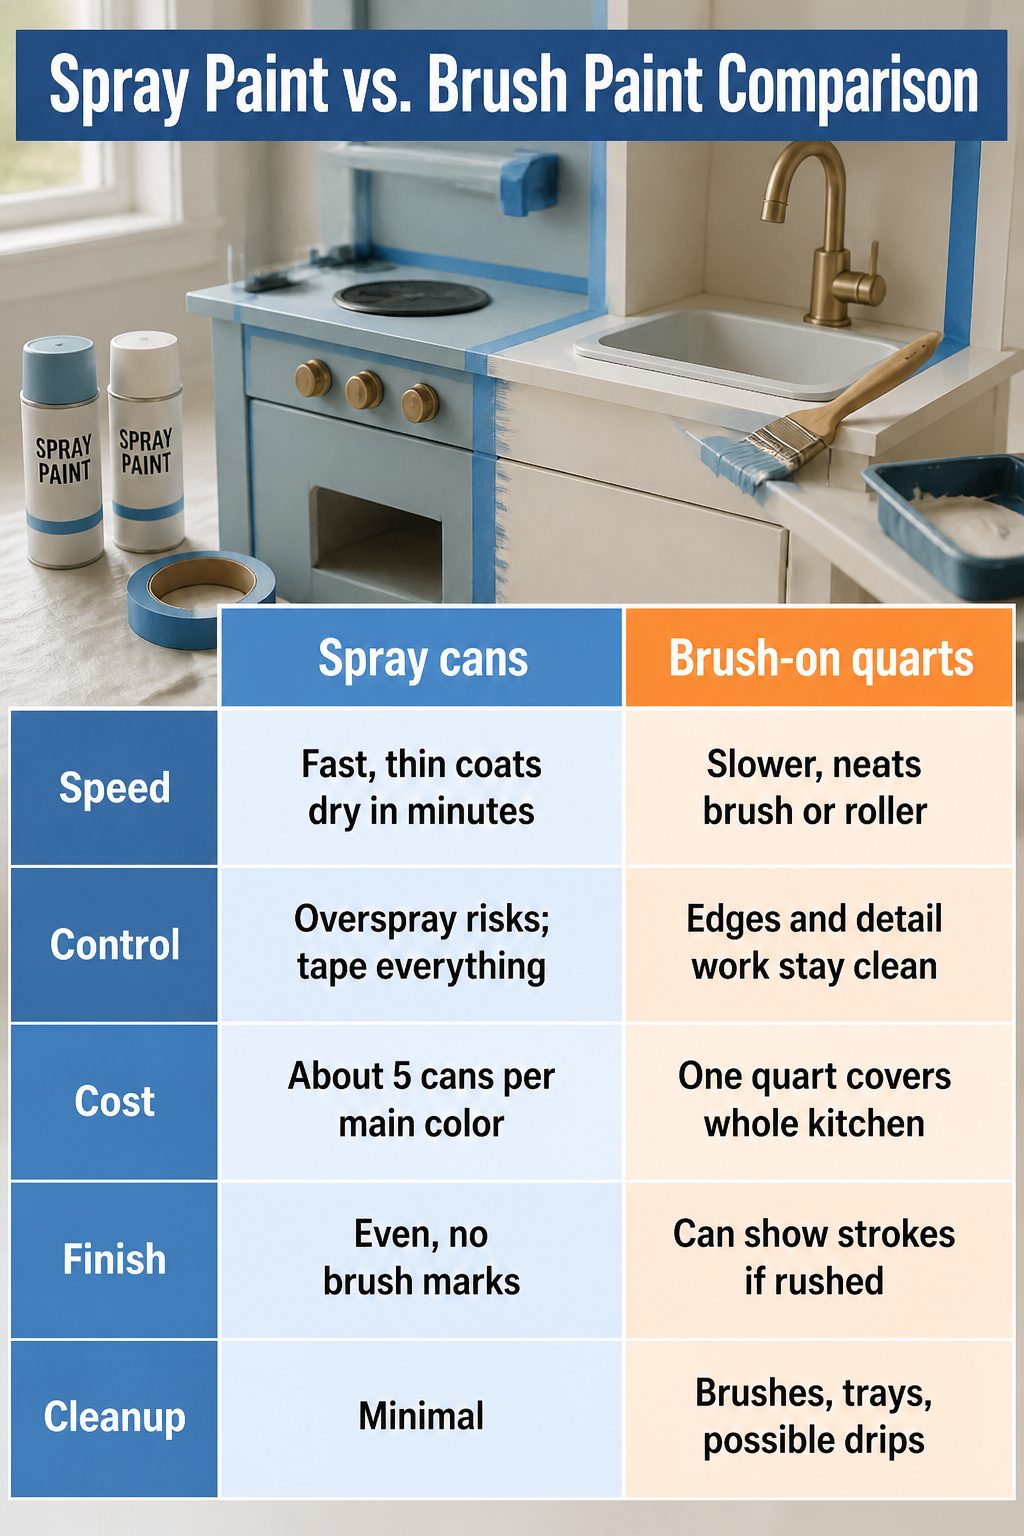
Spray paint wins on speed and setup, but brush paint gives you control over edges and touch-ups later.
We have used both on IKEA laminate, and the choice usually comes down to how much masking you want to do versus how steady your hand is with a corner.
| Spray cans | Brush-on quarts | |
|---|---|---|
| Speed | Fast, thin coats dry in minutes | Slower, needs brush or roller |
| Control | Overspray risks; tape everything | Edges and detail work stay clean |
| Cost | About 5 cans per main color, 1 for accents | One quart often covers the whole kitchen |
| Finish | Even, no brush marks | Can show strokes if rushed |
| Cleanup | Minimal | Brushes, trays, possible drips |
The sources that went spray paint still mention mistakes and uneven spots they had to live with. The ones who brushed took longer but did not fight overspray on the plastic sink or faucet.
For a weekend project with a few hundred dollars, spray paint saves the Saturday morning; brush paint saves you from taping off the whole garage.
If you are doing two colors or more, the math shifts: five cans at roughly $8–$10 each runs close to a single quart, and the quart leaves you touch-up paint for the years after.
Frequently Asked Questions
How do I paint the IKEA play kitchen?
Lightly sand every surface first: 400 grit for plastic fixtures, 80 grit followed by 320 grit for wood veneer and the countertop.
Apply primer to all plastic and laminate pieces, then use either spray paint for curved hardware or brush-on paint for flat cabinet faces.
Finish with two to three thin coats of clear sealant to protect against chips where small hands grab most.
What materials do I need for a play kitchen makeover?
You need primer, paint, sealant, sandpaper in multiple grits, painter’s tape, and replacement hardware if you want to upgrade from plastic.
Budget around $100 for the kitchen itself plus supplies; the Duktig base runs $79–$99. Most builders also add LED lights and play food after reassembly.
Can I replace the sink in the IKEA play kitchen?
Yes, you can swap the toy sink for one in a different shape, size, or material.
The change works easiest if you also replace the countertop, so check that all screws and mounting points still line up with the new configuration.