Playroom design ideas range from a zip-bag puzzle system you can set up in an afternoon to a full climbing wall that takes over a whole room, and the deciding factor is whether you have a spare room or just a corner to work with.
[link-whisper-related-posts]1. Storage Solutions
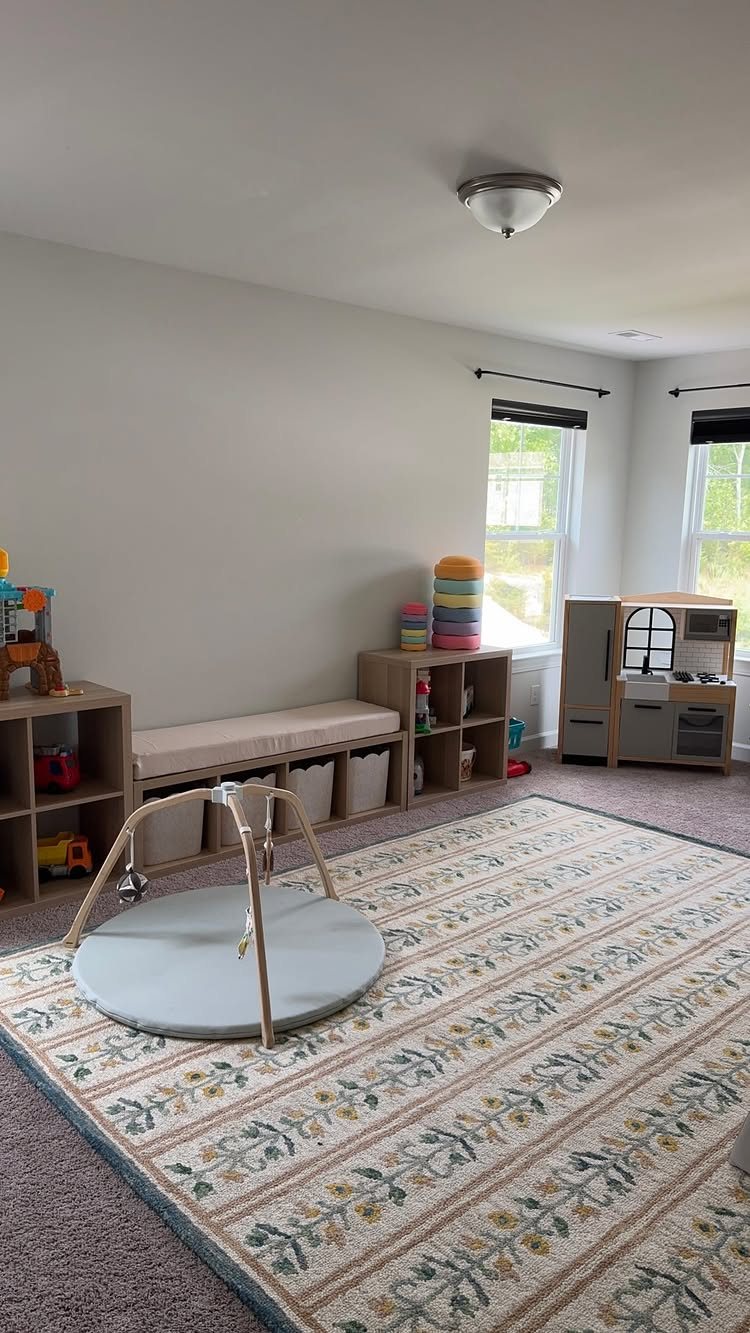
Modular cubby shelves with labeled baskets turn wall space into a system kids can actually use.
We like shallow bins under a bench or low table; they keep toys within reach and off the floor without the clutter of deep boxes you forget about.
Under-stair cubbies work the same way if you have them; that angled dead space holds LEGO bricks, dress-up clothes, or art supplies just fine.
For puzzles, we finally switched to zip bags in a flat bin after too many missing corners. One pass to gather pieces, one shelf to store it; the kids can put it away themselves.
2. Reading Nook
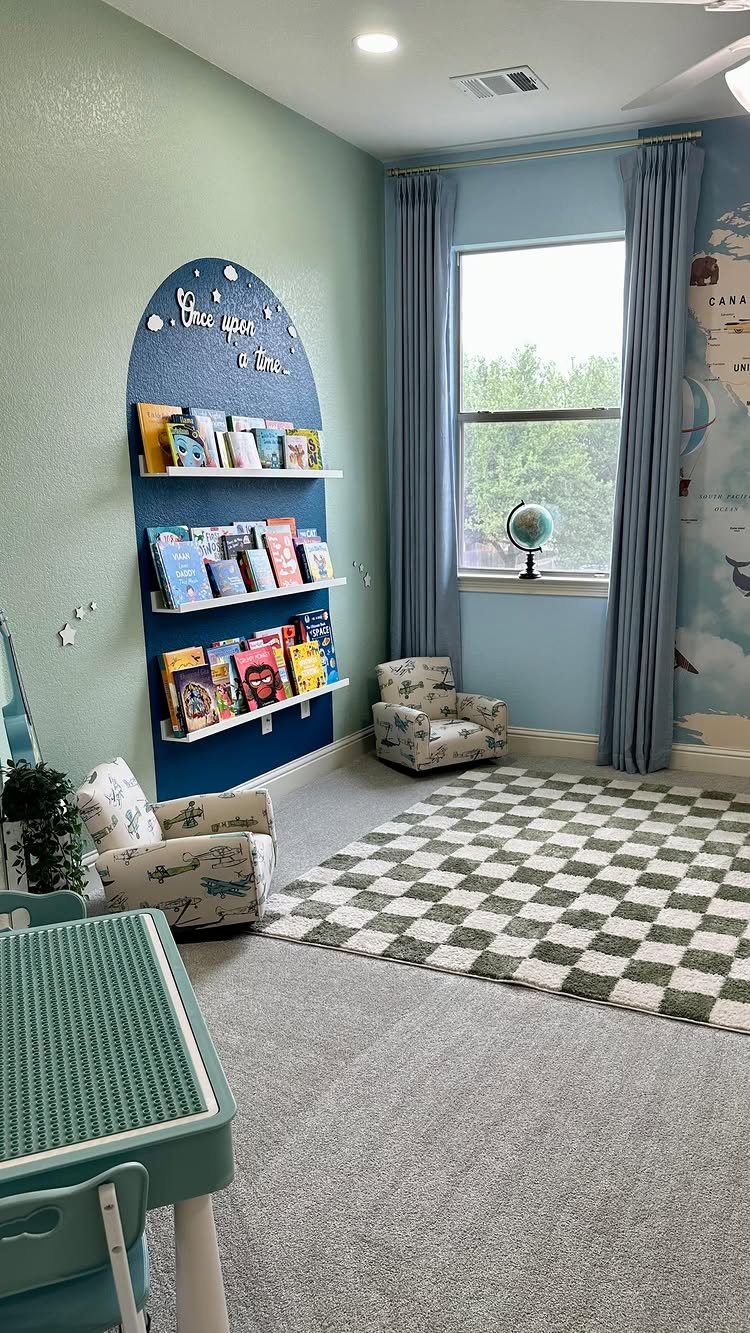
A small chair angled toward light, with books within arm’s reach, gets more use than a corner you have to climb into. We have tried both.
Paint alone can frame a reading spot; floating shelves keep covers visible, which matters more than you’d think for kids who choose by picture.
Pick seating the child can settle into without help; a bean bag or low armchair works longer than a pile of pillows that flatten fast.
Seasonal books on a small table or in a basket refresh the invitation without buying new furniture.
3. Play Zones

Dividing one room into art, active play, and quiet areas stops the train set from colonizing the puzzle table.
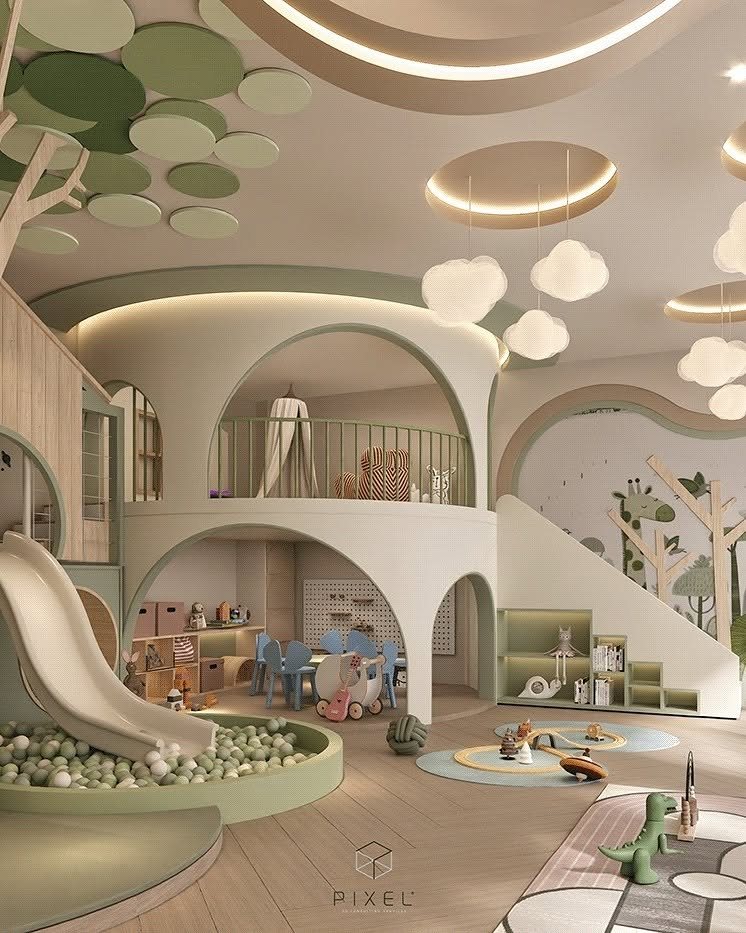
A built-in loft is one way to do it, not the only way. A rug under the art table, carpet tiles where blocks live, and clear floor where cars run fast enough does the same job.
Sight lines matter more when kids move between zones. Check your angles before you anchor anything heavy.
4. Cozy Seating

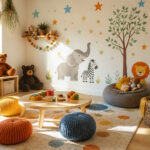
Low modular pieces that kids can rearrange themselves get sat on more than fixed furniture they have to climb. Striped seating that works as couch, fort, or landing pad is worth more in a playroom than in a living room.
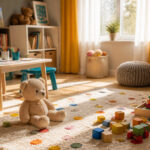
Thick carpet or a plush rug underneath softens the whole area, especially if your floor is concrete or thin laminate. We have used oversized pillows in corners too small for chairs; they flatten past recovery with daily use.
Bean bags split the difference on price and lifespan.
5. Magnetic Wall

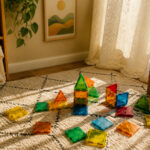
A sheet of 24-gauge steel screwed to studs, painted to match the wall, gives kids a vertical surface that holds magnet tiles, marble runs, and their own artwork with magnetic clips.
Translucent tiles in a geometric pattern let the wall read as plain white until it is in use.
We mounted ours at floor level for toddlers, then added a higher section as they grew. Check that your magnets are strong enough; standard refrigerator strength slides on vertical steel.
If you already own the tools, this stays a weekend project; paying for install changes the math entirely. Skip it if your kids are past the magnetic-tile stage; corkboard or pegboard replaces it for older ages.
6. Art Center

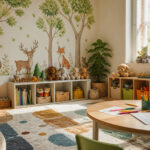
A dedicated table with stools at kid height, plus open shelving for paper and supplies within reach, means art happens without you fetching materials every time. The art center setup works without wall decor; the labels are optional.
We started with a rolling cart when space was tight, then moved to a fixed table when we had the room. The cart suited ages two through five; the table fits bigger projects and older kids.
Stock washable everything at first. The upgrade to real paint and markers comes when they stop testing walls.
7. Interactive Elements
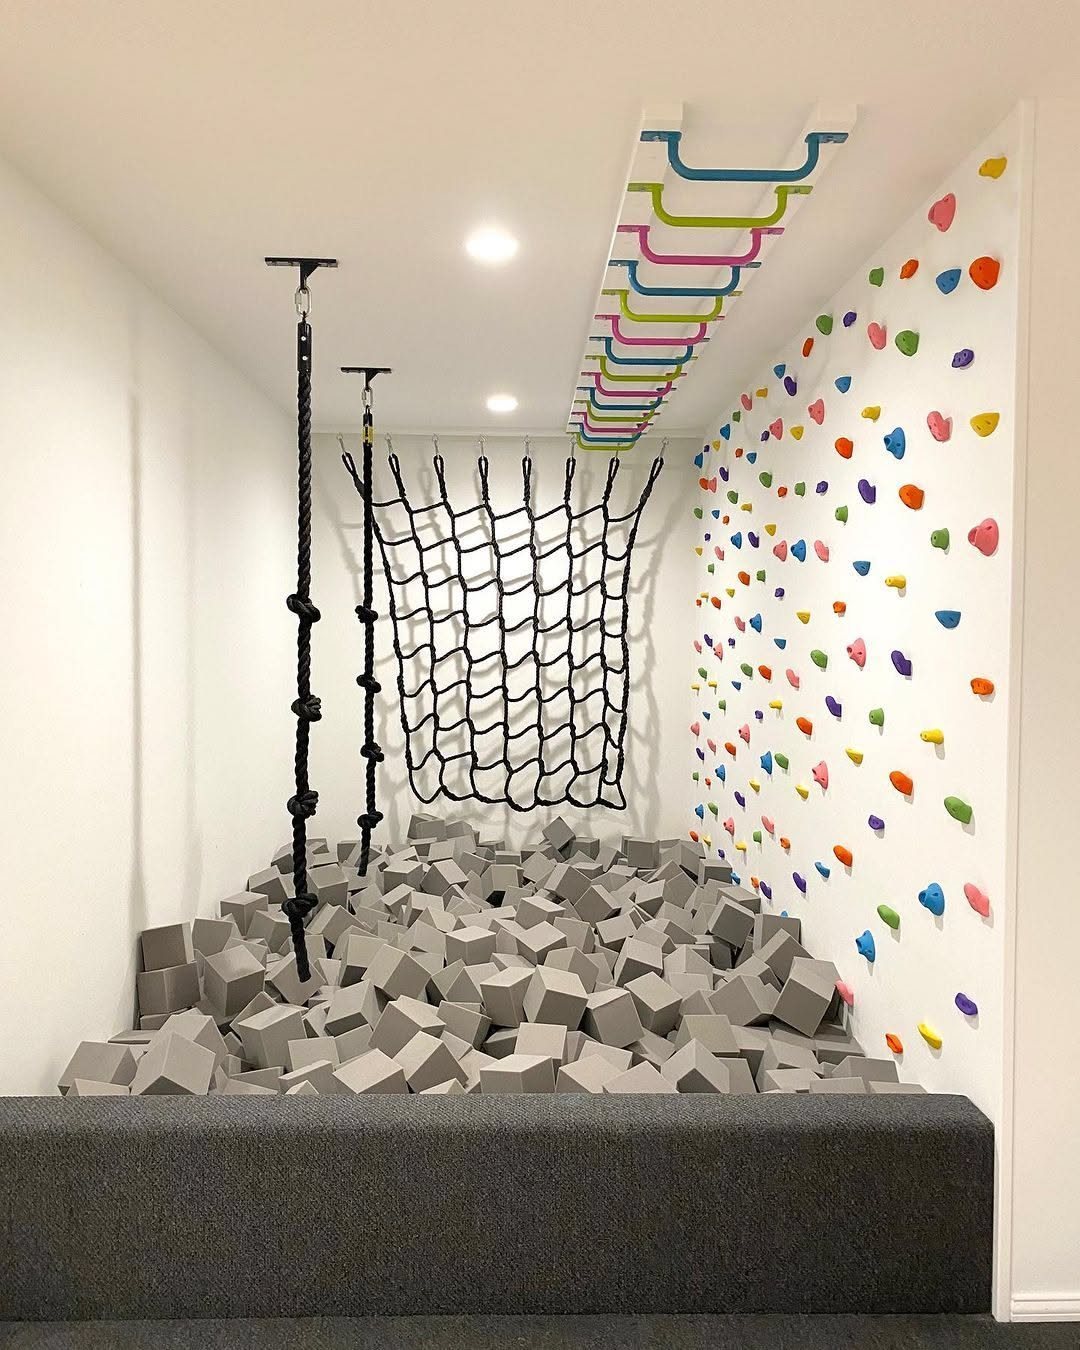
A foam pit and climbing wall turn a basement or spare room into the kind of place kids actually want to be.
We have seen this setup keep kids of different ages busy at the same time, which is worth something on a Saturday morning.
Ceiling height is the real gatekeeper. You need enough ceiling height for monkey bars or a hanging rope to matter; without it, stick to a low climbing wall and a floor-level pit.
Cargo netting is cheaper and bolts into standard joists with lag screws.
This one eats space and budget, so it suits families with a dedicated room rather than a corner of the living area. If you are renting, skip anything that drills into structure and build a freestanding climbing triangle instead.
Budget-friendly Solutions
Storage belongs on the perimeter. One wall of cabinets or school lockers leaves the center free for play zones.
We like a small sofa or armchair on the back wall for the adult who is supervising. You get your coffee, they get independence, and you are close enough to see the LEGO tower or hear the request for help.
Importance of Supervision
Kids stay near where you are. Set the playroom within walking distance of your kitchen, living room, or wherever you actually spend time.
They will bring you drawings and block towers; you want that to be easy.
Open-ended toys help. Blocks, dress-up clothes, and art supplies never run the same way twice, so kids stay busy longer while you handle something else.
Turn on calming music if it helps the mood. Watch what they do, name it aloud when they show you, and let them feel seen.
Encouraging Independent Play
Unstructured time at home gives kids room to sit with boredom and figure out what comes next on their own. A space set aside for open-ended toys lets kids build confidence without you steering every move.
Start small. Rearrange one corner, watch how they use it, then adjust.
Over months you will notice longer stretches of independent play. Everything they touch and manipulate now feeds into how they understand what they read later.
We think pushing early reading and writing jumps past something kids need first. Let them learn to think first.
Flexibility in Design
Design the room like a living room, then add play. Solid upholstery, real-wood tables, and lighting that actually works give you a room that holds up once the toys dwindle to one shelf.
Pre-plan desk locations, power outlets, and seating for the study years. A TV, if you add one, should have straightforward parental controls and pair with gaming consoles so it stays useful from preschool through high school.
“Design your playroom like a living room first, then layer in play zones,” advises Christina Cruz of Christina Cruz Interiors, an AD PRO member in Austin, Texas.
Frequently Asked Questions
What are some good ideas for designing a playroom?
Start with storage kids can actually use, like modular cubby shelves with labeled baskets and shallow bins that keep toys within reach.
A small chair angled toward the window, plus books on floating shelves at kid height, gives them a corner that actually gets used; keeping the train set and the puzzle table in different zones stops one project from swallowing the other.
What is the ideal size for a playroom?
There is no ideal size; a playroom can be a dedicated room or a small nook cleared from a closet. What matters more is how you use what you have.
In a tight space, narrow down to one main use, like art on a small table or a gaming spot with a loveseat, and pick furniture that does more than one job.
At what age do kids outgrow a playroom?
Kids typically shift away from a traditional playroom in their early teens, but the space can evolve instead of ending.
Choose real-wood tables and tailored upholstery that last, and plan ahead for where a desk, computer power, and teen seating could go.
A room designed like a living room first, with play layered in, converts easier to homework and hangout space later.