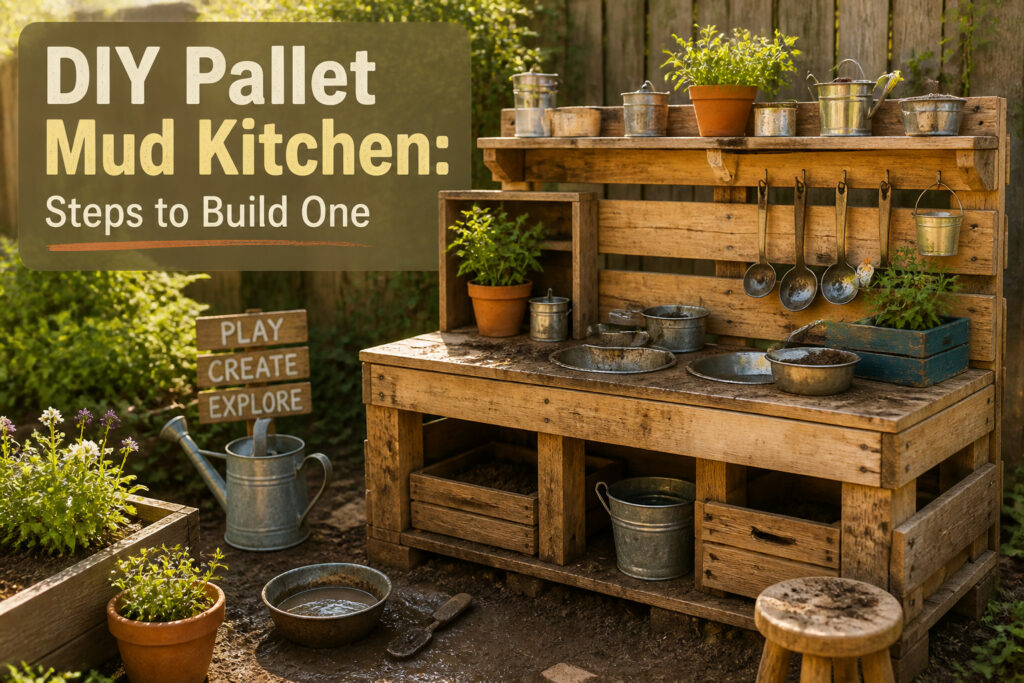
A DIY pallet mud kitchen is an outdoor play station built from reclaimed wooden pallets where kids mix dirt, water, and imagination. The catch is that most builders crack the boards during teardown by prying too fast, and the whole project falls apart before it starts. We built ours to 24 inches high, right at a four-year-old’s waist, and the key is checking for the HT stamp that means heat-treated wood safe for kids.
[link-whisper-related-posts]1. Dismantle the Pallets
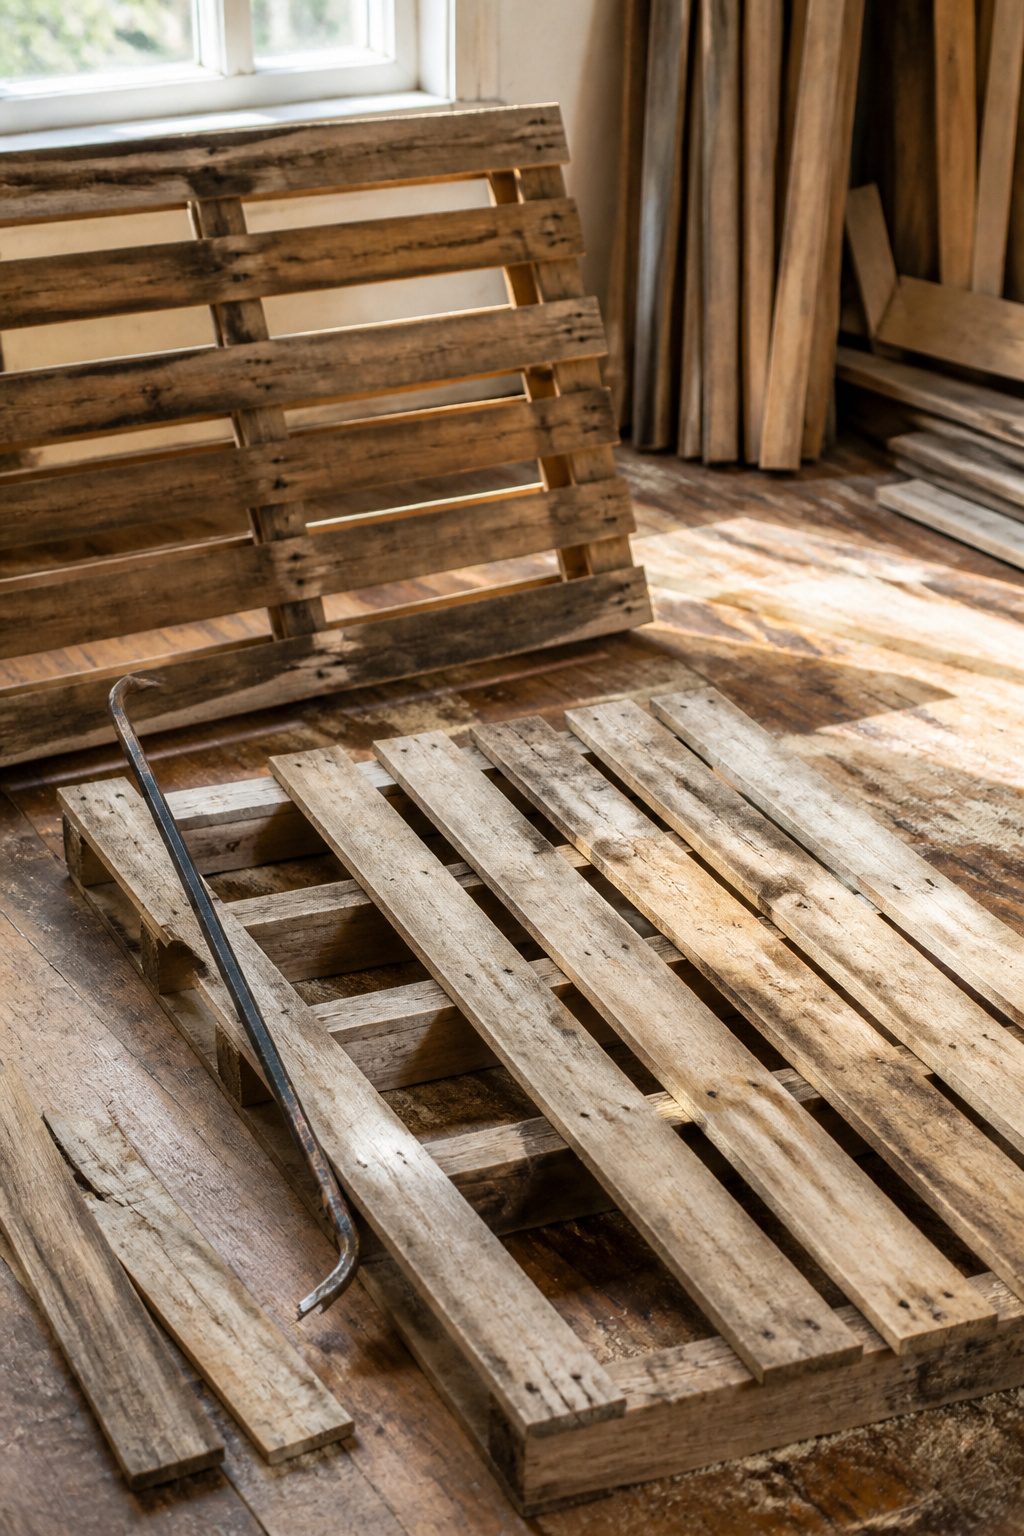
We grab a wrecking bar or pry bar for this part, and we go slow. The boards on a pallet are thin and old, and most first-timers crack them by prying too hard or too fast. We wedge the bar into the gap between the top slat and the runner, work it a little at a time, and pop the nails loose without splitting the grain. Some builders cut through the nails with a reciprocating saw instead, which saves the wood but costs you the blade when you hit metal. Either way works, but the bar keeps the full length of the board if your hands are steady.
Before we start, we check the pallet stamp for HT, which means heat-treated. That is the mark we want. The other common stamp, MB, means methyl bromide, and we leave those pallets where they sit. Once the boards are free, we knock the nails out with a hammer and pull any stubborn ones with the claw. This step takes longer than the frame build itself, and the time is worth it. Rushing here is where the project turns into kindling.

BULK PACK: WHOLESALE Pack of 6 Creative Hobbies Mini Wood Pallet Coasters for Beverages, Hot and Cold Drinks, Mini Building Blocks Stacking, DIY Crafts.

【5 Piece Repair Set】Pliers Set with Wood Pallet includes 5 mini tools for detailed handling. Designed for watch repair and jewelry work, with a beech pallet stand for organized storage on the bench.

Optimal 2-Way Entry Design: Allows forklifts and pallet jacks to load/unload from 2 side, speeding up warehouse operations and reducing handling time.
2. Cut Wood to Size
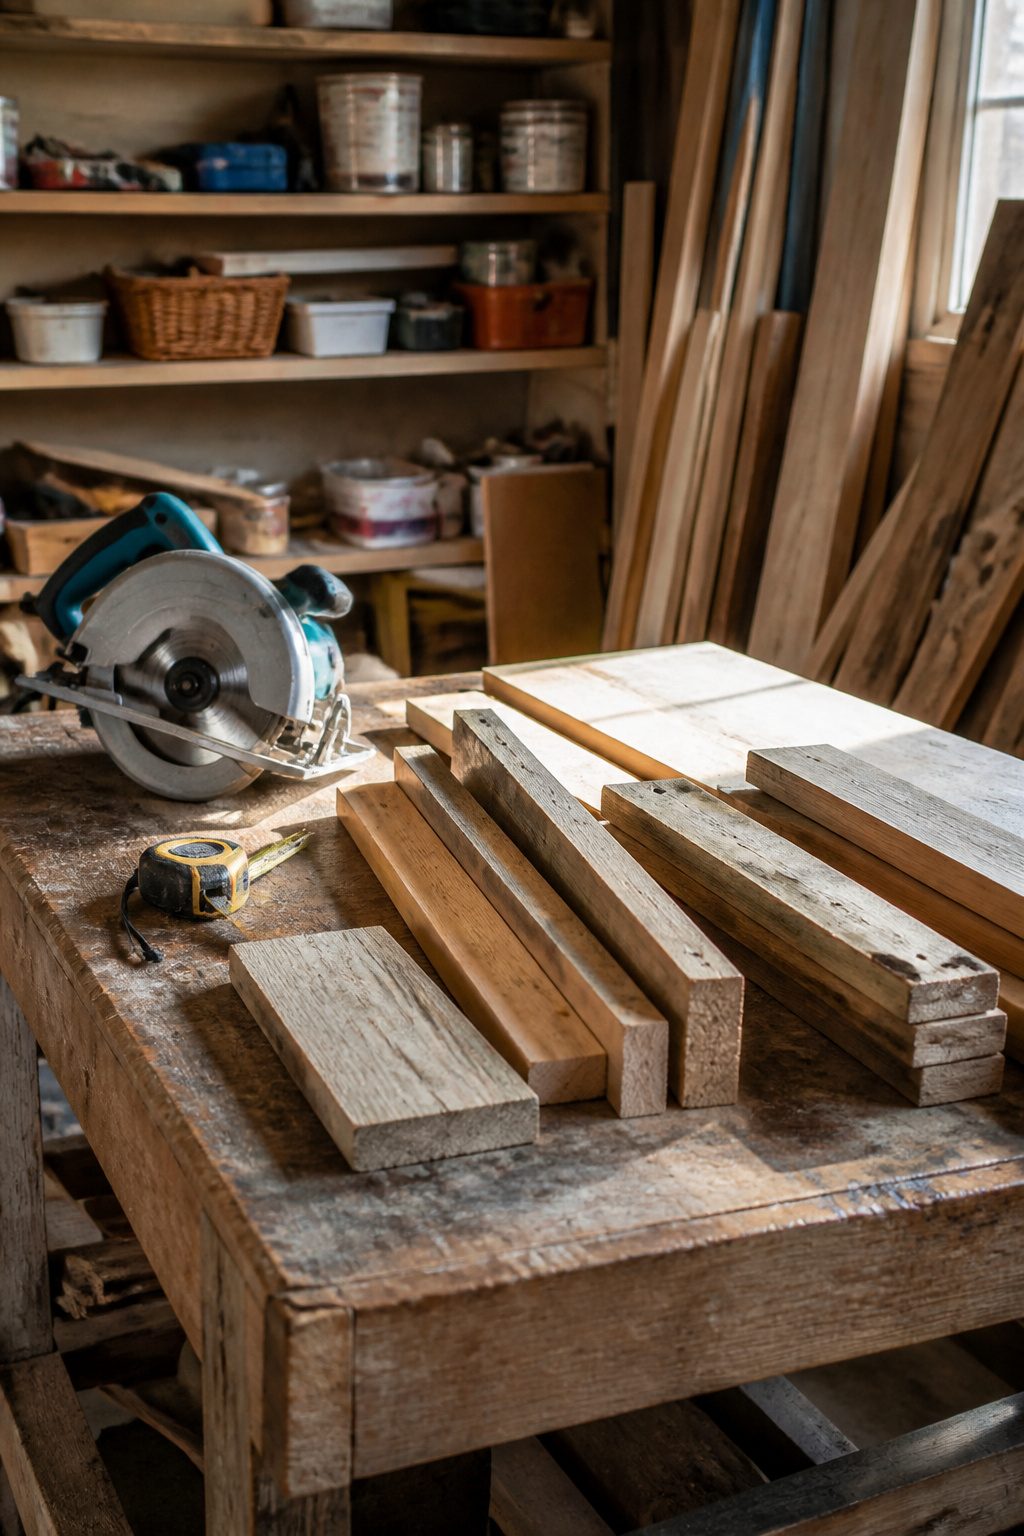
A height of 2 feet is the standard most parents settle on, which puts the worktop right at a four-year-old’s waist. We built ours to 24 inches for exactly that reason. Width is more flexible, though 1.6 meters gives you enough room for a sink basin and a little counter space without the frame getting wobbly. We picked our dimensions before touching a single board, because pallet wood is not the stuff you measure twice and cut three times; the grain runs rough and the thickness varies, so every decision needs to lock in early.
We used a circular saw for all of it. One pallet got cut in half widthwise for the main surface, the other lengthwise for the lower shelf. The trick is keeping the slats perpendicular: surface boards running one direction, shelf boards the other, so the whole thing squares up without fighting itself. We did not chase exact inches on every piece. Pallets differ, and this project forgives a little slop if the frame underneath is true.
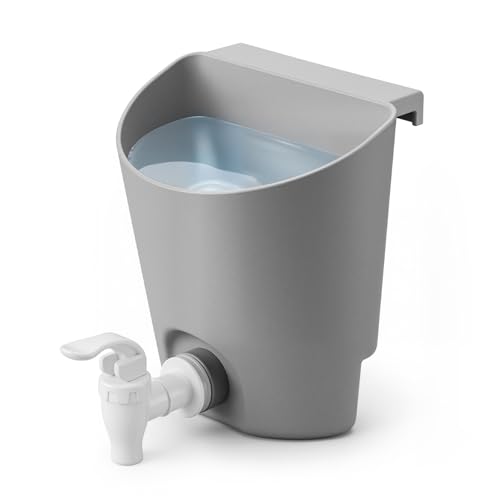
PLAY SINK WITH RUNNING WATER, NO BATTERIES - Gravity-fed design means water flows the moment your child presses the tap. No batteries, no electricity, no plumbing. Just fill the tank, clip it on, and let the play begin.
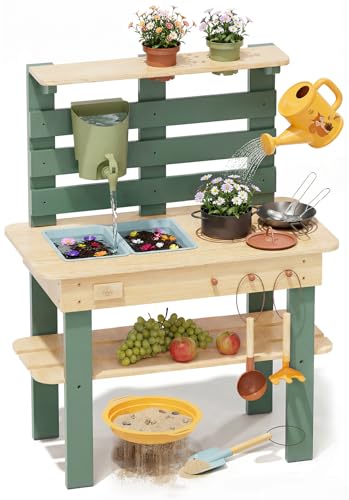
OUTDOOR MUD KITCHEN: Bring the splash to your backyard! This kids mud kitchen features 2 removable sinks and a 1.5L tank with a real working faucet. With built-in zones for cooking, planting, and muddy sensory play, little ones can mix mud pies, wash veggies, water flowers, and more—exploring the adult world while building self-identity, empathy, and social confidence

Outdoor Mud Kitchen – Sturdier & More Fun! Let your little chefs explore endless outdoor adventures with our upgraded mud kitchen! Designed with a spacious worktop and double-layered large storage space for all the accessories. Water play zone, cooking station, and sensory exploration area, kids can explore various play scenarios, stimulating sensory development.
3. Create the Worktop
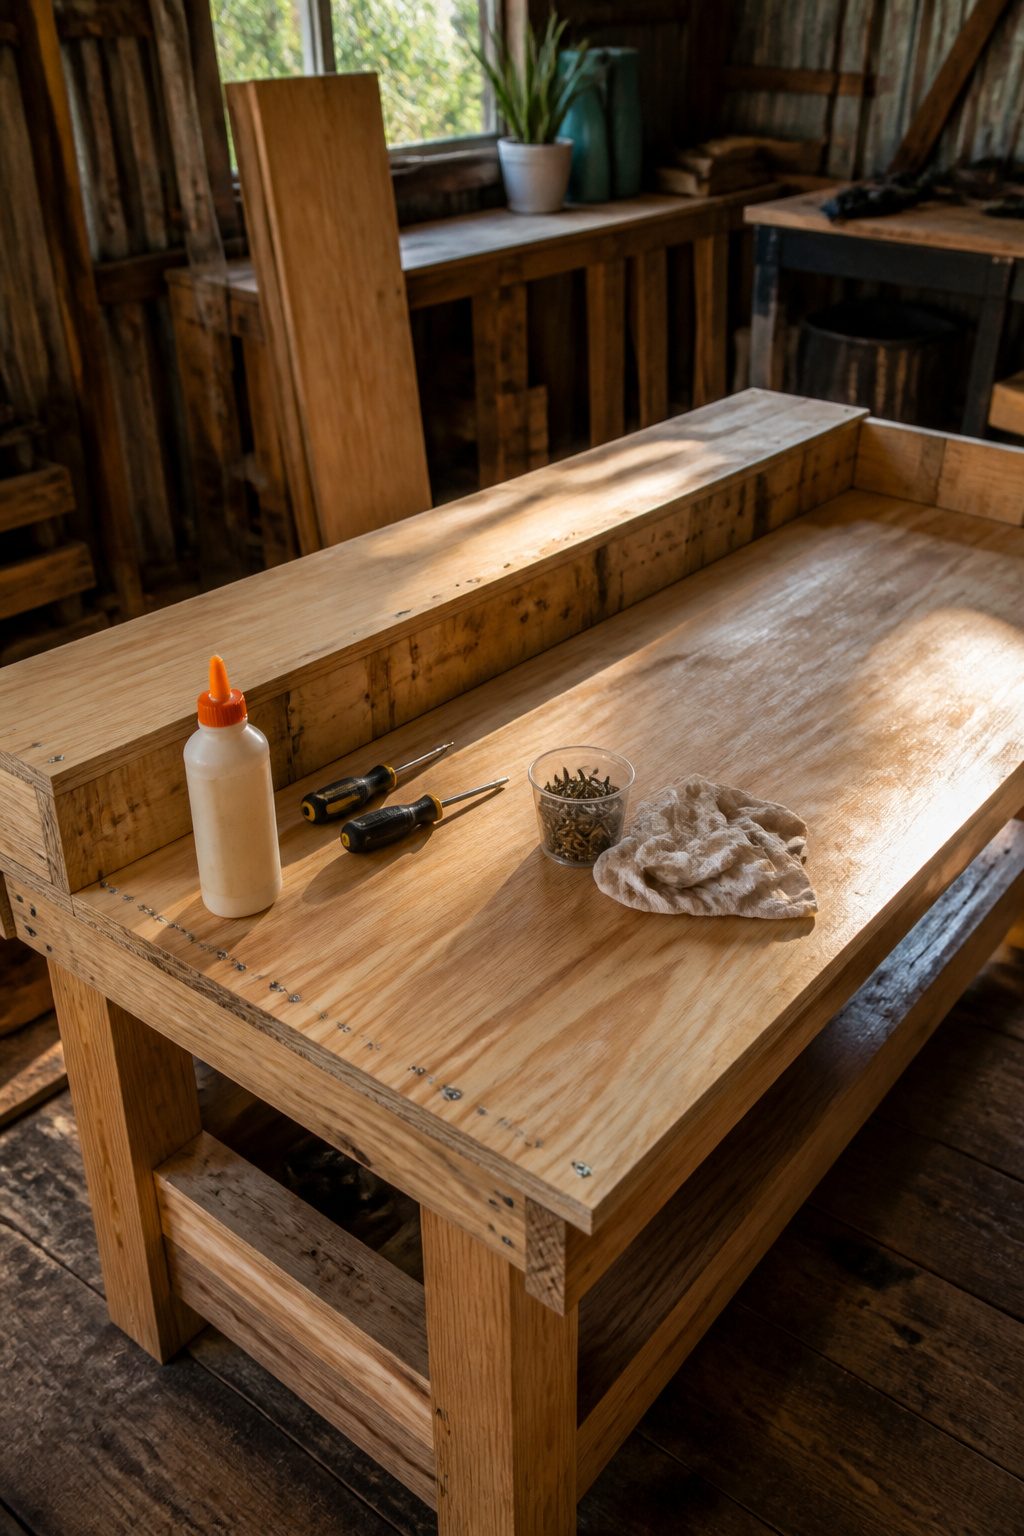
The worktop is where the abuse happens, so build it like you mean it. We run wood glue along the full length of each board before we screw it to the next, working piece by piece until we hit the width we need. One screw per joint, driven straight through the face, keeps the glue under pressure while it sets. Better too many screws than too few if you want a surface that does not flex when a kid stands on it to reach the "stove."
Plywood is the practical choice here, especially if you have scrap from another build. We used leftover 3/4-inch plywood for our last mud kitchen, and after two full winters of freeze-thaw and standing water it still had not delaminated. Solid boards look rustic, but plywood fights moisture and saves the step of edge-gluing narrow stock. Either way, let the glue cure overnight before the kids find it.

GREAT OUTDOOR KITCHEN PLAYSET: Preschoolers can’t wait to get their little hands on these cute accessories: a pot, ladle, two bowls, two flowerpots, a sieve, water tank, sink, faucet and oven plate. The perfect backyard toy for a busy kid

JOYFUL CHILDHOOD - The Dreamon wooden dishware play kitchen appliances enhances communication, memory, and coordination through hours of interactive role-play.

Real Soil & Planting Play Store - Designed with mud kitchen - grade materials, PairPear wooden kids outdoor play set can be filled directly with real soil for planting flowers, herbs, or pretend garden play, encouraging hands-on outdoor exploration
4. Cut Out for the Sink
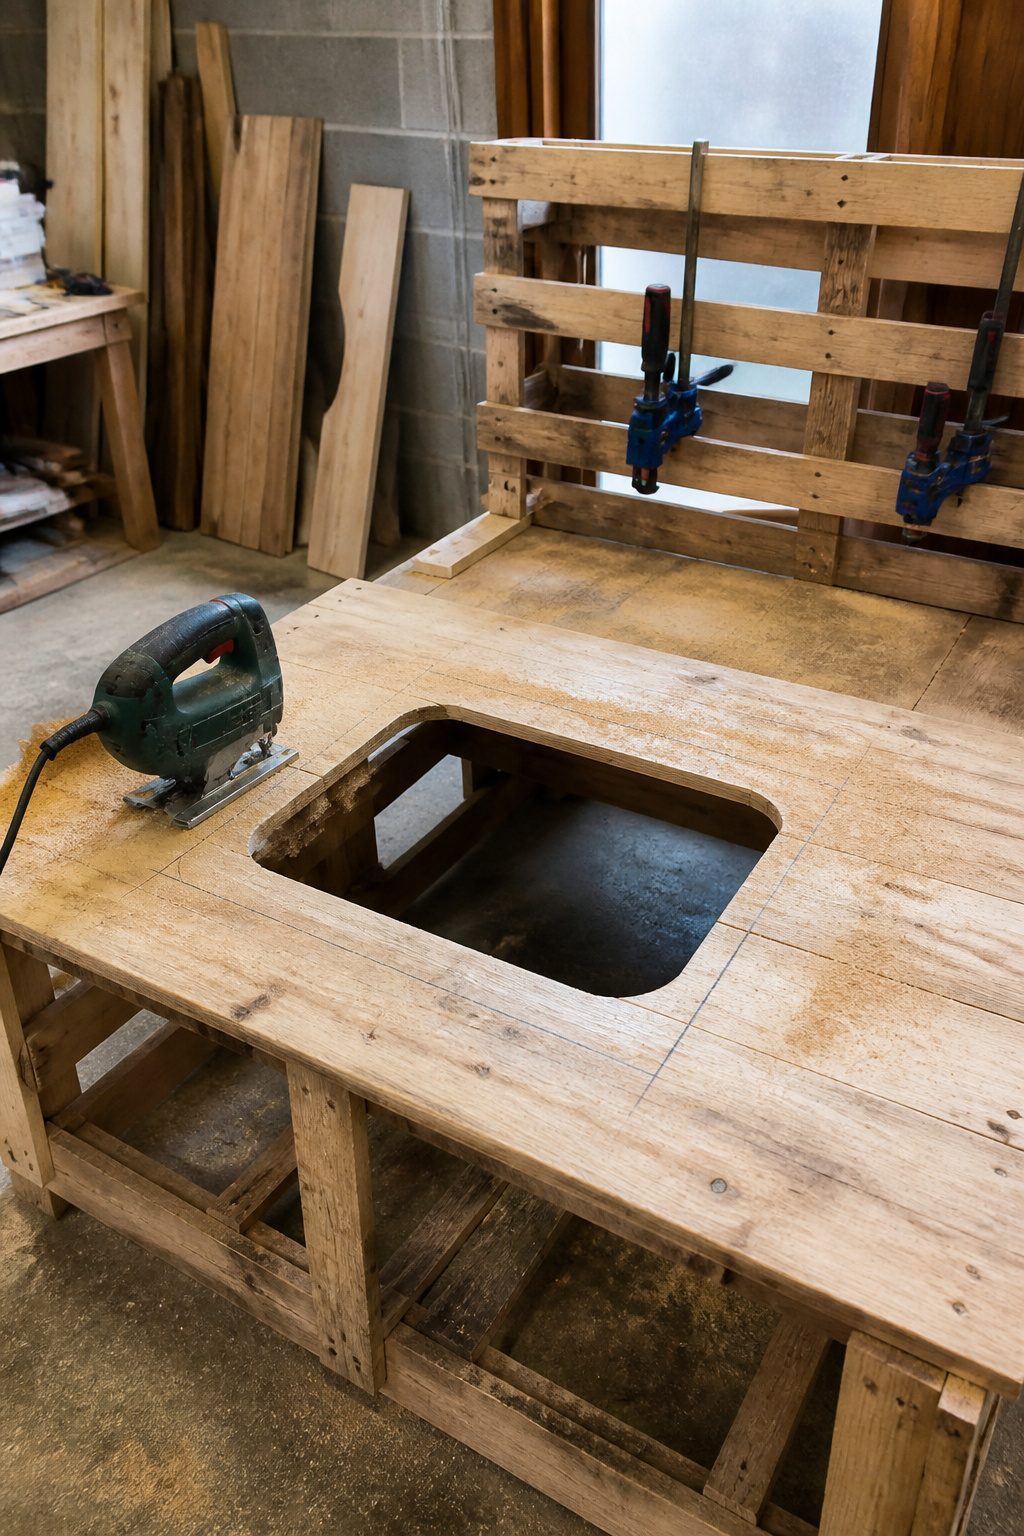
No source we found lists a standard cut-out size for a mud-kitchen sink, so we traced our washing-up bowl directly onto the worktop and added a half-inch margin all around. That extra space lets the rim sit on the surface and hold the bowl in place without hardware. We clamped the worktop to a pair of sawhorses first, because a pallet board worktop will chatter against the blade if it can lift at all.
For the cut itself, a jigsaw is the tool to reach for. Drill a starter hole inside your traced line, feed the blade through, and follow the outline. Some builders cut corner holes with a hole saw first, then connect them with straight jigsaw cuts, but we found the jigsaw alone handled the curves fine if we took it slow. Keep the blade just inside your traced line, not on it, since that half-inch margin is what seats the bowl level with the surface. Save the cut-out piece; it makes a decent shelf backer later if you trim it square.

EFFICIENT PALLET & DECK BOARD REMOVAL: Designed for fast and damage-free pallet disassembly, this pallet buster features an articulating pivot-action head that helps lift boards evenly while minimizing wood splitting and breakage. Ideal for pallet recycling, deck repair, and reclaimed wood projects.

FAST & EFFICIENT PALLET DISASSEMBLY: Designed to remove pallet boards quickly without splitting or damaging reusable wood. The articulating pivot-action head distributes lifting force evenly, making pallet recycling, deck board removal, and woodworking projects faster and easier.

【Easy to Use】- Assemble and insert 2-piece handle with included locking pin and installation hardware, this forks of the pallet buster tool can be inserted between the boards of a pallet or deck and ease them up without damage to the boards.
5. Assemble the Frame
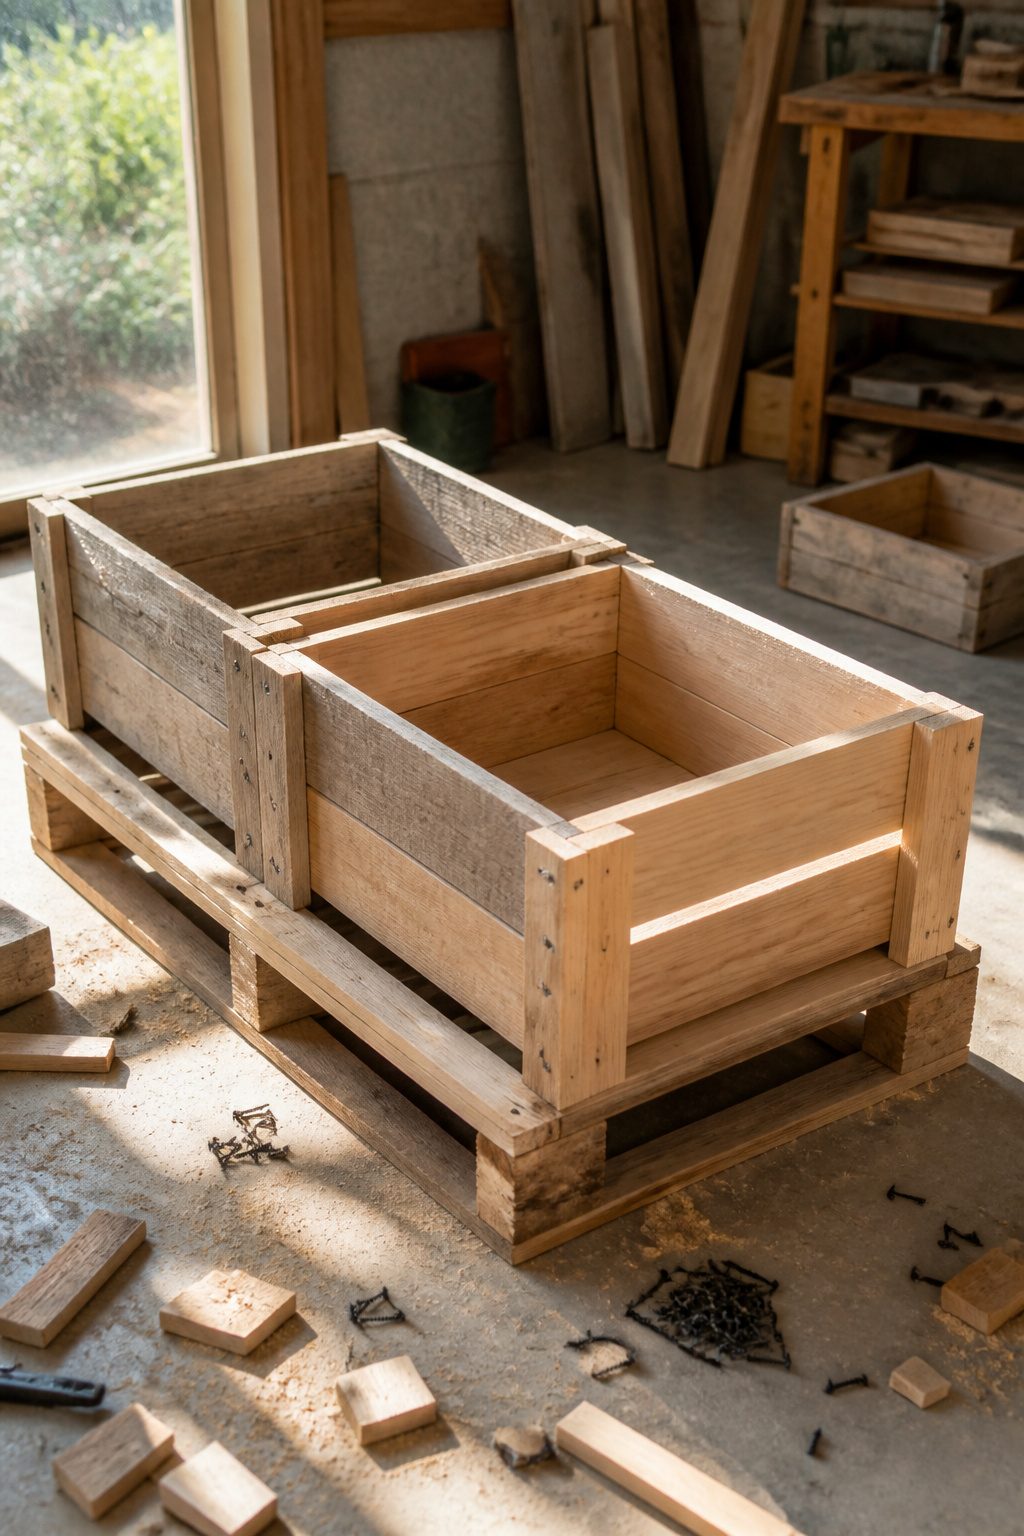
We used two wooden crates for the body and screwed them to a pallet base. The trick is driving screws from the inside of each crate out through the back and into the pallet slats behind it. We went heavy on the fasteners, six or eight per crate, because a mud kitchen takes more shoving and climbing than you expect. Screw the crates together where they meet for extra rigidity; the joint between them is the weak point once kids start leaning on the counter. Long screws work here too, biting through one crate wall and well into the next. Check for wobble before you add the worktop, since you will not get another chance to true the frame without pulling it apart.
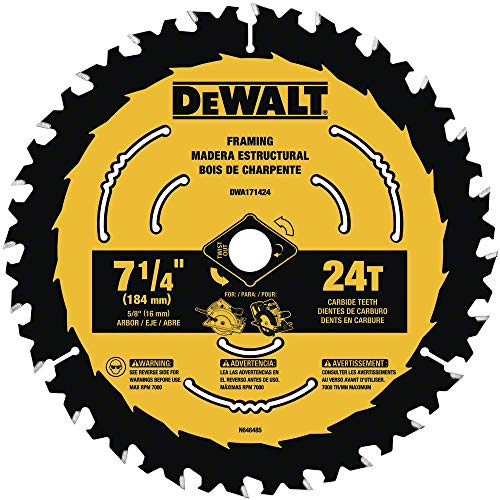
Exclusive, patent-pending toughtrack tooth design for accurate tracking over the life of the blade

PERFORMANCE -1.8mm (0.071") thin kerf design for fast cut and smooth cutting action allows extremely durable with minimal material waste
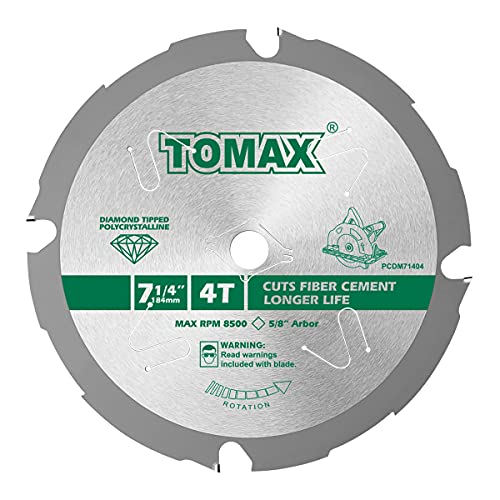
Perfect for slicing through fiber cement board and laminate flooring
6. Add Shelves and Legs
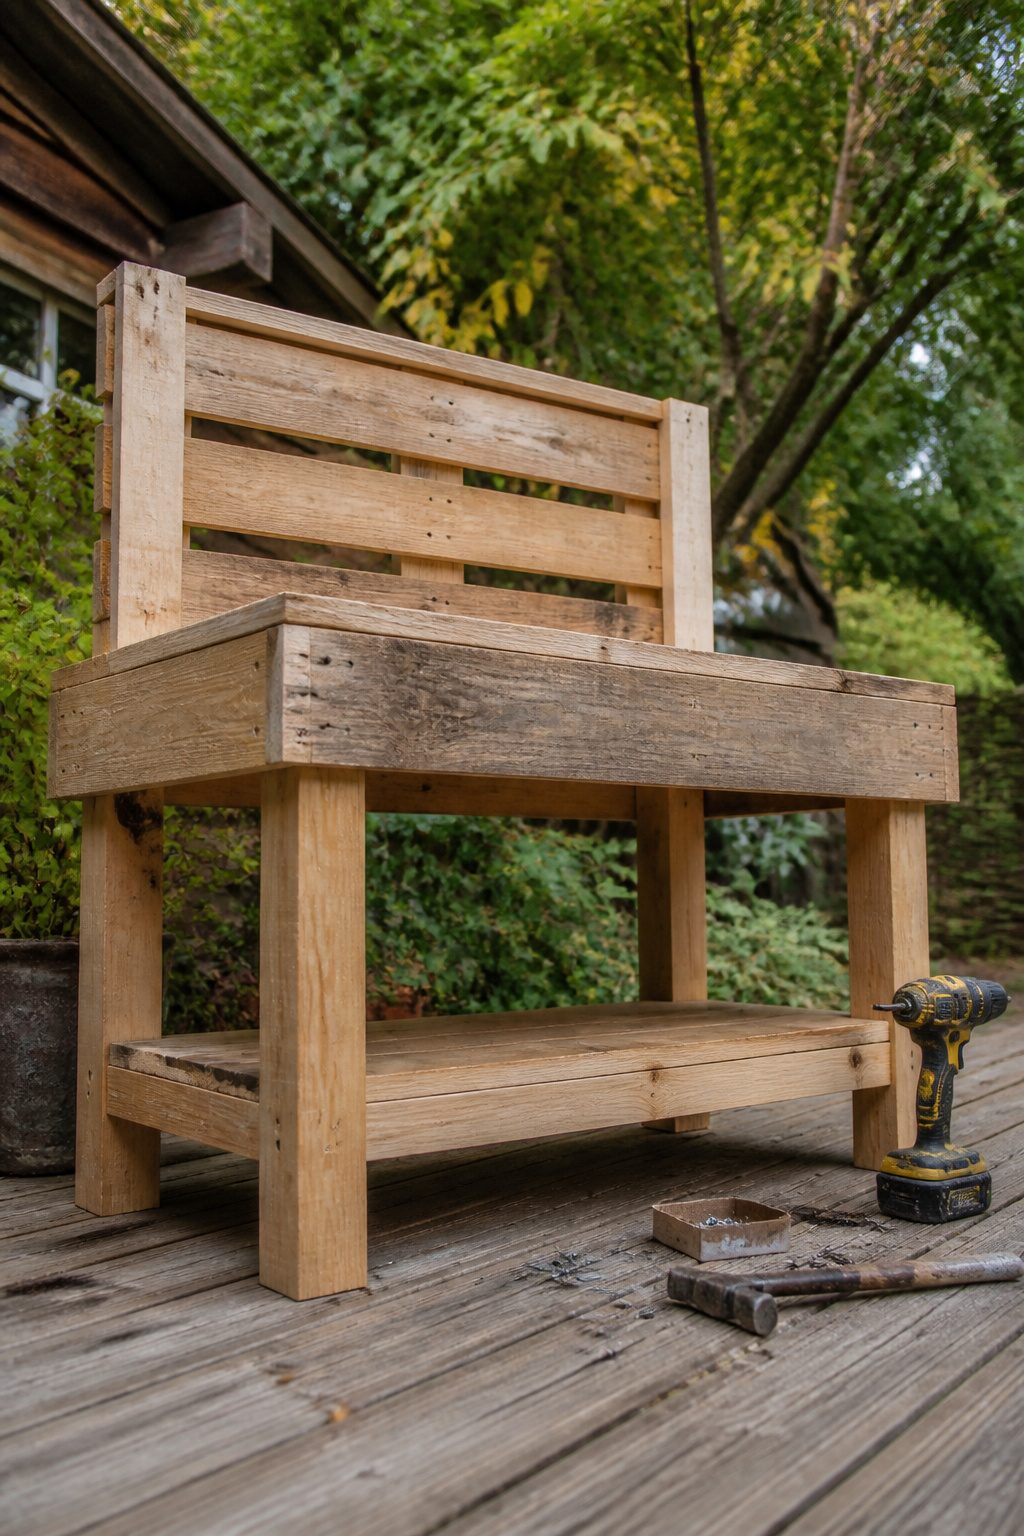
We cut four 4×4 legs to the same length and stood the frame on them to check for wobble before driving any screws. The legs carry every pound of this thing once it is loaded with pots and water, so we wanted them square and solid. We used a drill to run two screws through the frame into each leg, then flipped the unit and checked again on flat ground. One leg sat a hair off; we loosened the screws, shimmed with a scrap pallet piece, and retightened.
For the lower shelf, we propped the boards a few inches off the ground on scrap blocks so they would stay dry, then screwed them to the legs from underneath. The shelf is where you store the messy stuff, so we ran screws every six inches and did not trust nails alone. A second shelf higher up, screwed to the back supports, gave us a spot for the play dishes to drain. We checked for wobble one last time. It did not move, so we moved on.
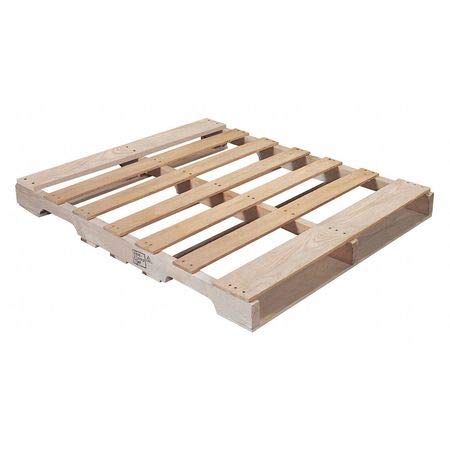
Dock Equipment

HEAVY-DUTY SOLID WOOD - Built from premium-quality solid wood for outstanding strength and durability. Designed to support heavy loads in warehouses, factories, distribution centers, and shipping operations.

Optimal 4-Way Entry Design: Allows forklifts and pallet jacks to load/unload from 4 side, speeding up warehouse operations and reducing handling time.
7. Sand Every Surface
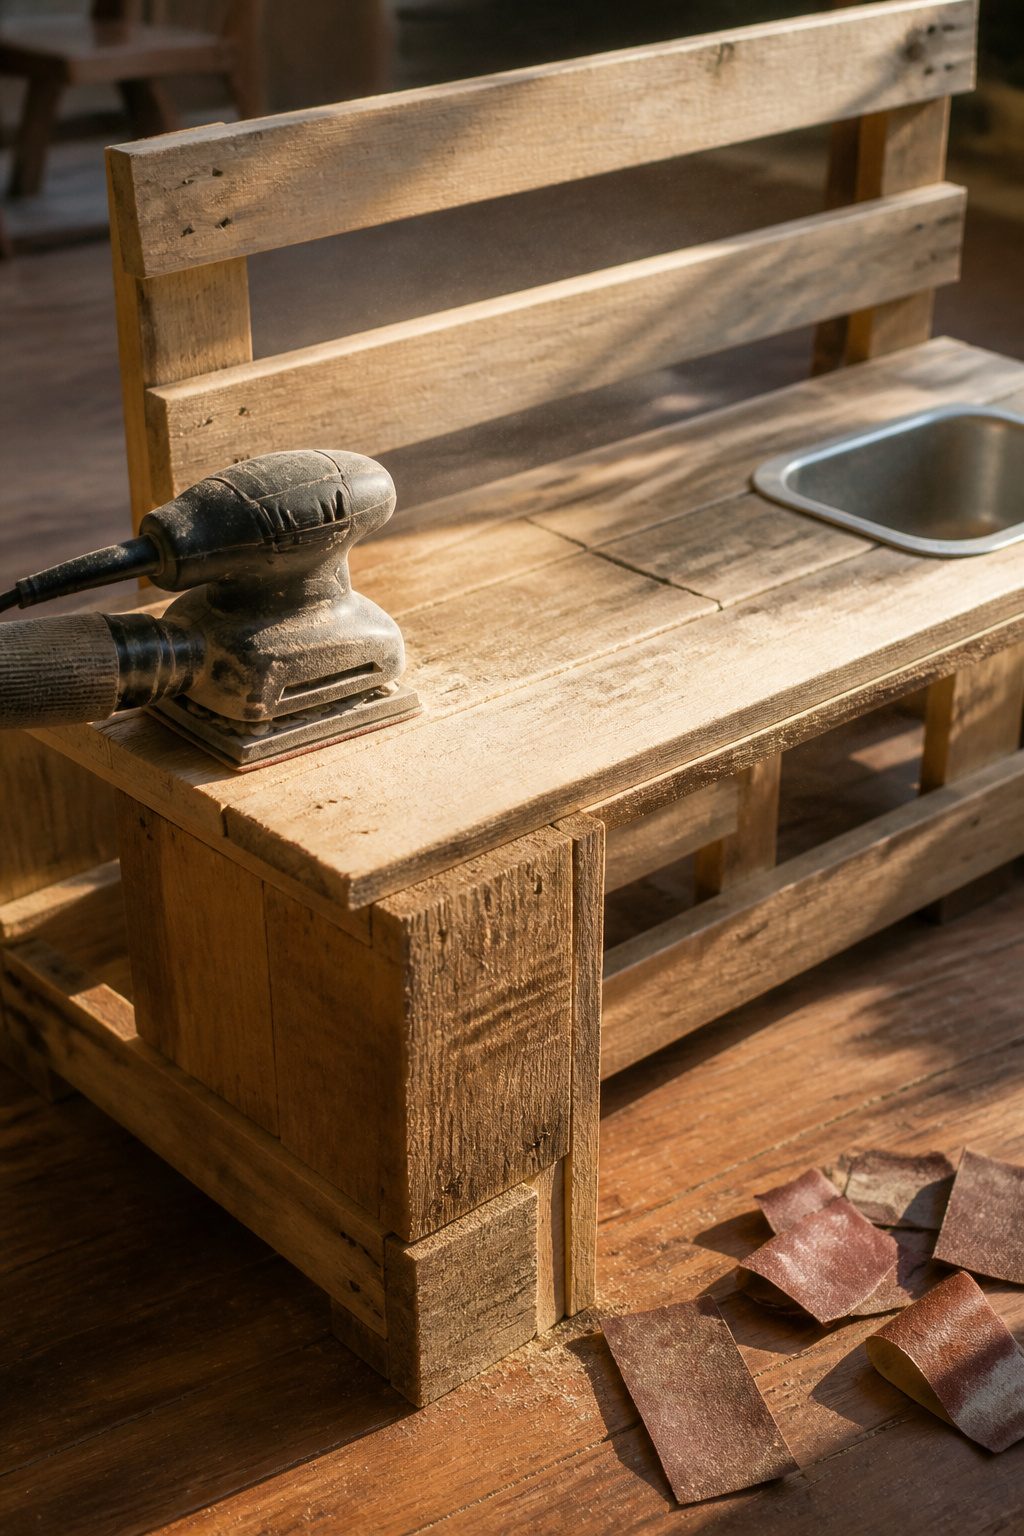
Run a sander over every surface, top to bottom, with 80 grit paper first, then 120 grit to finish. Pallet wood is rougher than it looks. We thought we had ours clean after the first pass and still found splinters on the second. That second pass is the one that matters, especially when small hands will be grabbing these edges. Wear a mask while you work; the dust from old pallet finishings is not something you want to breathe. We spent about an hour on this step for our full-height unit and considered it time well spent.

Real Water Play with Working Faucet - Bring water play to the backyard with a functional water tank, real faucet, and removable stainless steel sink. Kids can wash play vegetables, rinse garden treasures, or enjoy hands-on sensory fun. Simply fill the tank and start pouring—no hose connection needed

ALL-IN-ONE BACKYARD PLAYSET DESIGNED BY BCP: Thoughtfully crafted by Best Choice Products, this deluxe wooden mud kitchen combines a shaded canopy, working water tank and faucet, realistic cooking features, and an 14-piece cooking and gardening set to inspire creative, hands-on outdoor play that builds skills and keeps kids engaged for hours

Real Faucet Adds Sensory Play: The mud kitchen includes a real turnable faucet and green sink for water play with added knobs and pretend cookware to simulate kitchen fun supporting outdoor sensory learning for toddlers
8. Apply Weather Protection
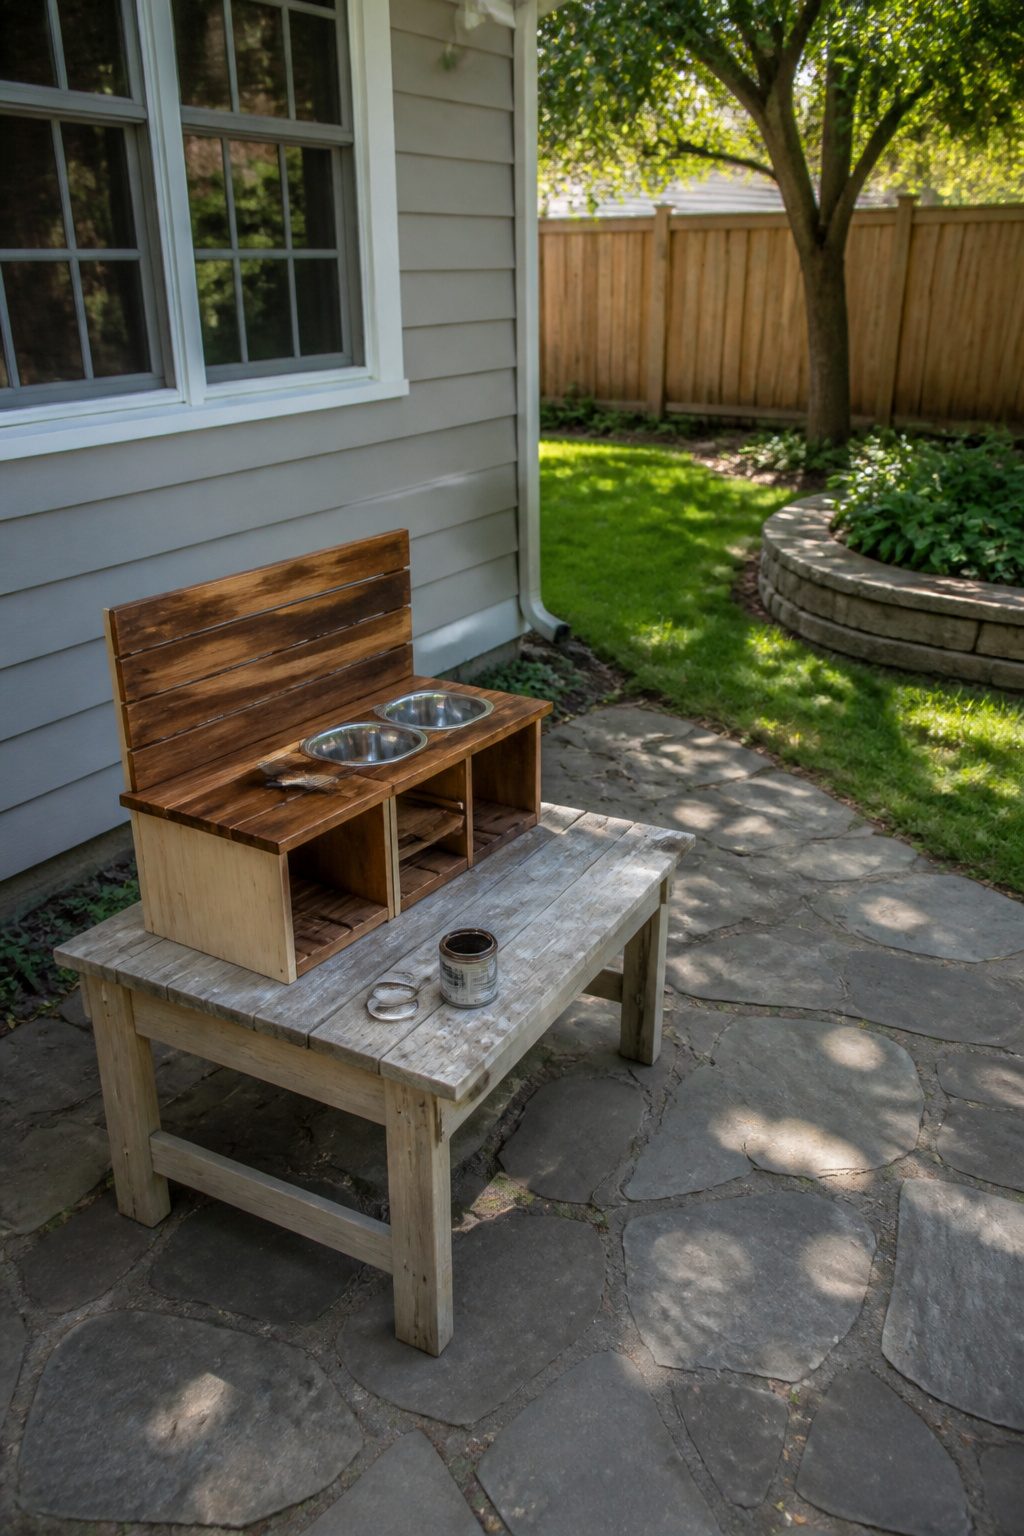
Exterior stain is the move here, not paint. We used a water-based deck stain in a cedar tone, applied with a cheap two-inch brush we already had. Two coats, with about four hours of drying between them. The first coat soaks in fast on pallet wood and looks patchy; the second coat evens it out and gives you the protection that actually counts.
The whole can ran us under $15 at the hardware store, and we had enough left to touch up the legs later in the season. Brush in the direction of the grain, work it into the cracks where the slats meet, and don’t stress about full coverage on the underside. Nobody sees it, and the ground contact is where rot starts anyway.
If you skip this step, the kitchen will gray and splinter by fall. We learned that on an earlier pallet project that lasted one season before the joints swelled and the whole thing wobbled. The stain adds maybe two hours to the build, but it buys you two extra years of use.
FSC-Certified Wood: Made with FSC-certified wood and non-toxic water-based paint; smooth edges are gentle for little hands during pretend cooking and grocery play

Fun-filled mealtimes: This interactive food toy set includes 40 pcs, featuring food toys such as sliceable toast, eggs, fruits, and vegetables, helping to foster healthy eating habits

Outdoor wooden kitchen: Spark your child's imagination! Children can cook virtual feasts, pour drinks, and recreate outdoor barbecue scenes to share with friends, thereby developing social skills and storytelling abilities.
9. Decorate and Personalize
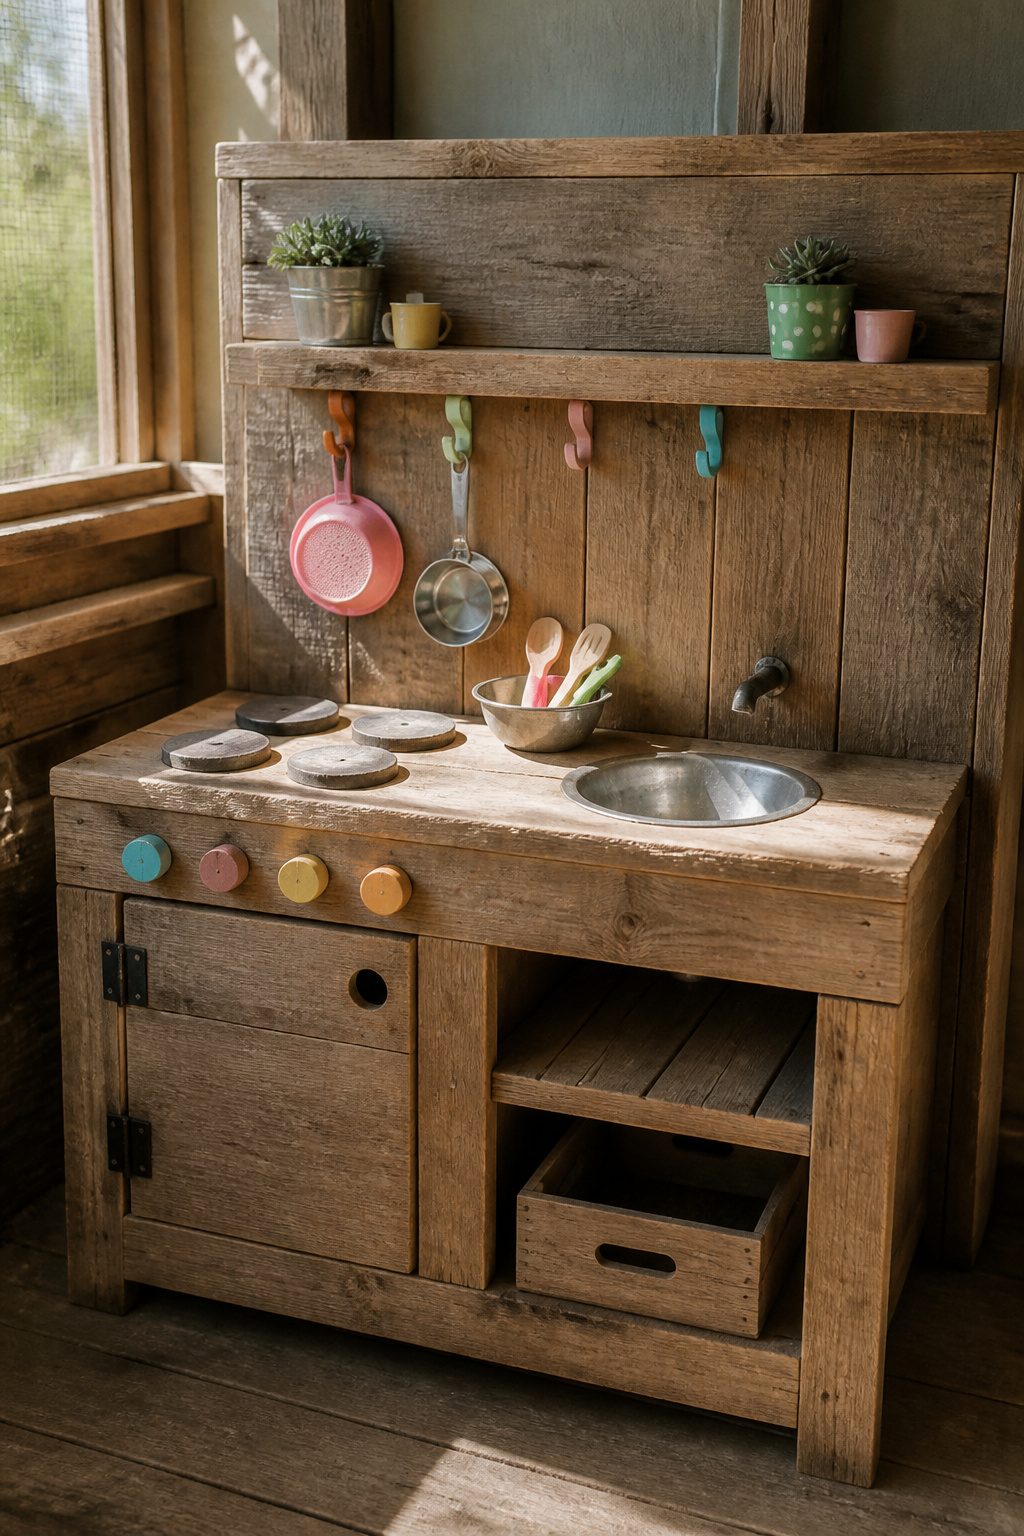
The small details are where a pallet kitchen stops looking like scrap wood and starts looking like a place a kid actually wants to cook. We painted the stove knobs with non-toxic acrylic paint, which matters when the finished piece sits outside in the weather and a three-year-old will handle every surface with wet hands. Our daughter picked the colors herself, two shades of purple that do not match anything else on the unit, and that was the right call. If the child chooses it, they use it.
We added two rubber-coated workshop hooks, set low enough that she can reach them but not at eye level, and hung her small pot and pan there. The rest of the utensils live in a bowl on the worktop, but those two pieces have their spot. One hook would have been enough for the pot alone; two let her arrange the pair the way she sees them in our actual kitchen. That small repetition of home life is what keeps her out there for an hour instead of ten minutes.

MAXIMUM LEVERAGE: The extra-long handle generates immense torque, allowing you to pry up stubborn deck boards and dismantle pallets with minimal effort, saving your back from strain.

Smart Pallet Removal Made Simple – Designed with a pivoting head, this tool lifts deck boards cleanly without splitting, saving more usable wood.

【Pry Bar Size】Flat pry bar set includes 5.5’’ mini pry bar, 7.5’’ nail puller bar, 9.5’’ and 15’’ utility heavy duty pry bar. Different sizes meet your different applications.
Tools and Materials
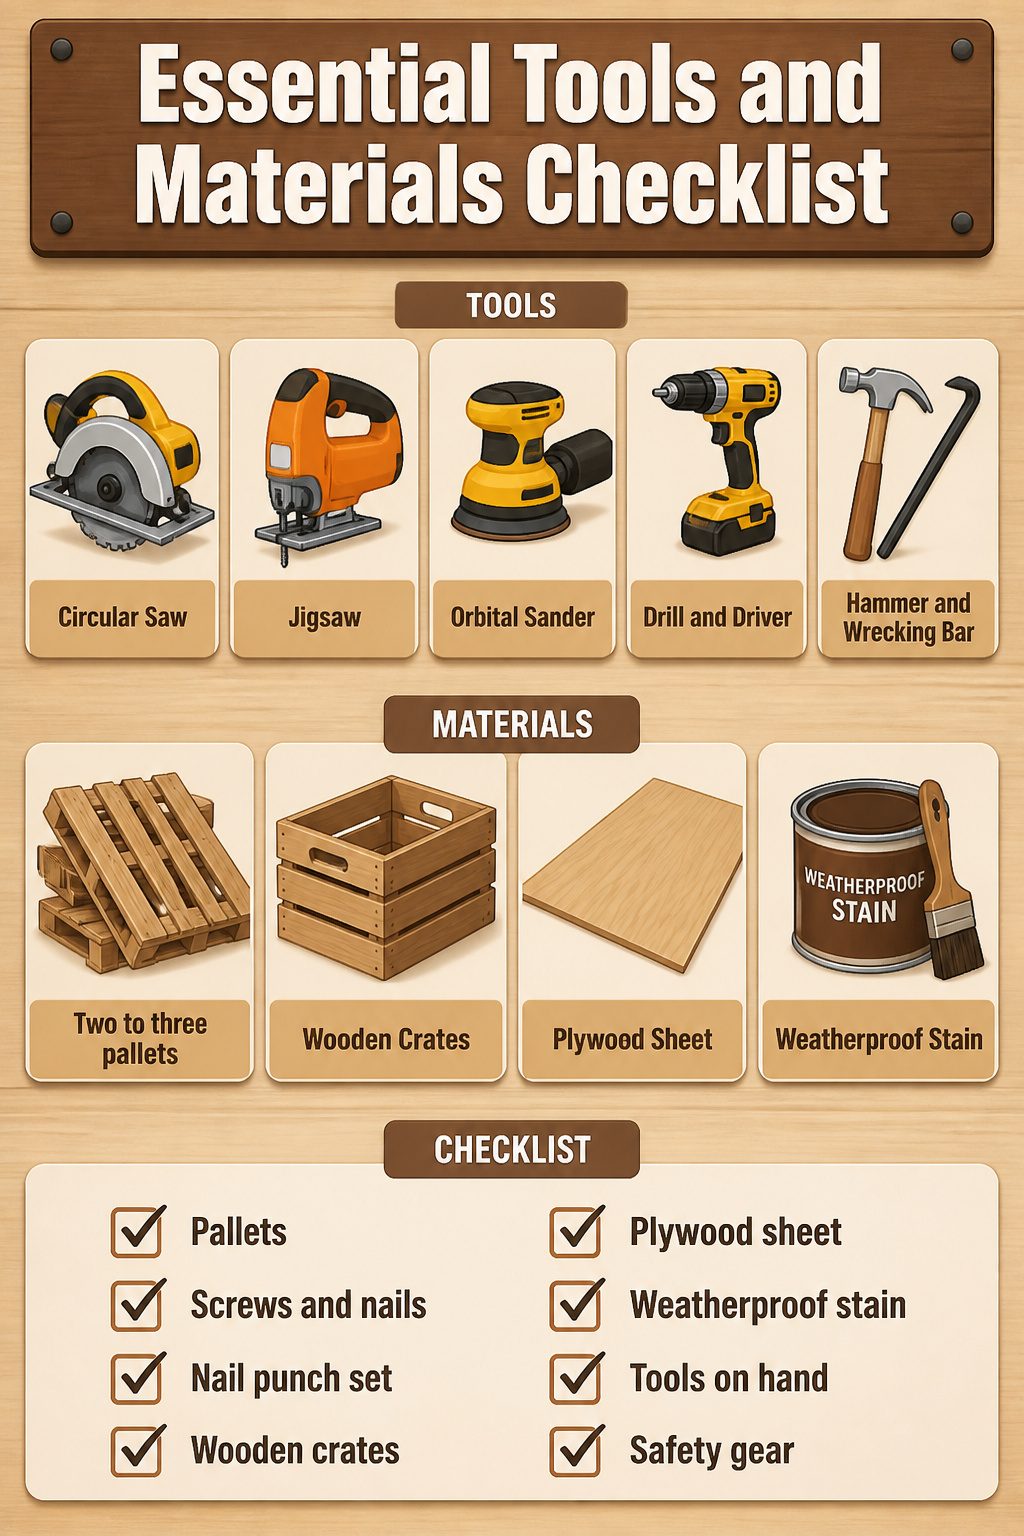
We have built three of these now, and the tool list has not changed. Start with a circular saw for the long cuts, a jigsaw for the sink hole and any curves, and an orbital sander or belt sander to keep the splinters off small hands. A drill and driver handle the screws, and a hammer plus wrecking bar are for pulling pallets apart. A nail punch set is worth keeping nearby; pallets hide nail fragments that will wreck your blades if you miss them.
Two to three pallets will frame the whole kitchen. We use the thick support boards for the structure and the thinner planks for the worktop. Add wooden crates if you want built-in storage underneath, and a sheet of plywood if you prefer a solid counter instead of the butcher-block look. Screws hold better than nails for the frame itself, but keep both on hand. Finish with a weatherproof stain; the first one we skipped this on turned gray and rough by fall.
That is the whole load. We have done the run to the hardware store mid-build, and it kills the weekend every time.

A combination set of 60-Tooth (fine finish, fine cutting) and 24-Tooth (fast ripping cutting) can meet most household requirements for cutting wood, plywood, plastic, veneer, lumber, laminate, etc
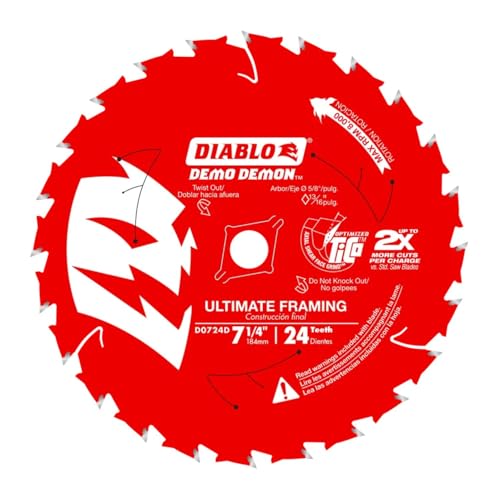
Dura-Blend Carbide Technology - Engineered with Diablo,s proprietary Dura-Blend carbide for up to 15X longer cutting life, handling the toughest framing and demolition tasks.

Safety for Kids
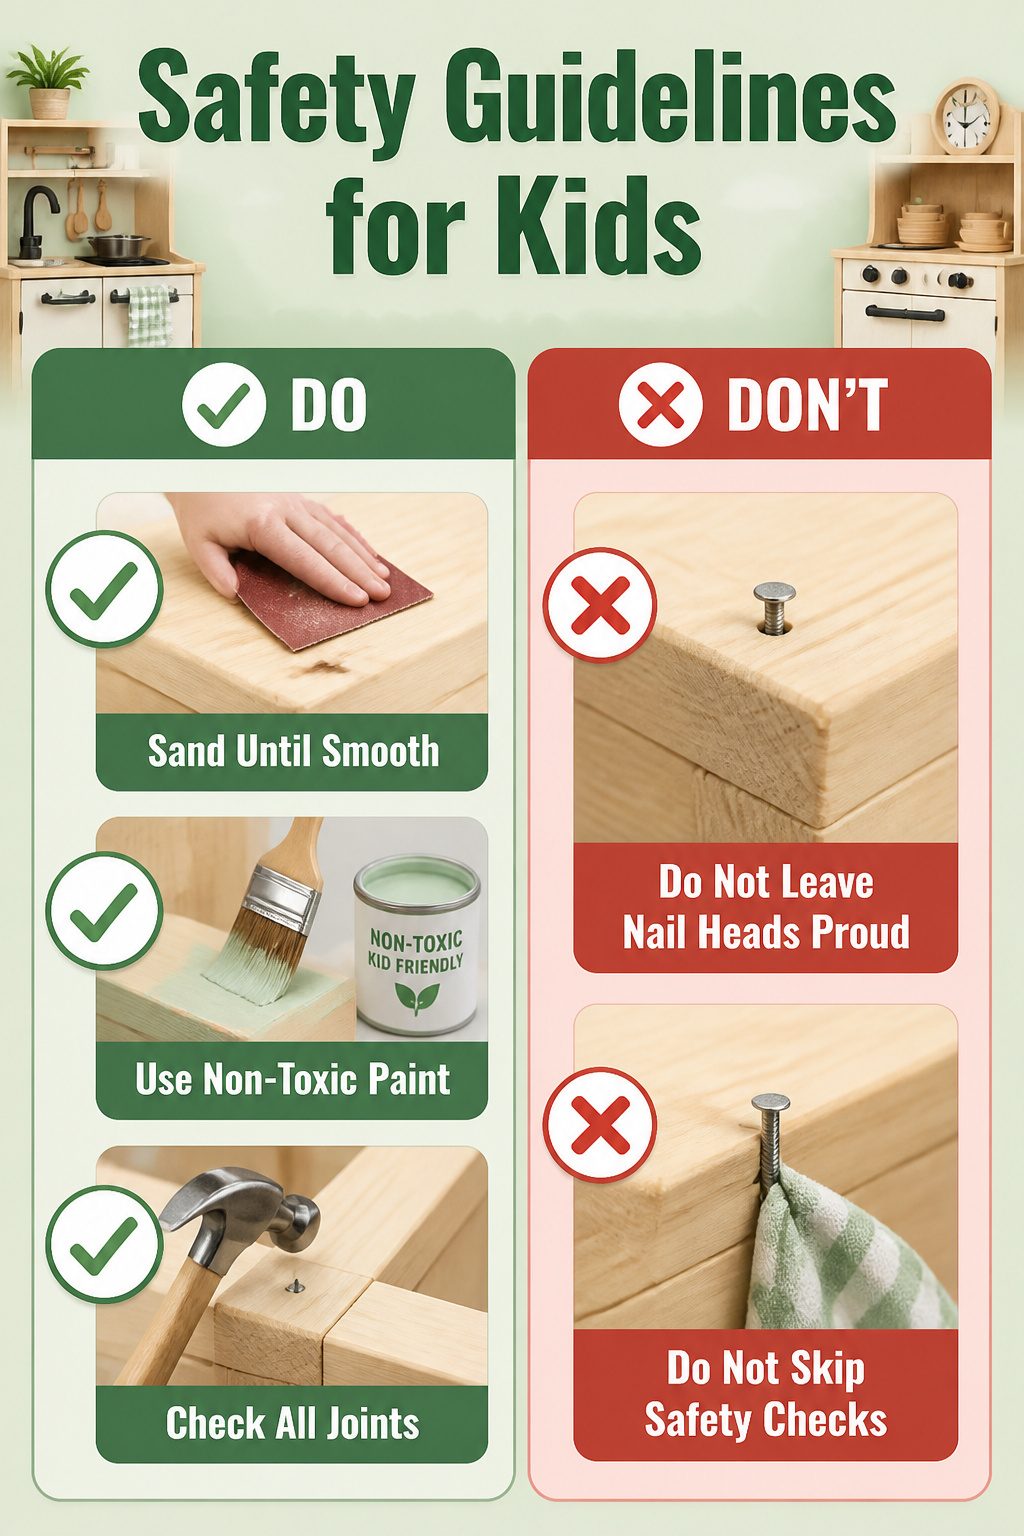
Sand every surface until it is completely smooth, and do not stop at "good enough" with children involved. We ran 80-grit paper over the whole frame first, then came back with 120-grit for the finish. Pallet wood is rough by nature, and the splinters that look minor to you will send a four-year-old inside in tears.
After assembly, we went back over every joint with a hammer. Any nail proud of the surface got driven flush or countersunk. One corner had a fastener we had missed; it caught on a dish towel during our test run and would have caught on a small hand just as easily. We fixed it then.
Use non-toxic, child-friendly paint and let it dry thoroughly before the kitchen goes into service. We did not cut that corner, and neither should you. These three checks, sanding, nails, paint, are non-negotiable with kids.
Why Mud Kitchens Matter
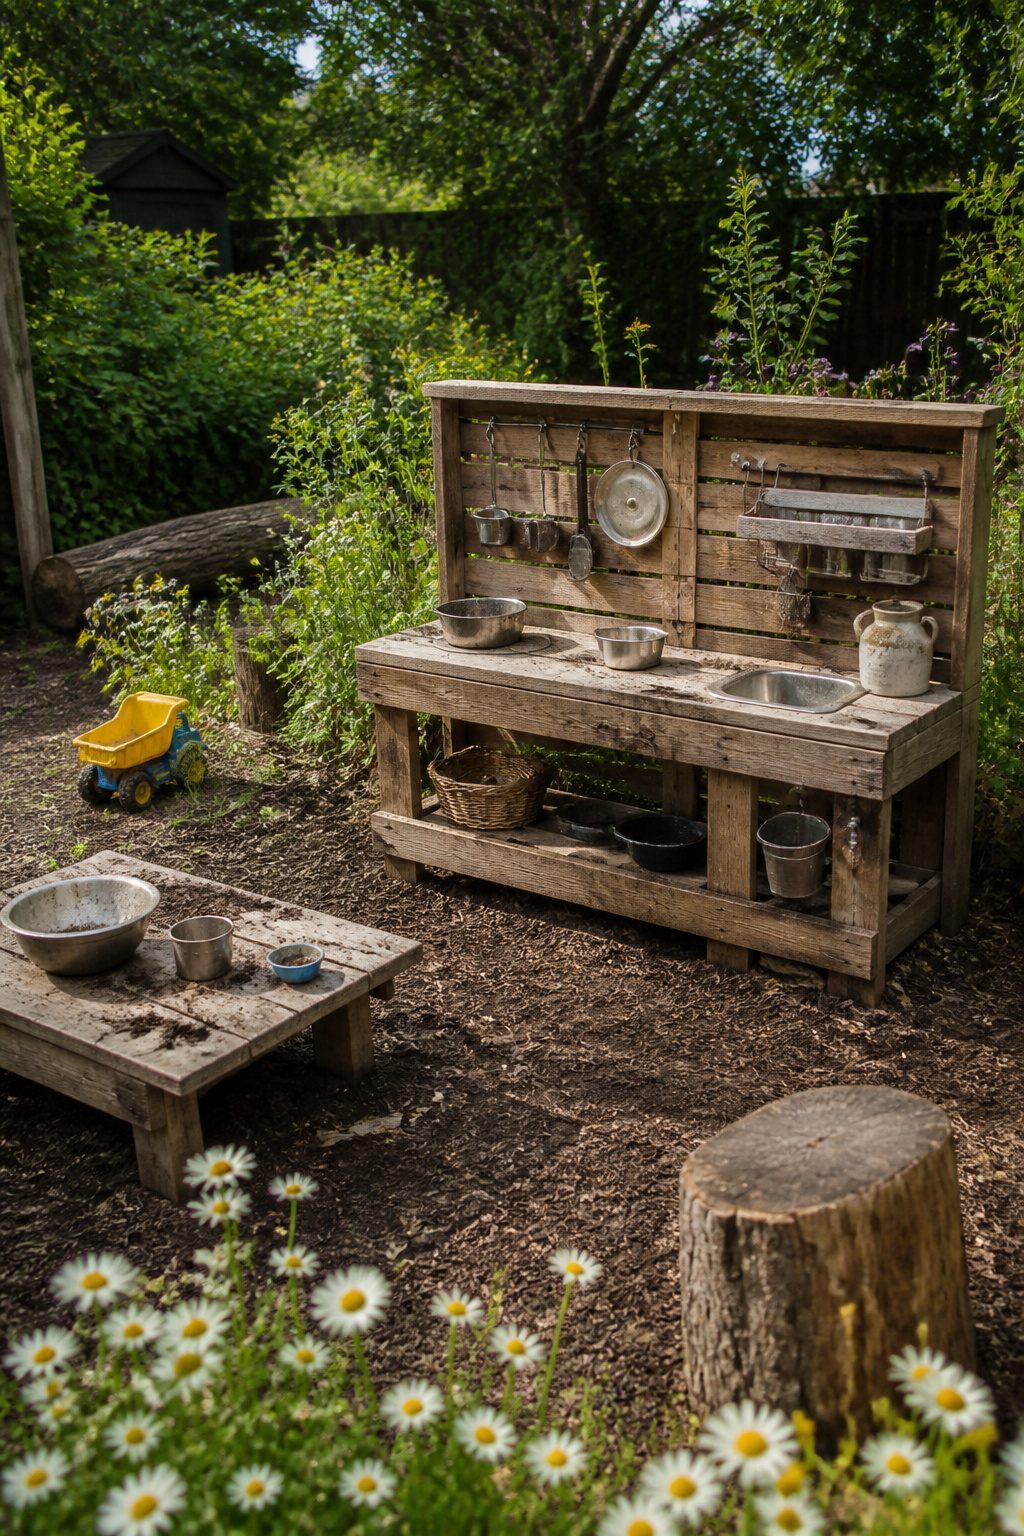
A mud kitchen gives kids the kind of play we actually watched disappear from backyards over the last decade. When children stand at a pallet worktop mixing dirt and water into "soup," they are not following a script. They decide what the meal is, how it is plated, whether grass or daisies count as salad. That improvisation is what builds the creativity we talk about at Hammond Toy Store, because there is no right outcome in a mud kitchen, only the next experiment.
The physical side matters just as much. Stirring, pouring, pinching gravel between fingers, these are fine motor tasks disguised as play. We have seen three-year-olds at our store events spend twenty minutes transferring water between two cups without looking up. A mud kitchen puts that concentration outside, where mess is expected and parents do not flinch.
The real win for adults is containment. Mud stays in the yard. Sand stays in the yard. The kitchen frame, built from old pallets, keeps the project cheap enough that replacing it in a few years does not sting. Manufacturers usually mark mud kitchens for age three and up, mostly because standing stability matters once kids start leaning over a worktop. Build yours at the right height, and they will use it until they outgrow the pretending, which usually takes longer than you expect.
Frequently Asked Questions
What materials do I need to build a DIY pallet mud kitchen?
You need two to three pallets, wooden crates for storage, screws, nails, and a weatherproof exterior stain. A sheet of 3/4-inch plywood works well for the worktop if you want a solid counter instead of pallet slats. The whole finish should run under $15 at the hardware store.
How do I ensure my mud kitchen is safe for children?
Sand every surface with 80-grit paper first, then finish with 120-grit to remove all splinters. After assembly, go over every joint with a hammer and drive any proud nails flush or countersink them. Use only non-toxic acrylic paint for decorations, and let it dry completely before kids play.
What tools do I need for building a mud kitchen from pallets?
A circular saw for long cuts, a jigsaw for the sink hole, and an orbital or belt sander for smoothing. You will also need a drill and driver for screws, plus a hammer and wrecking bar to dismantle the pallets. A nail punch set helps catch hidden nail fragments before they ruin your blades.