
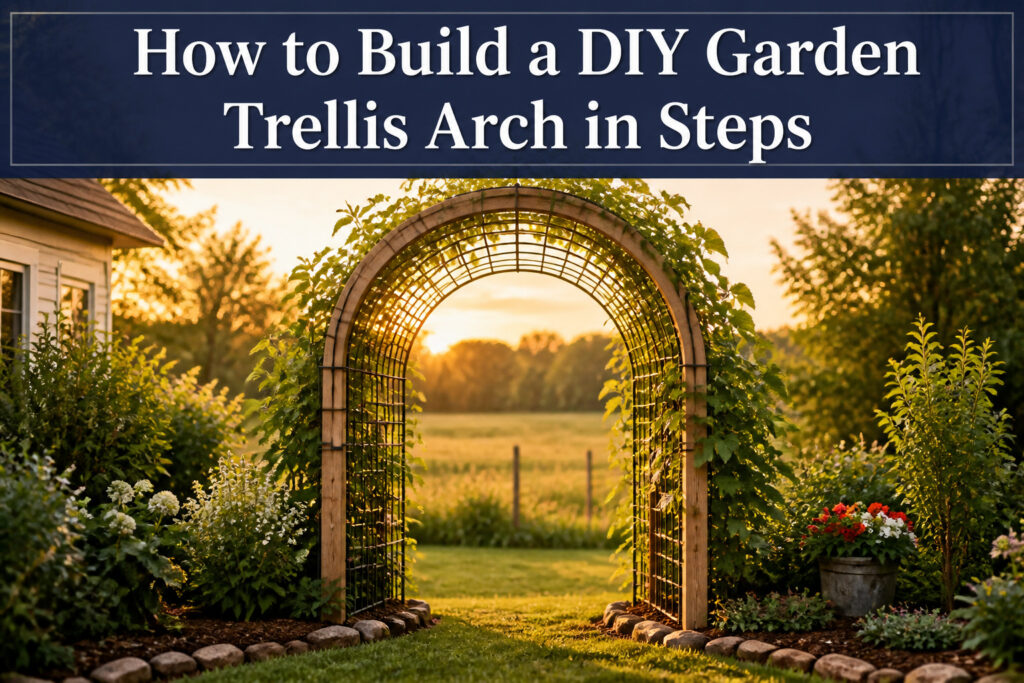
You can build a standing garden arch for about $30 to $40 and an afternoon of work, but only if you have a second person when the cattle panel goes vertical. The panel is a 16-foot length of 4-gauge wire that will spring back and whack your shins if one person tries to bend and secure it alone. We learned that the hard way so you do not have to.
[link-whisper-related-posts]1. Gather Materials
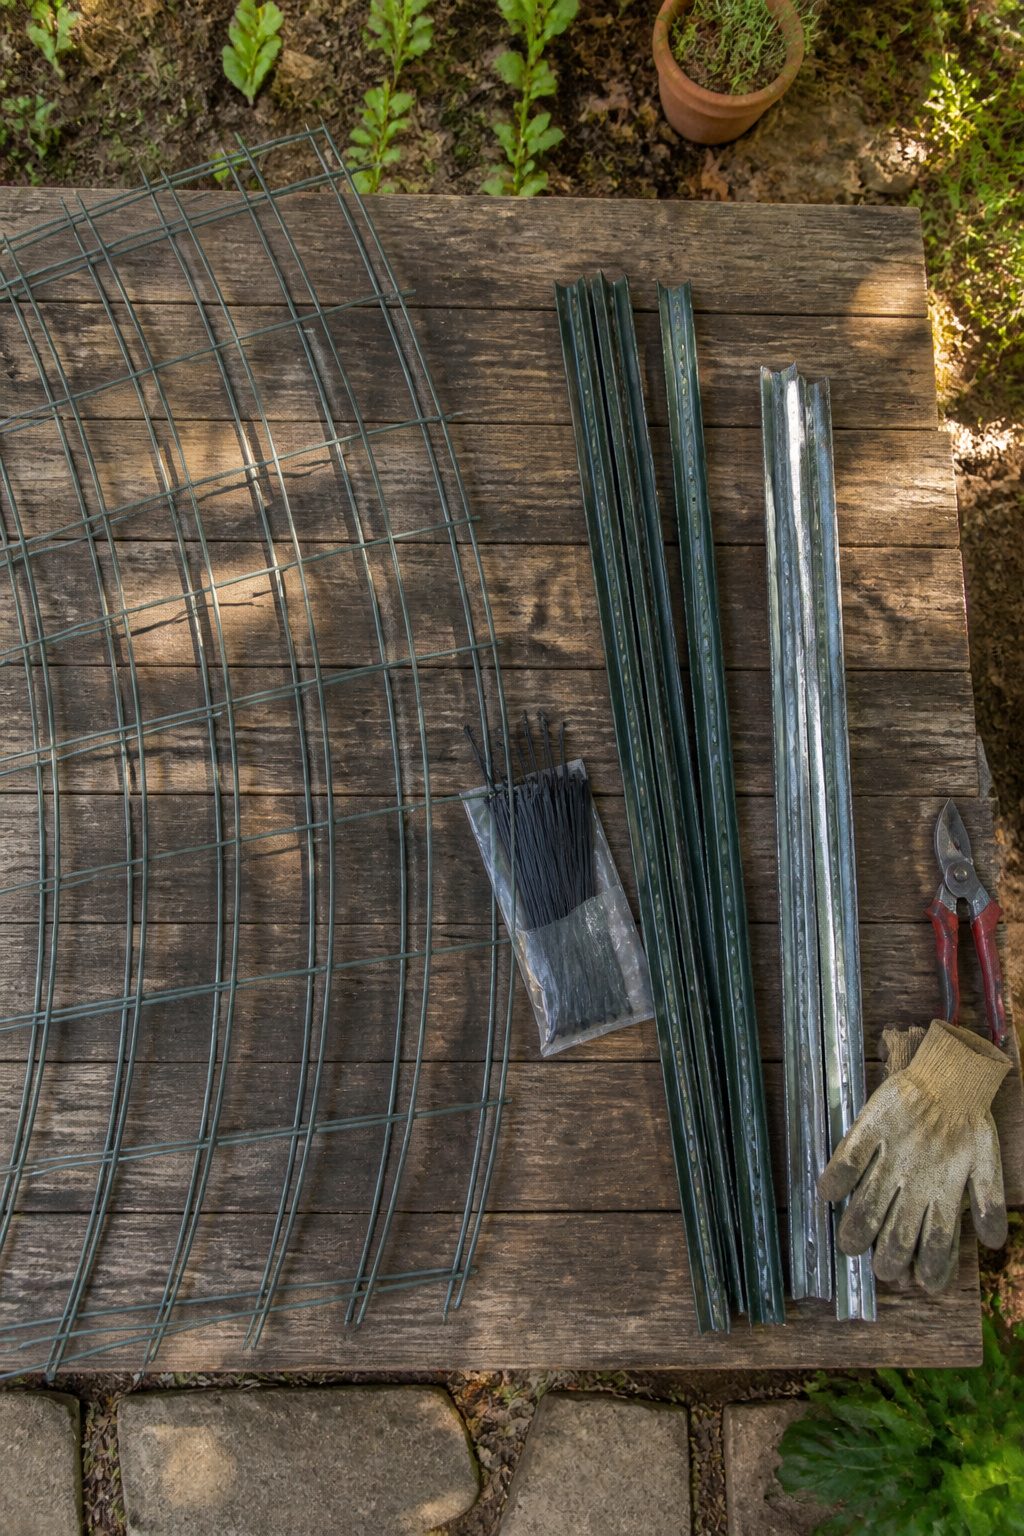
A 16-foot cattle panel running 50 inches wide is the backbone of this build, and it will cost you about $20 to $30 at a farm supply store. We have also seen 60-inch utility panels with a tighter 4-by-4 mesh if you want something heavier, though the standard cattle panel is what most people grab first. For posts, plan on four T-posts or U-posts, 4 to 6 feet tall, at roughly $4 to $6 each. U-posts drive faster and cost a little less; T-posts hold harder but take more patience to pound. You will need zip ties, about $5 for a pack of 20, and either a post pounder you can borrow or rent. A handful of sources mention galvanized wire instead, but we would stick with zip ties; wire leaves sharp ends that catch on sleeves and small hands. Tally it up and you are looking at $30 to $40 total, assuming you do not already have posts or ties sitting in a garage bin somewhere.

Heavy-Duty Construction Size: 100ft (length) × 48" (height) Material: High-strength galvanized steel wire ,Surface Treatment: Hot-dip galvanized for superior rust resistance & extended lifespan
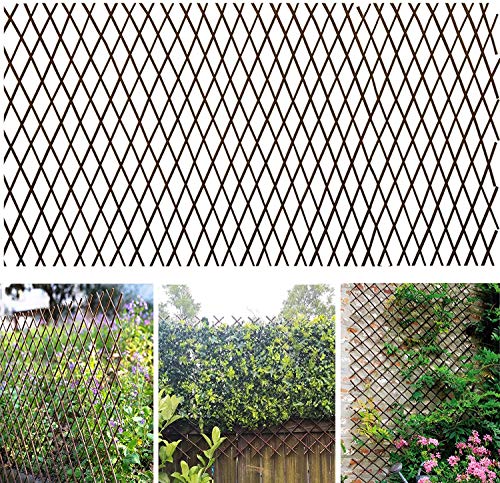
Willow Garden Trellis:This vine trellis are made of 100% real willow,willow sticks is are about 1/4” to 3/8” thick
2. Install T-Posts
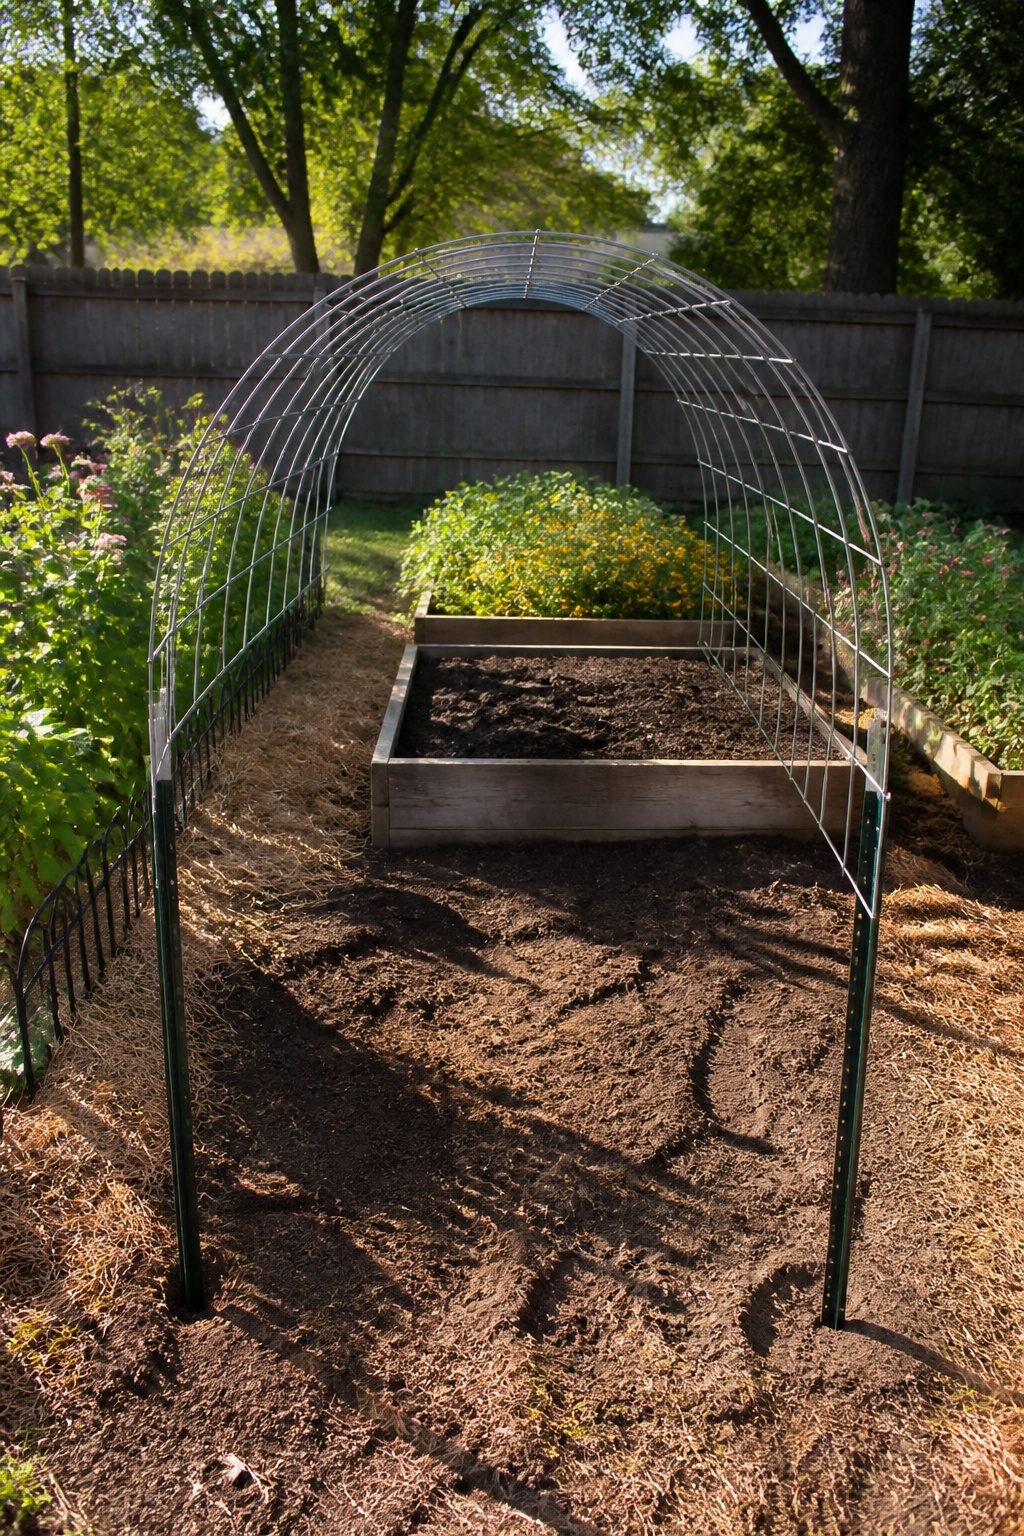
We set the first post with its notches facing inward, toward where the arch will rise. If you are working in a raised bed, leave four to six inches between the bed edge and the post so your plants have room to climb from inside the trellis. Drive it deep enough that it will not shift when the panel leans against it.
Lay the cattle panel across the beds to see where it wants to sit before you commit the second post. One long side of the panel has narrower wire spacing, and you will want that oriented where it matters for what you are growing. Dig a small trench where the base will rest so the panel can settle into the soil slightly.
Mark the second post, then drive it at least one foot below ground level, not counting any raised bed soil on top. The notches should face the panel and, if you are lucky, grab the wire and push the base in a little farther as it goes. This takes two people minimum. One of us held the panel bent and steady while the other pounded. A third would not be wasted here, but two will get it done.

Versatile garden arch, perfect for event, wedding, and garden decoration. A must-have for your special occasions

Versatile garden arch, perfect for event, wedding, and garden decoration. A must-have for your special occasions.
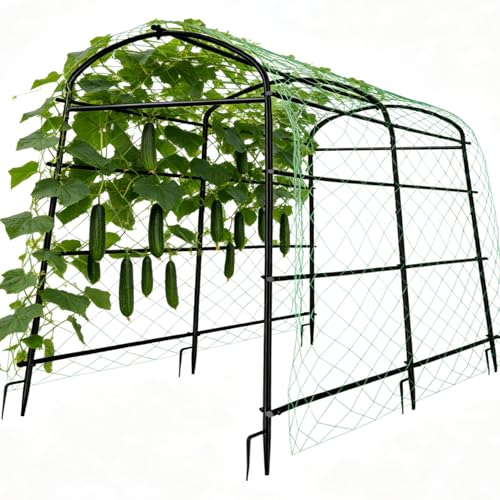
A plant climbing trellis is essential for maximizing yield and optimizing space, especially for vines plants like cucumbers, beans and morning glory. Our trellis provides the crucial vertical support needed for healthy growth and abundant harvests.
3. Prepare the Cattle Panel
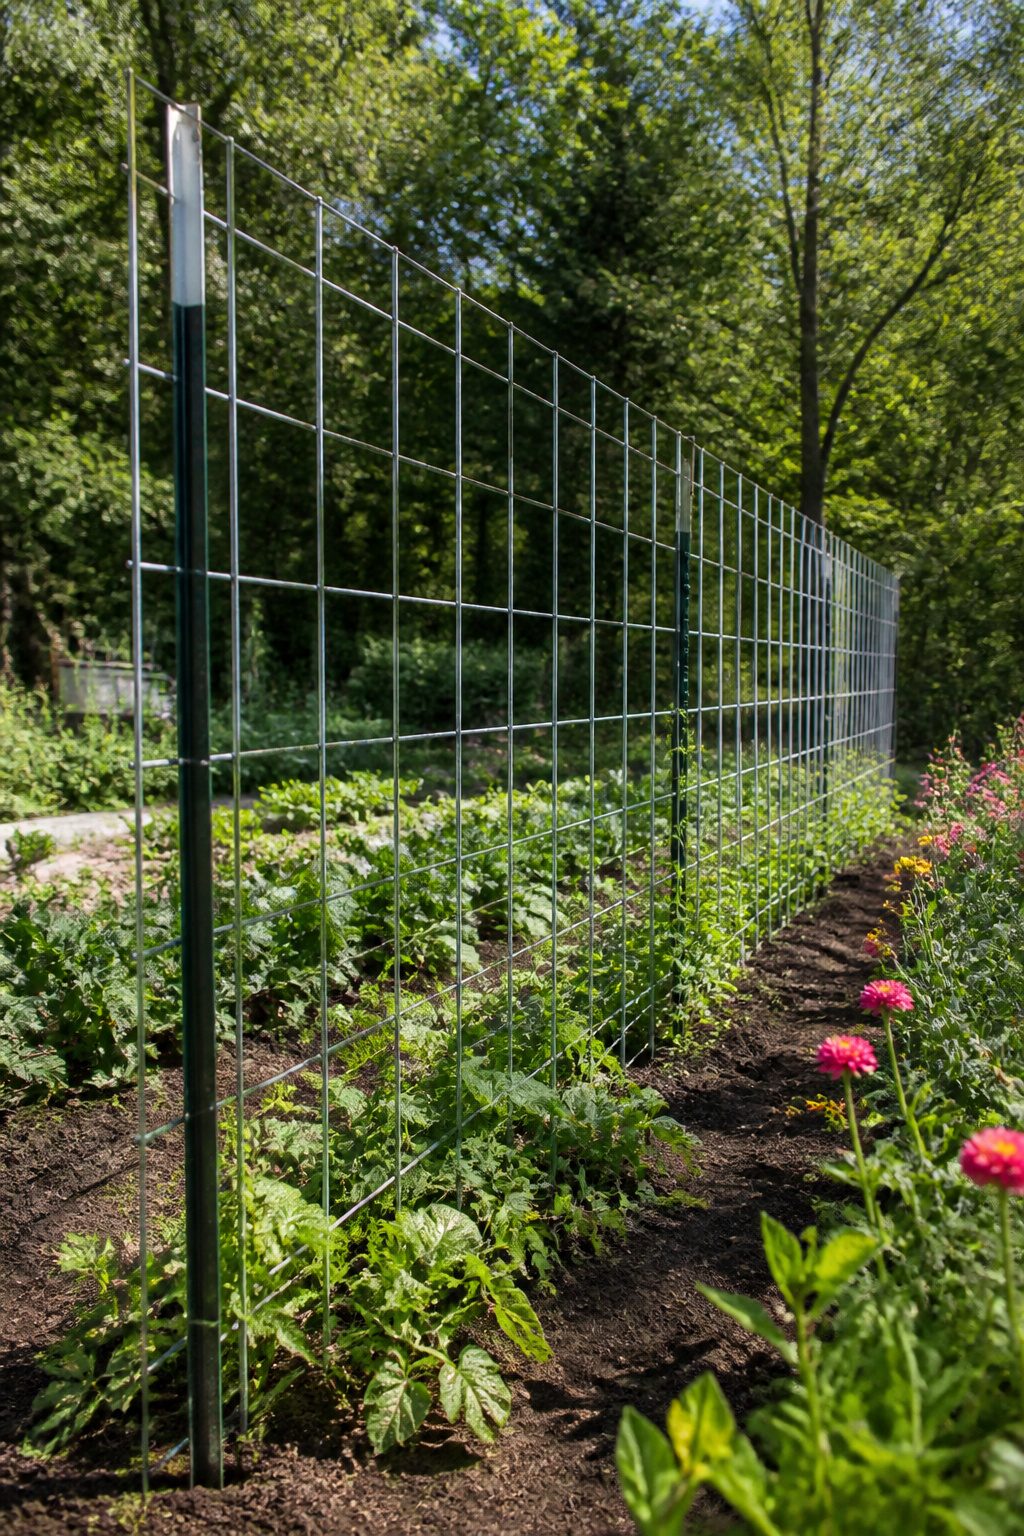
Lay the 16-foot cattle panel across your posts while they are still loose in the ground, before you pound anything final. This is the step we nearly skipped on our first build, and we would have ended up with an arch that leaned south and scraped the path on one side. The panel will tell you where it wants to sit. One long edge has tighter wire spacing, so face that where your vines will need the most grab. Check the height at the center and the width at the base. If the arch feels too tall and narrow, spread the posts outward; too squat, pull them closer. Mark the ground once the panel looks right, then set the posts for real.

【SIZE】Pack of 10.Available in 6 length sizes for you to choose from:3ft,4ft,4.8ft,5ft,6ft,7ft.

Sturdy & Durable Fence Post: Made from 2 mm (0.08") thick Q235 carbon steel, this fence post offers high strength and rigidity. The U-shaped channel design improves bending resistance, while the powder-coated finish provides UV protection and corrosion resistance, ensuring durability in all weather conditions.

【Durable Construction】Made from high-quality steel that resists bending and warping in harsh weather. The powder-coated finish prevents rust and water damage, extending the post's lifespan season after season.
4. Bend the Panel
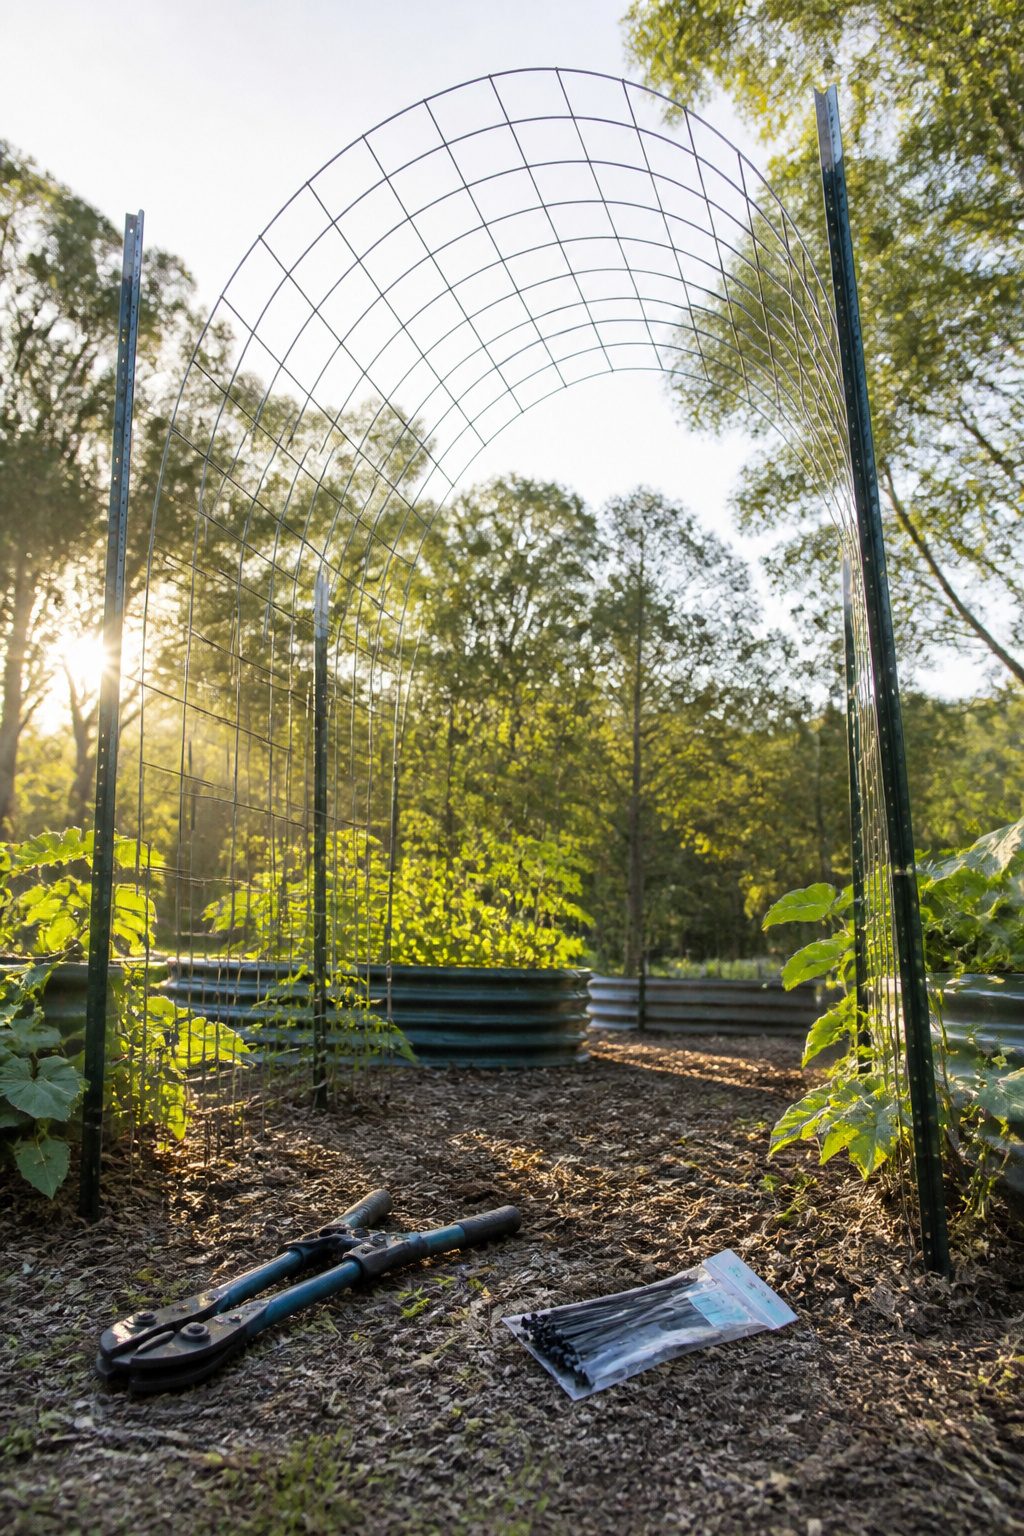
Stand one end of the cattle panel in the trench you dug and zip-tie it to the T-post while your second person holds the other end up. This is the step where a second person stops being helpful and becomes necessary. The panel is a 16-foot length of 4-gauge wire that fights back when you bend it.
Once the first side is secure, walk the free end toward the opposite trench. The panel will spring and wobble. Bend it over into an arch, drop the end into the second trench, and zip-tie or wire it to the other T-post. Sources disagree on how many ties you need: four per post spaced from ground level to the top, or five to six per post. We land on the higher number. The extra thirty seconds and six cents per tie beats finding your arch leaned over after the first windstorm.
Cut the excess zip-tail ends and sand or clip the sharp stubs. We still have a few we never got to, and they snag sleeves every spring. If you buried the panel base in a trench, backfill and compress the soil now so the arch sits at the height you planned.

High Strength and Temperature Resistance: Tensile strength of 198 lbs with temperature range from -170 to +1000, suitable for high-temperature applications such as CV boot clamps, tie rod boot clamps, and heat wrap for exhaust pipes. UV resistant for outdoor PVC pipes and metal pipes, pipe straps

[Superior Durability and Strength] Crafted from top-grade 304 stainless steel, Duthcbw Metal Zip Ties are built to withstand tough outdoor conditions. These robust zip ties offer outstanding tensile strength, ensuring your items stay securely fastened no matter the environment.

FEATURES - Metal zip ties made of 304 stainless steel. These heavy duty zip ties are 4x stronger than regular plastic zip ties. These stainless steel zip ties mean they are High temperature resistant, Cold resistant, Rust and Corrosion resistant. Unlike traditional plastic zip ties, these heavy duty metal ties won't break down by uv light in the sun like normal plastic zip ties.
5. Secure the Structure
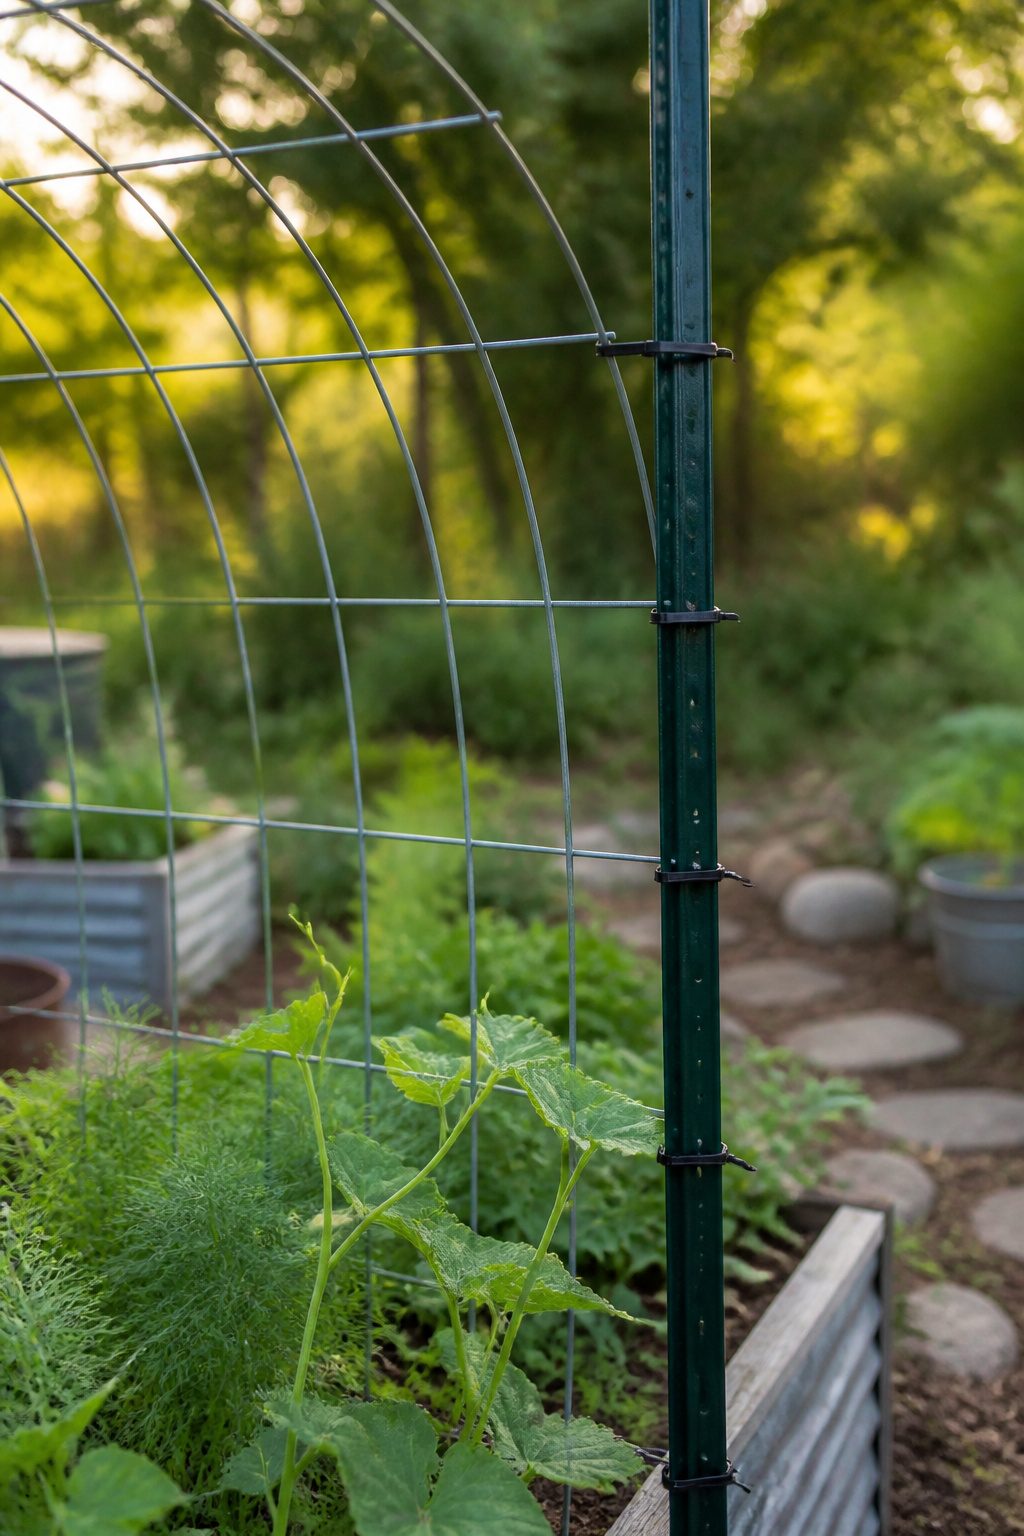
Once the panel is bent into place, zip-tie each post at four points, running from as close to the ground as you can get up to the top of the post. We space them evenly and pull each one tight enough that the panel does not shift when you push on it. After the ties are set, trim the excess ends and sand them down so they are not sharp enough to catch a sleeve or a kid’s arm.
The spots where the panel meets the posts take the most stress, especially in wind or once the vines load up. We add extra zip ties at those junctions, one above and one below the main line of attachment. It takes maybe ten minutes and costs nothing, and it is the difference between an arch that holds its shape and one that starts to lean by midsummer. Check every tie by hand before you backfill; a loose one now is easier to fix than a loose one in July when the beans are already climbing.

ELEGANT GARDEN ARCH TRELLIS – Transform your backyard into a beautiful garden retreat with this classic black metal garden arch. Create an inviting entrance along pathways, over garden beds, or among your favorite flowers and climbing plants.

One or Multiple Arches: wider arch(7.5 feet Wide * 6.4 Feet High ) or a higher arch (4.6 Feet Wide*7.9 Feet High) by Removable sections for desired Length.
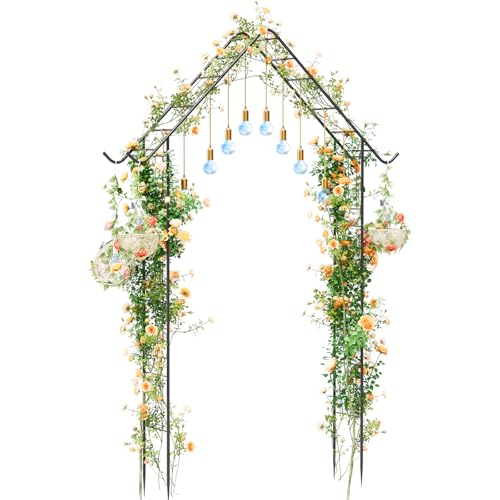
【Garden Arch Trellis with Hooks】 This pointed top metal garden arch comes with 4 integrated hooks, ready to hang flower baskets, lanterns, and outdoor decorations instantly. It functions as a sturdy trellis for climbing plants like roses and vines, and transforms into a decorative arch for weddings and parties, offering unmatched versatility for your garden and backyard.
6. Plant Climbing Plants
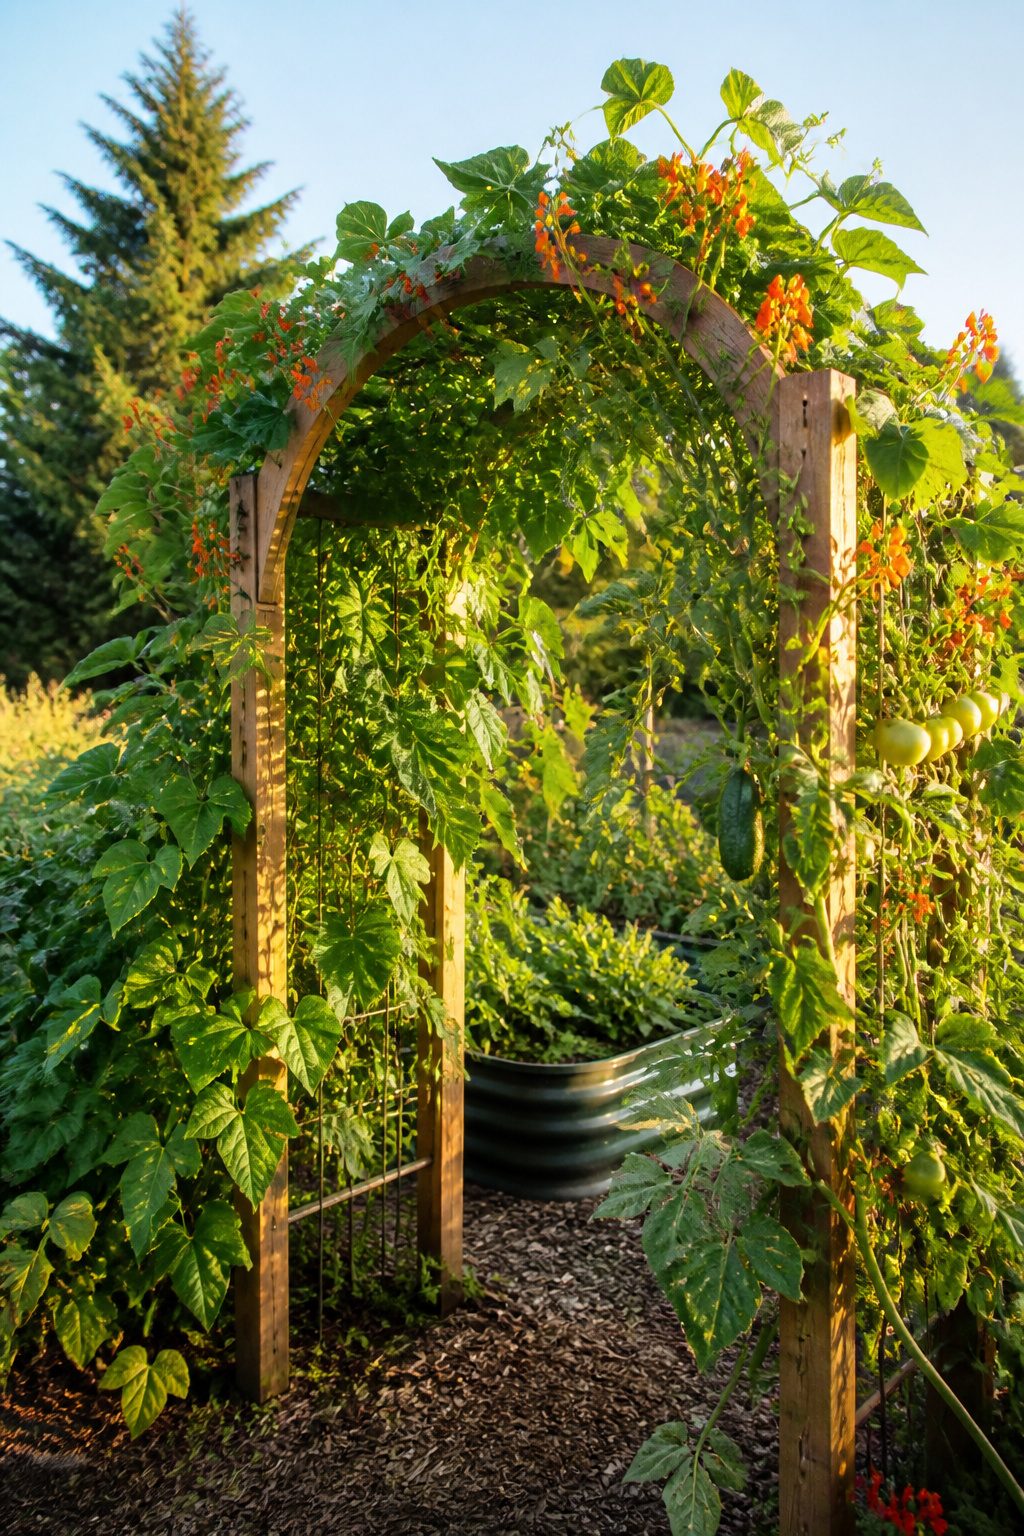
Once the arch is standing, the real payoff is choosing what climbs it. We have grown scarlet runner beans, lima beans, pole beans, pickling and slicing cucumbers, climbing Trip-L-Crop tomatoes, and even personal-sized melons like Banana and Kajari on trellises like this. For flowering vines, morning glories and black-eyed susan climbers draw pollinators in and add color between the food crops.
The vertical setup changes how you garden. Fruit hangs down for easy picking from underneath, so you rarely need to reach the top of the arch. Beans mostly dangle where you can grab them standing on the bed edges. Tomatoes vine upward instead of sprawling across the ground, which saves square footage and keeps fruit cleaner. In a raised bed, that upright growth lets you pack more plants into the same footprint without crowding.
We usually plant edibles on one side and flowers on the other, or mix strains on opposite sides if we want to compare how two varieties perform. Indeterminate tomatoes need that vertical support; determinate or bush types will not climb, so check the label before you buy. If you are in a cooler or windier zone, starting with larger plants and adding gravel around the beds for heat can help the tomatoes get established faster.

[Weather-Resistant & Rust-Proof Trellis]: The cucumber trellis is constructed of rustproof and peel-resistant steel wires, providing strong support for plants to grow better, hold plants in a graceful shape, and prevent flopping. Besides, there exist 32 ground stakes for fixation.
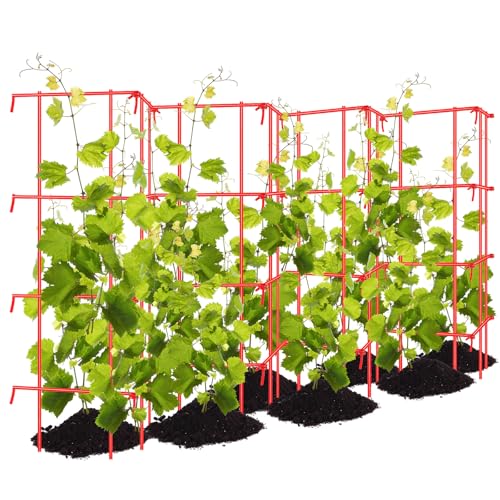
Material and Size: our sturdy expandable tall pea trellis features durable powder coated steel and has a total length of 9' by 37" high installed Sturdy, easy-to-use support for climbing peas and other crops; Keeping your harvest safe and raising it off the ground for better growth

1. SET OF 2 DECORATIVE TRELLIS PANELS: Includes two 28” iron trellises perfect for supporting plants and enhancing garden spaces
What It Costs
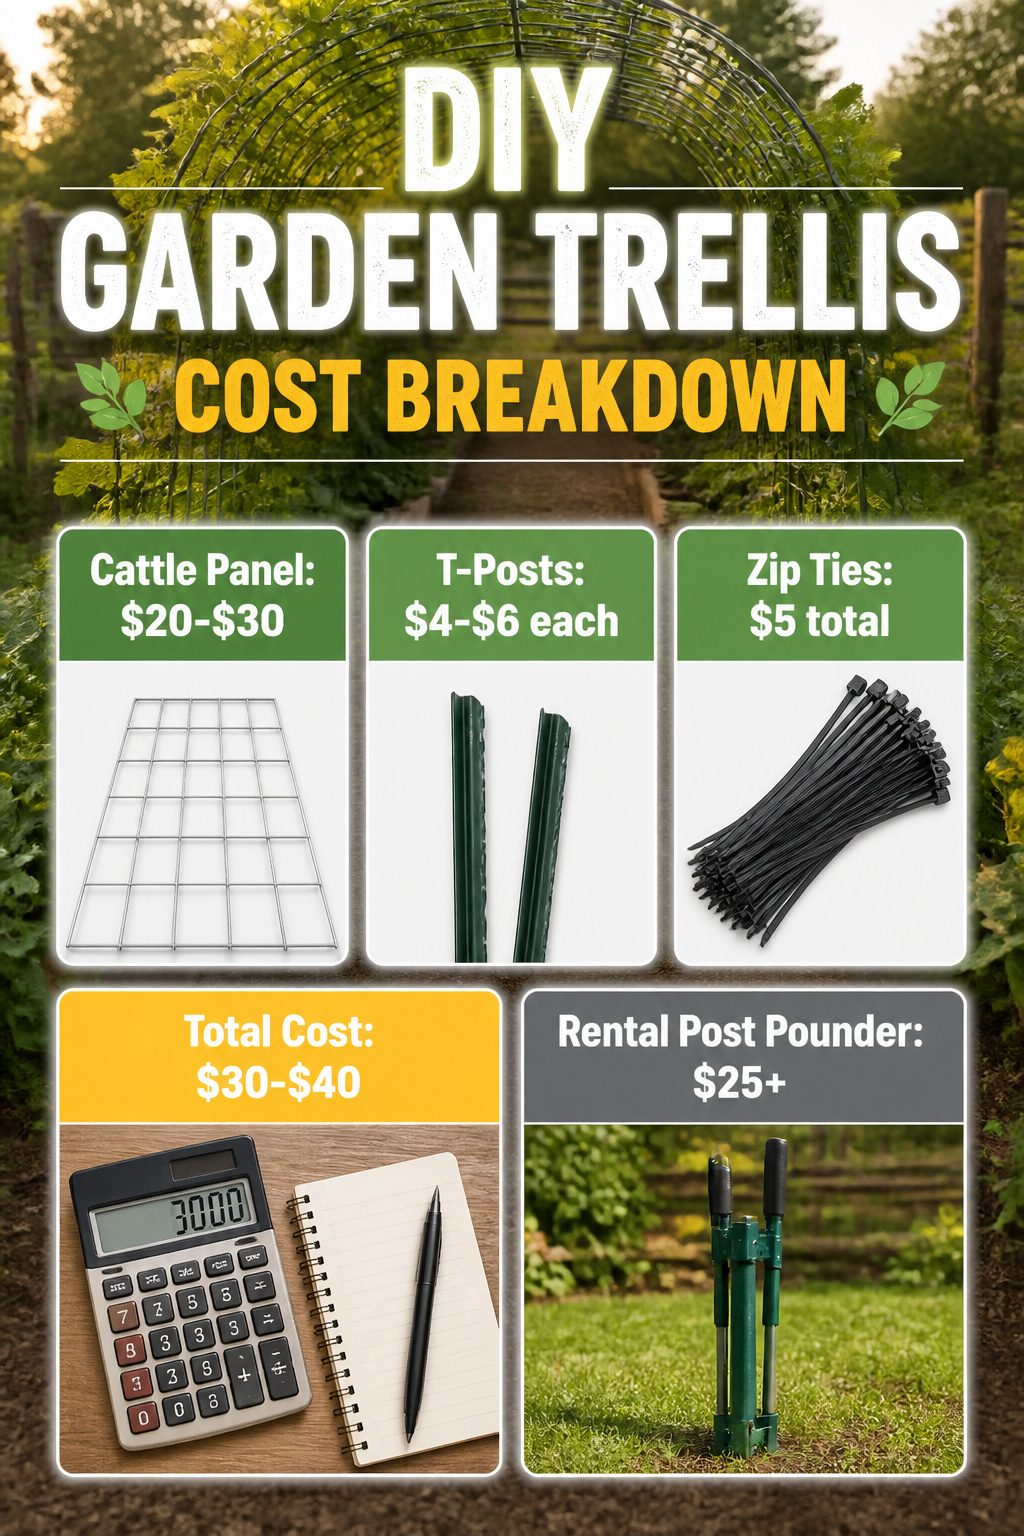
A full cattle panel runs about $20 to $30, and two T-posts at roughly $4 to $6 each will hold one arch upright. Zip ties add another $5 or so. That puts the whole build in the $30 to $40 range, which is about as cheap as any garden structure that will still stand up to a summer of squash vines. We have seen panels at farm stores for $25 and at others for closer to $30, so your local price will depend on which chain is nearby and what they have in stock the week you shop. The same goes for T-posts: Home Depot calls one thing a T-post while a local farm store labels the same stock a U-post, and either works. If you do not already own a post pounder, skip buying one. Ask a neighbor or borrow from a friend. A rental runs $25 or more for a tool you need for under an hour, and that single choice would nearly double your project cost.

【Product Use】 U-shaped appearance of the garden trellis with nylon climbing net is not only beautiful, but also allows plants to get enough sunlight and make effective use of space.The trellis has excellent gravity bearing capacity, and it can be easily achieved by planting pumpkins, watermelons and other heavy fruits and vegetables

All-in-One Gardening System: This premium Garden Bed kit includes two spacious raised garden beds and a tall 87-inch arch trellis designed for climbing plants. Equipped with a climbing net for added stability, the complete set boosts both garden productivity and visual appeal.

STURDY PLANT SUPPORT: Built around stability needs, this garden arch trellis helps keep climbing vines supported and lifted, reducing ground sprawl for a cleaner garden layout.
Pick Your Plants
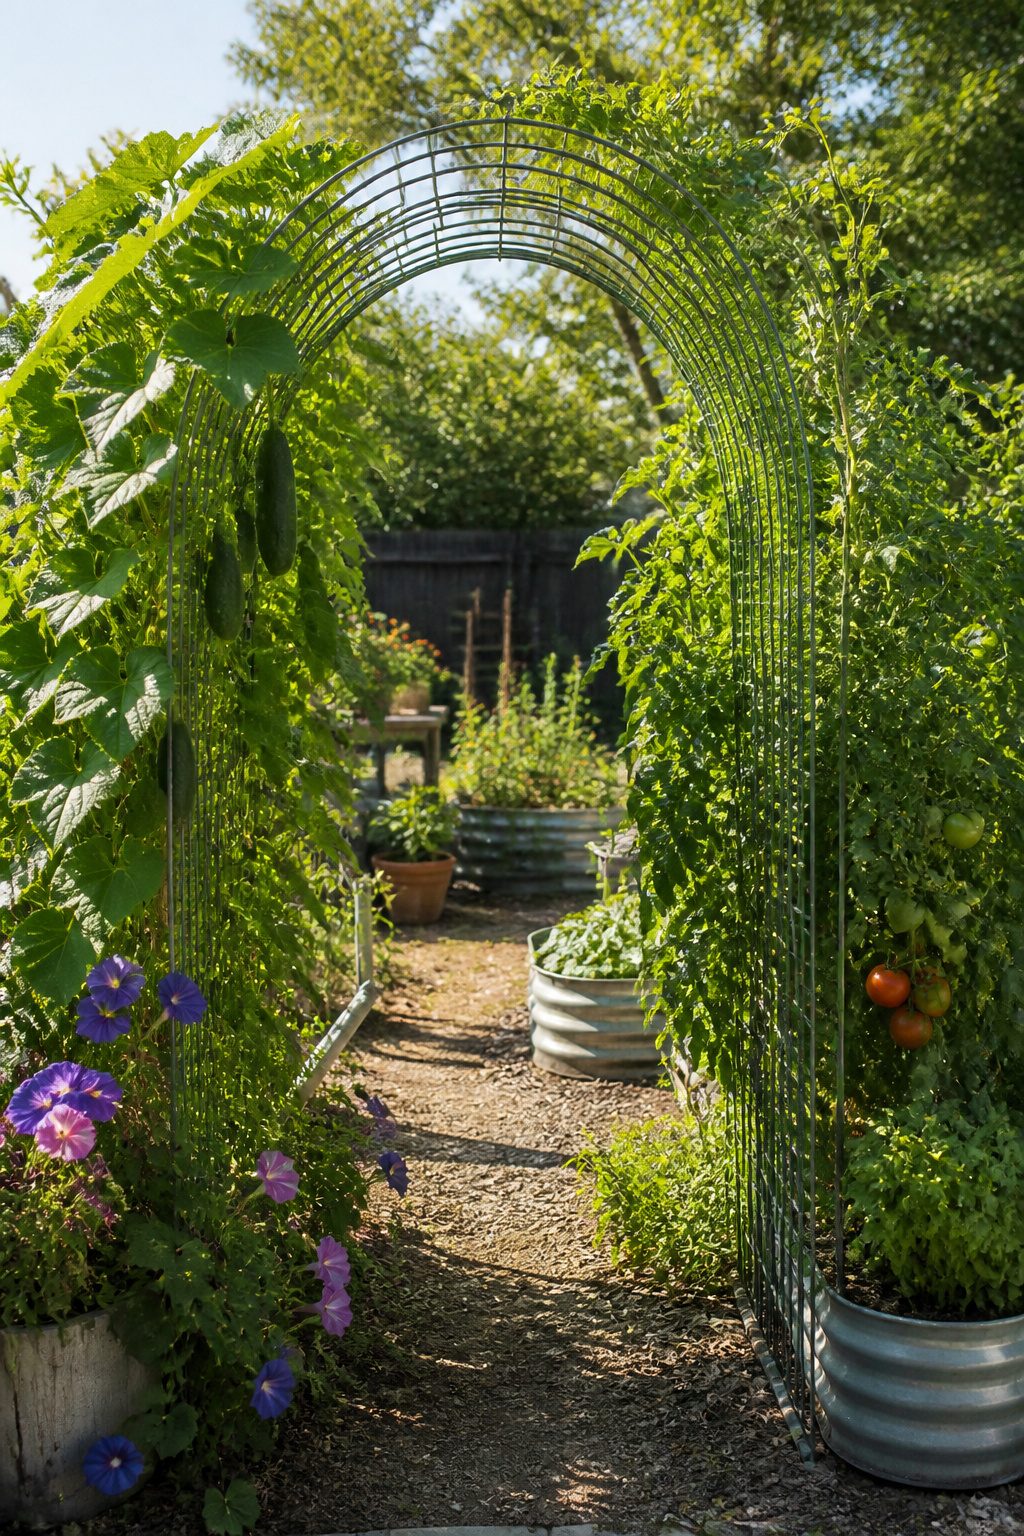
Most of what we have seen on these arches is food on one side, flowers on the other, and both work for different reasons.
- Vegetables like cucumbers, pole beans, and indeterminate tomatoes give you the most harvest per square foot. Ripe fruit hangs down inside the tunnel, so you pick from underneath instead of reaching over the top. Scarlet Runner Beans and Blue Lake are the varieties we have seen fill a panel fastest.
- Flowers like morning glories and black-eyed Susan vines bring pollinators in. One gardener hangs a basket from the top curve for the same effect, which saves ground space.
- Melons and small squash can climb, but they need support once the fruit sets. A full cattle panel grid holds the weight; we would not try this on a lighter trellis.
- Large winter squash and full-size pumpkins are too heavy for the arch itself. Let those sprawl, or save the arch for the vines you actually want overhead.
If you are choosing just one arch, beans and cucumbers are the forgiving starting point. They climb fast, they stay light, and the harvest hangs where you can reach it.

Sturdy & Durable Fence Post: Made from 2 mm (0.08") thick Q235 carbon steel, this fence post offers high strength and rigidity. The U-shaped channel design improves bending resistance, while the powder-coated finish provides UV protection and corrosion resistance, ensuring durability in all weather conditions.

【Heavy-Duty Rustproof Steel 】 Made from high-strength steel with a durable powder-coated finish that resists rust, corrosion, bending, and harsh weather. Built to hold their shape season after season for dependable, long-lasting outdoor performance.

Premium Durable Construction: Made of premium metal material with spray painted finish, these fence posts resist rust, corrosion, and harsh weather conditions, ensuring long-lasting performance for outdoor use. Each post features a welded metal top cap for extra protection."
Get Two People
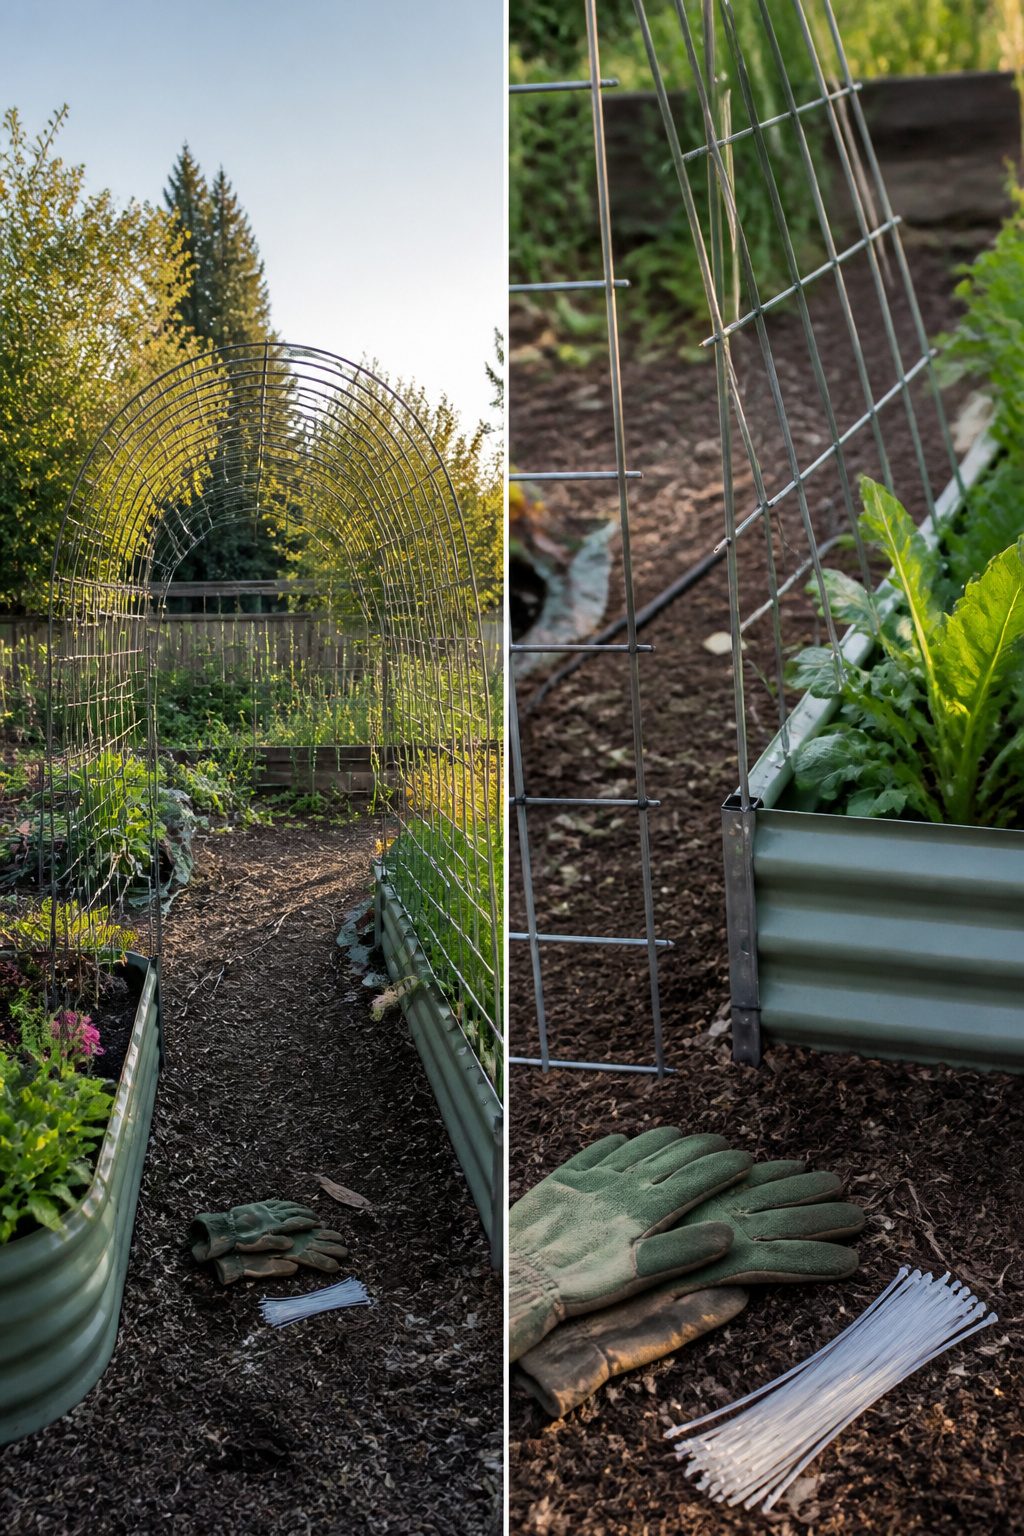
Bending a cattle panel into an arch and holding it there while you secure it is the moment this build either works or snaps back and whacks you in the shins. Do not try this alone. One person can manage the digging and the post-pounding, but when the panel goes vertical, you need a second set of hands.
We have tried shortcutting this. The panel twists, the zip ties miss their mark, and you end up with an arch that leans like it is tired of standing. Two people fixes that: one holds the free end steady while the other bends the panel over and fastens the first side. Then you switch, bend the panel down to the opposite post, and secure it before the spring tension changes your mind for you.
Three people is even better if you can talk someone into it. One person on each end keeps the panel from walking, and the third handles the zip ties or wire. If you are working with raised beds, the extra height makes the bend trickier, not easier, because the panel has farther to travel before it seats in the trench. Dig your trench first, set your posts, and have your fasteners in a pocket where you can reach them without letting go. The zip ties should go from as close to ground level as you can manage up to the top of the post, at least four per side, spaced so the panel cannot slide. Cut the tails and sand the stubs; the sharp ends will find your forearm later if you do not.

【FEATURES】Metal Zip Ties black epoxy coating process, high temperature resistance, cold resistance, rust and corrosion resistance,Stainless steel Cable Ties is anti-oxidation, anti-ultraviolet, easy to operate, sturdy and Durable

198LB ULTIMATE TENSILE STRENGTH: The laboratory measured load-bearing capacity is 198 pounds, far exceeding ordinary plastic cable ties (only 50-80 pounds), Suitable for T-post clamps, electric fence gates, fence privacy screens, barbed wire, plant covers, horizontal bars, metal fence panels, wire fence rolls, etc.

【FEATURES】Metal Heavy duty 304 Stainless steel Zip Ties high temperature resistance, cold resistance, rust and corrosion resistance,Stainless steel Cable Ties is anti-oxidation, anti-ultraviolet, easy to operate, sturdy and Durable
Frequently Asked Questions
What materials do I need to build a DIY garden trellis arch?
You need a 16-foot cattle panel about 50 inches wide, four T-posts or U-posts 4 to 6 feet tall, and zip ties. A post pounder is necessary too, but you can borrow or rent one rather than buying. The whole project runs $30 to $40 if you start from scratch.
How do I secure the cattle panel to the posts?
Zip-tie the panel to each post at four to six points, running from ground level up to the top. Pull each tie tight enough that the panel cannot shift when pushed. Add extra ties at the stress points where the panel curves around each post, then trim and sand the sharp tails so they do not catch on skin or clothing.
What plants can I grow on a trellis arch?
Beans, cucumbers, indeterminate tomatoes, and small melons all climb well. Scarlet runner beans and morning glories fill the frame fast with color and pollinators. Heavy winter squash and full-size pumpkins need to sprawl on the ground instead; the arch grid cannot support their weight once fruit sets.