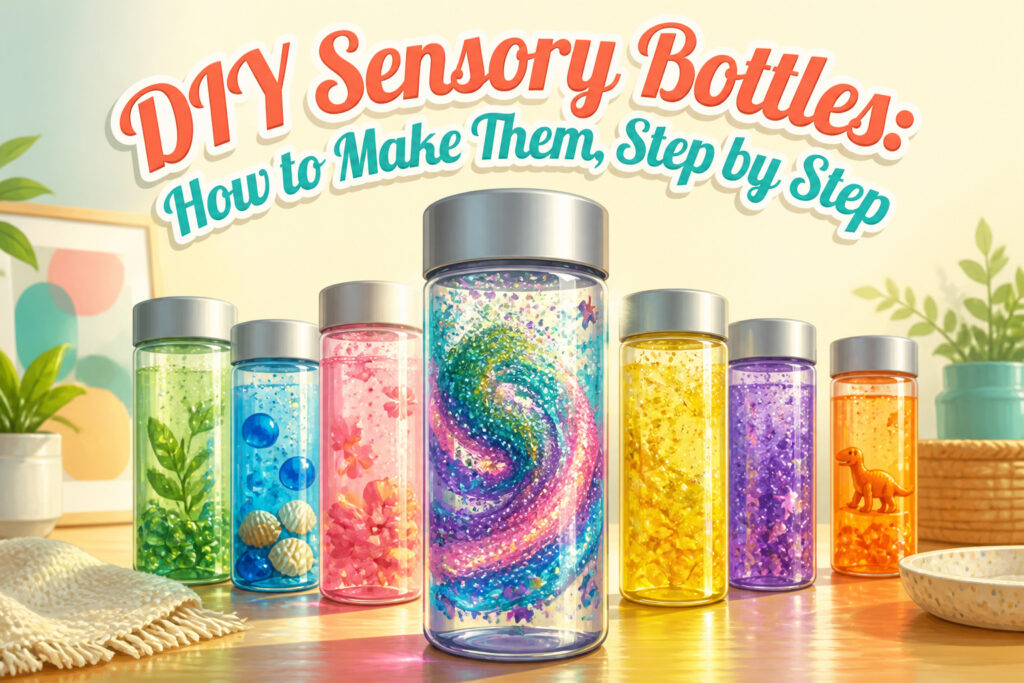
A sensory bottle is a sealed container filled with liquid and small objects that drift or swirl when shaken, used to calm children by giving their eyes one slow motion to follow.
It only works if the seal holds: a leaking bottle gets taken away, and a lid that twists off turns glitter glue into a choking hazard.
We use VOSS water bottles most often, the 500 mL plastic ones with the wide opening and flat silver cap, because they sit steady and look finished once the label glue is lifted with Goo Gone.
[link-whisper-related-posts]1. Choose a Bottle
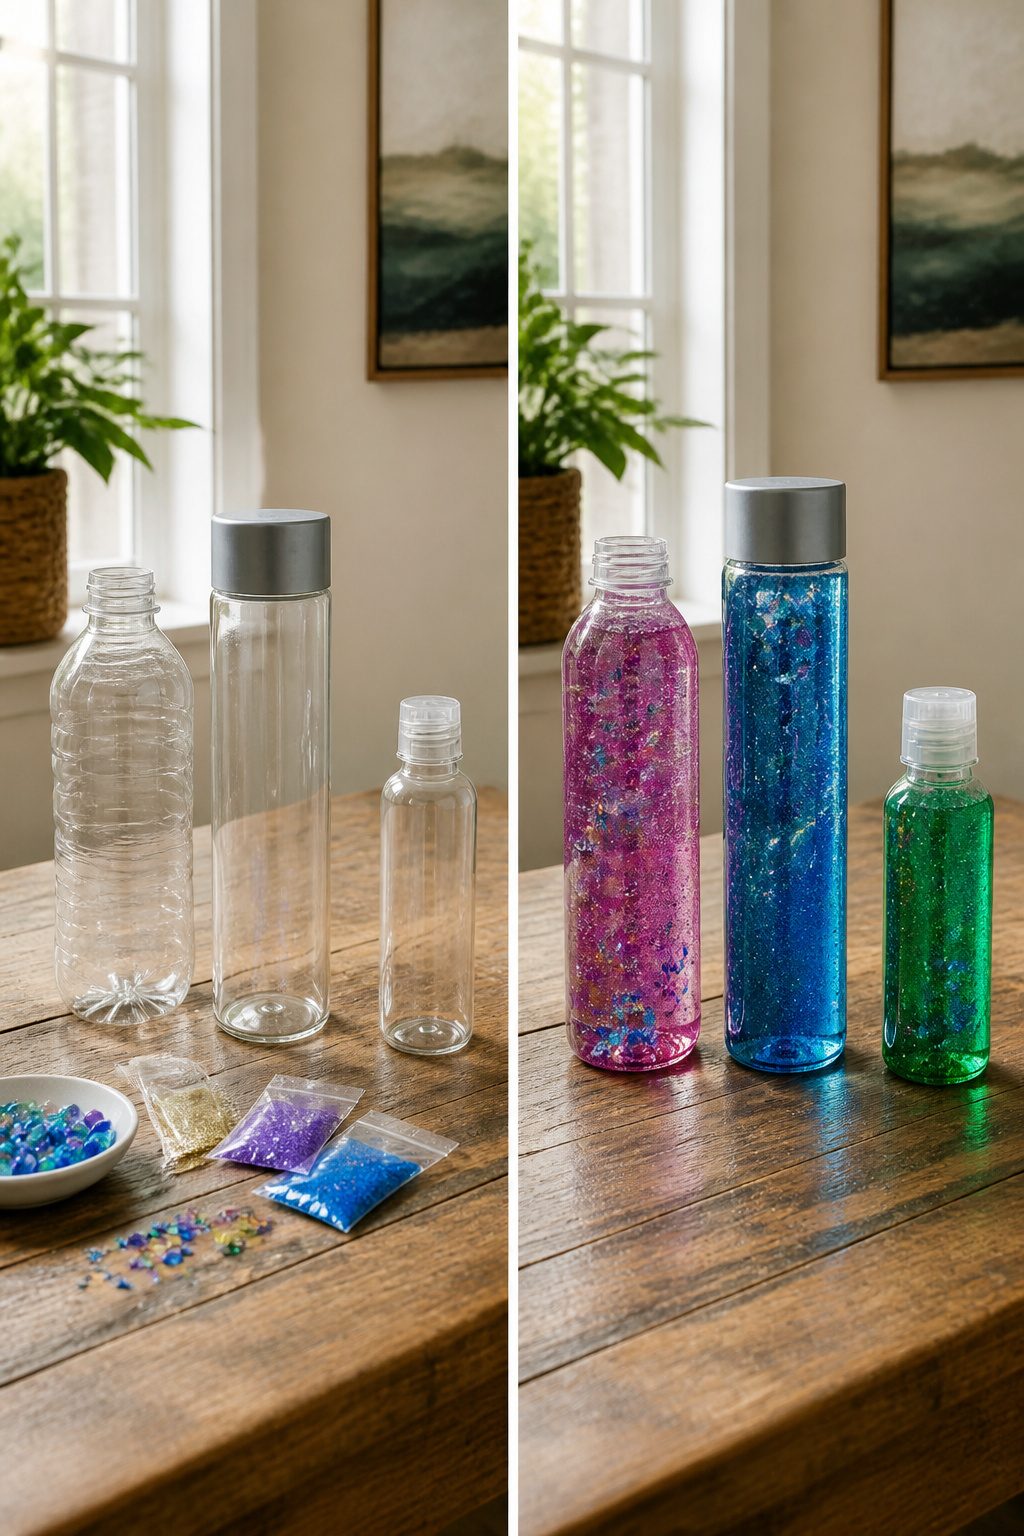
The container is your lens, so clarity matters more than anything else.
Clear plastic or glass lets the glitter, beads, or alphabet letters move the way they are supposed to, and ridged sides distort that view. We have watched smooth-sided bottles win every time.
VOSS water bottles are the most popular choice for good reason.
The 500 mL size has a wide opening that accepts larger objects, a flat bottom that sits steady on a table, and a flat silver cap that makes the finished bottle look store-bought.
They come in glass or plastic; we prefer plastic once liquid goes in, since the bottle gets heavy fast.
You will find them at Kroger, King Soopers, Walmart, Whole Foods, TJ Maxx, Target, boxed.com, or Amazon. The 11.2 oz size is the smallest and works for any age.
Sparkling ICE bottles are another smooth-sided option, sturdier than VOSS though harder to fill.
The opening is narrow and the bottom is not flat, so the bottle will not stand on its own. The tradeoff is availability; they are in most grocery stores.
If you want something smaller, dollar-store travel shampoo bottles work. The sides are usually clear, the seal is already tight, and toddlers can grip them.
Whatever you choose, test the lid. A tight seal is not optional; a sensory bottle that leaks is a sensory bottle that gets taken away.

LIQUID MOTION BUBBLER SENSORY TUBES: Slow flowing liquid and floating bubbles deliver soft visual sensory input. This fidget toy relieves anxiety and sensory overload, specially tailored for autistic kids & children with ADHD to self-regulate intense emotions.

Calming Visual Sensory Tool – These light-up glitter sensory tubes provide a peaceful, mesmerizing visual experience. As glitter and floating shapes gently swirl and settle, they function as calming toys that help promote focus, relaxation, and emotional regulation.

CALMING & CAPTIVATING: Watch the glitter (not included) swirl and settle to create a soothing visual display, If you are looking for help with stress relief and reducing anxiety a fun sensory experience awaits you!
2. Prepare the Bottle
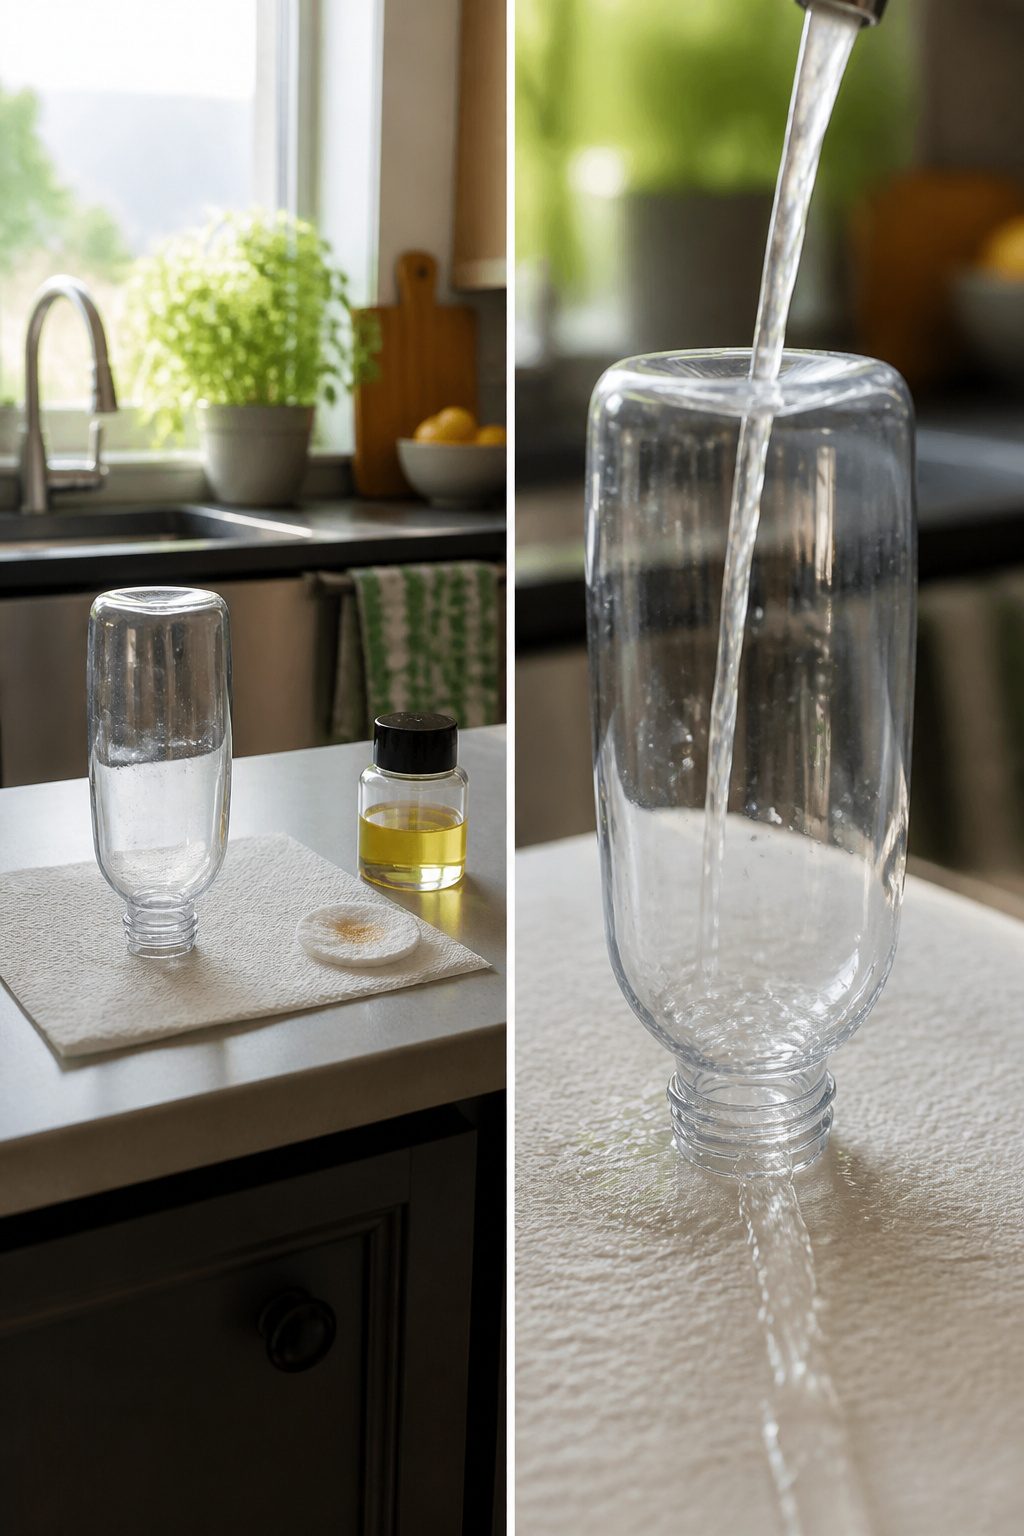
Rinse the bottle out completely, even if it held plain water. Any leftover sugar or flavoring will feed mold once the bottle is sealed, and you will not be able to scrub it out later.
Peel the label off dry if you can; water tends to tear the paper and leave more glue behind. For the residue that stays stuck, Goo Gone or rubbing alcohol on a cotton round will lift it.
We have kept the same bottle of Goo Gone for years, so the cost per project is negligible, but rubbing alcohol works about as well and most households already have it.
The adhesive needs to come off entirely: every speck shows up once liquid fills the bottle, and a fingerprint of glue turns into a visible smear under the contents.
Let the bottle air-dry open, cap off, until the inside is fully dry. Trapped moisture clouds the first pour and can dilute whatever base liquid you measured.

[ Practical Sensory Bottle Supplies ]: There are 16 pieces of empty plastic sensory bottles with 8 different colors of lids, including white, pink, purple, black, orange, green, blue and brown, enough quantity and capacity for you to use or place in daily life, family gatherings, dinner parties, picnics, BBQ or other activities
![6-Pack Bulk Empty Plastic Juice Or Water Bottles with Caps Reusable 400ml Durable Smoothie [Bottle]s with Black Lids Great Calming great for [Sensory] Crafts](https://m.media-amazon.com/images/I/41SZToLqAEL._SL500_.jpg)
LEAK PROOF- Unlike our competitors, our empty plastic bottles are leakproof by design, including a slip that helps seal the bottle when closed
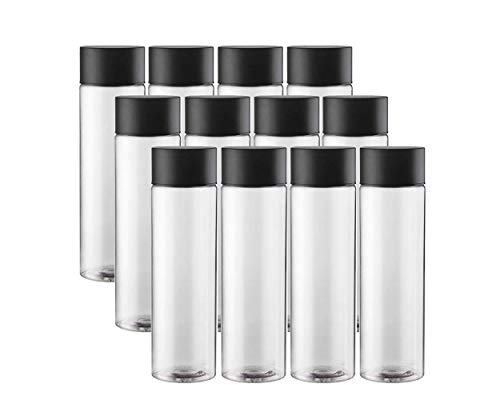
LEAK PROOF- Unlike our competitors, our empty plastic bottles are leakproof by design, including a slip that helps seal the bottle when closed
3. Add a Liquid Base
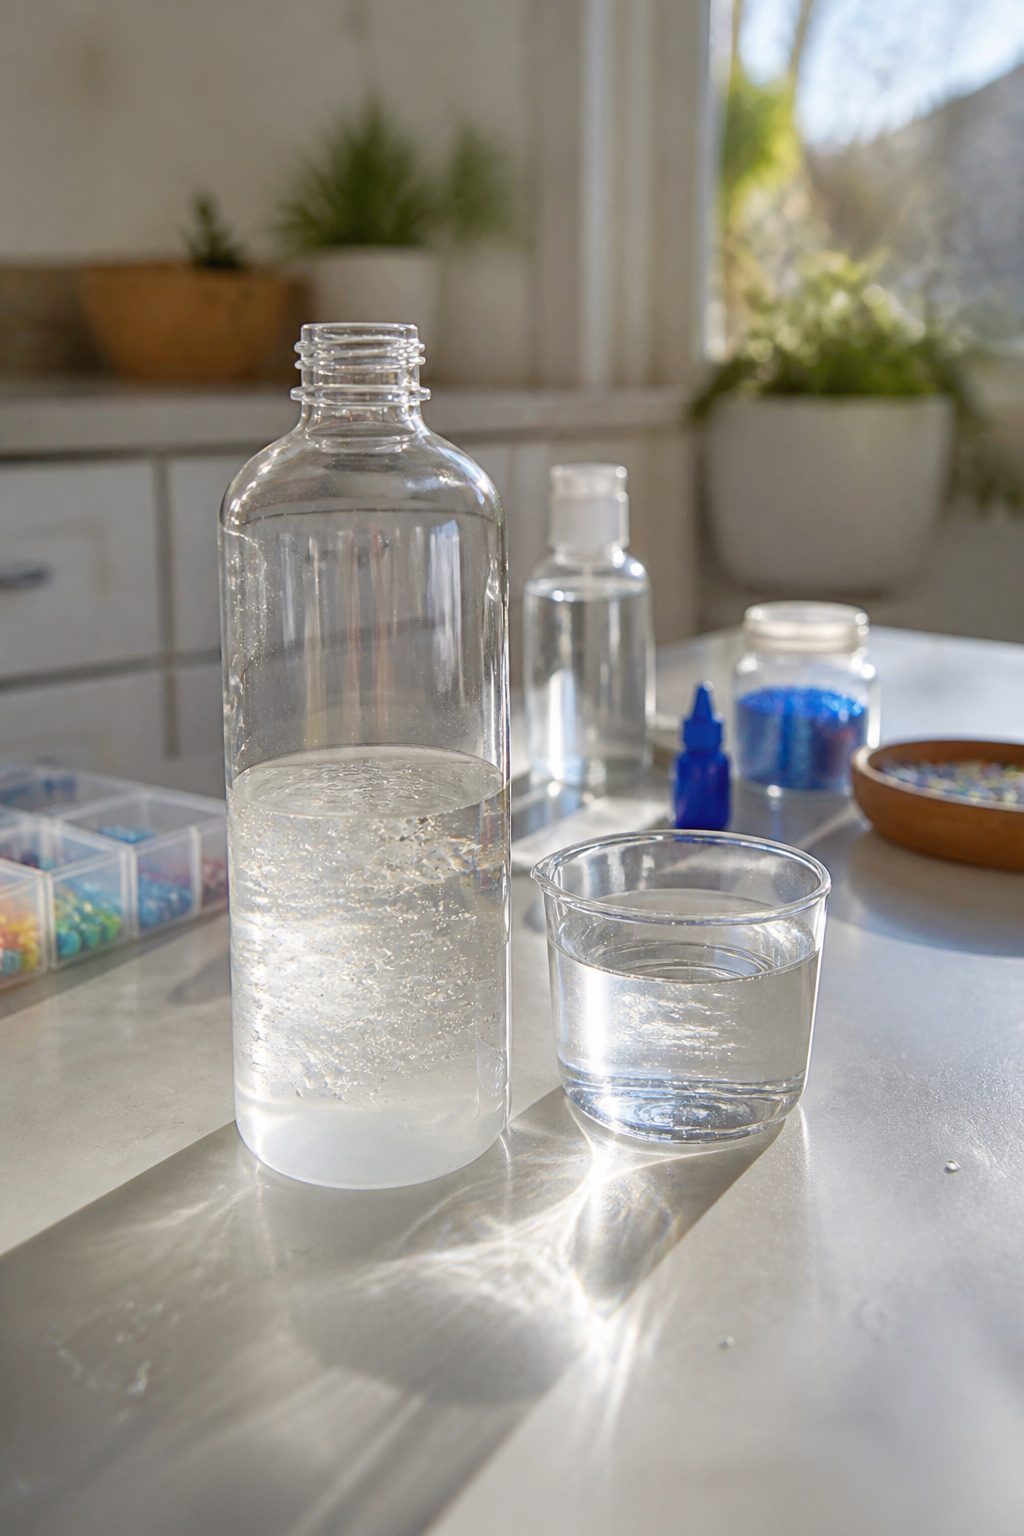
Water alone sends glitter straight to the bottom in seconds, so we thicken it.
The standard mix for a glitter bottle is one part clear glue to two parts water, which buys you a slow, drifting fall instead of a quick drop.
We fill bottles somewhere between one-third and three-quarters full of liquid total, then leave headroom for whatever goes in after.
Each base changes the physics. Clear glue suspends glitter longest; the more you use, the thicker the solution and the longer things hang in the water.
Baby oil, which is just scented mineral oil, lets glitter sink slowly too, though heavier beads may still drop faster than you want. Plain mineral oil works identically; cooking oils work but tint everything yellow.
White corn syrup, clear hair gel, clear dish soap, or glycerin will also slow the fall if you already have them on hand. We reach for glue first because the ratio is predictable and the result is reliably clear.
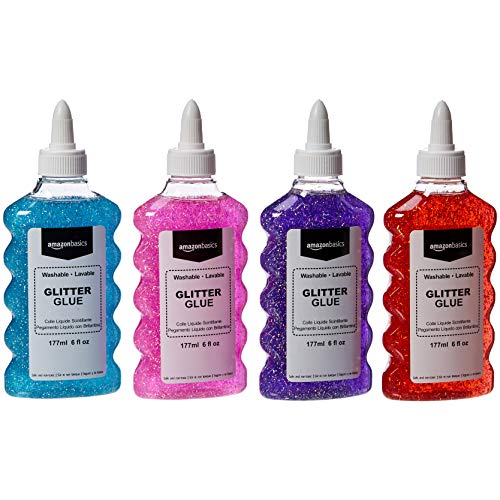
4 bottles of liquid glitter glue in purple, pink, red, and blue (6 ounces each)

The Emraw Bright Classic Colors 20 ml Glitter Glue comes in a pack of 12 bottles and its used to adds a bold, glittery pop to your crafts and school projects. This craft glitter glue is formulated to be able to stick to paper, wood and foam etc.

GLITTER SLIME FUN: Add a sparkling pop of color and shine to homemade slime creations, making slime projects more exciting for kids, classrooms, and parties
4. Add Color and Fillers
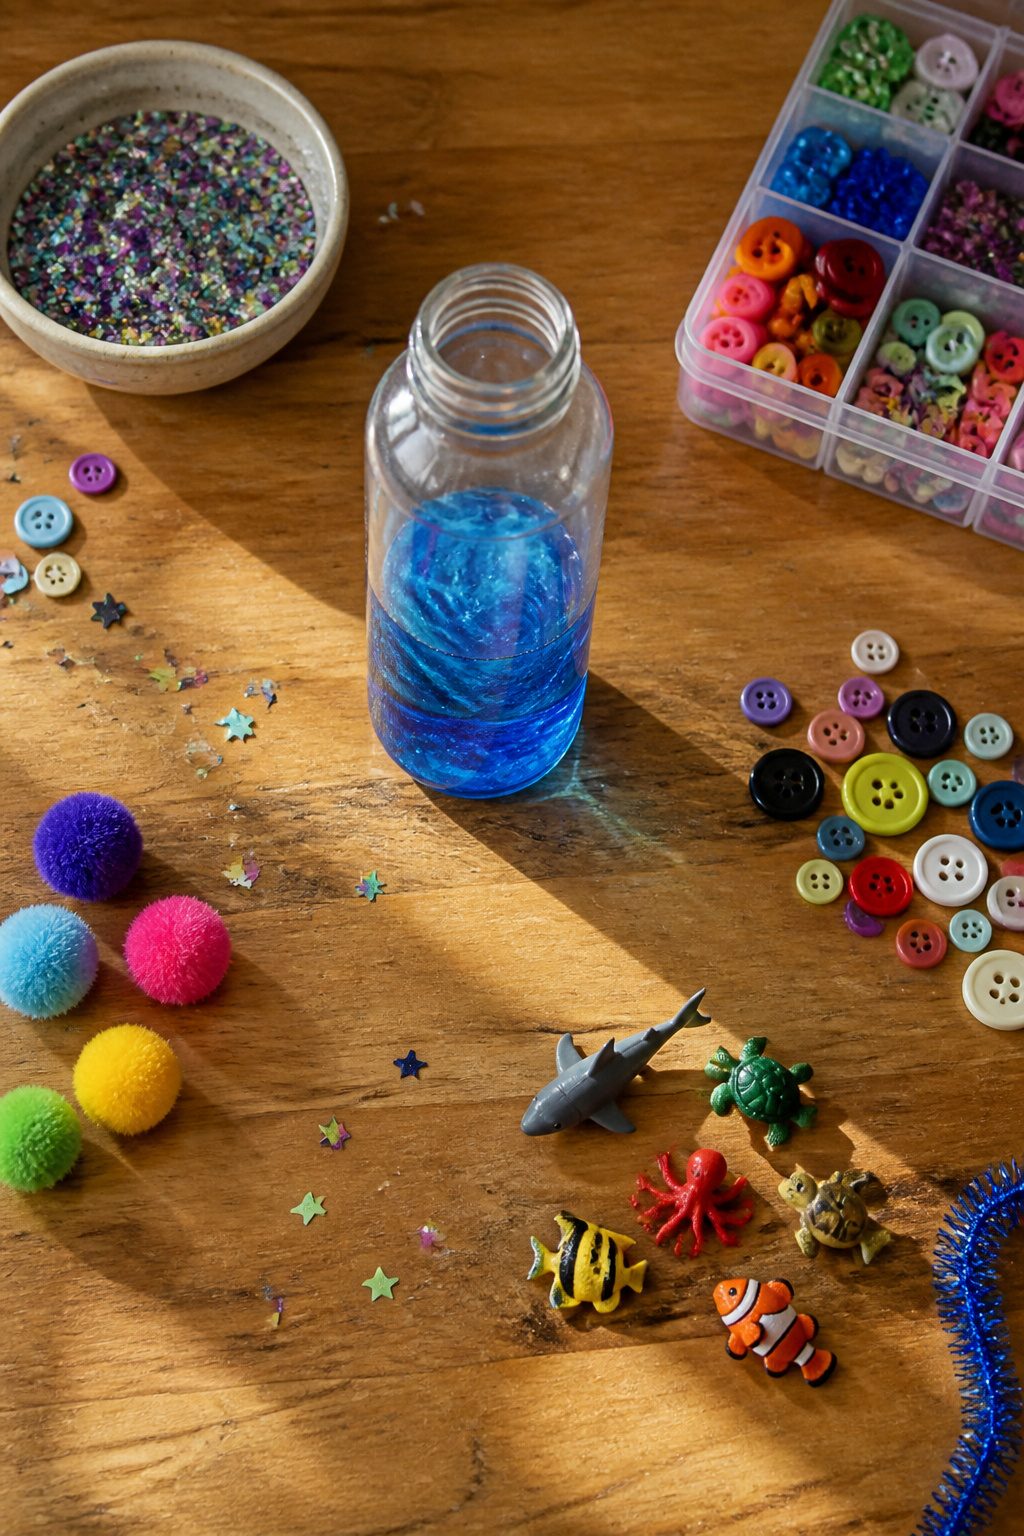
Food coloring goes in before anything else, because once the glitter is in, the bottle is a mess to dilute.
We learned that the hard way. A drop or two is plenty; the water turns fast, and you can always add more, but you cannot take it back.
Fine and chunky glitter together are worth the trouble. The fine stuff hangs in the glue solution while the heavier flakes fall, so you get two speeds at once.
Sequins catch light better than glitter alone. Buttons, beads, and tiny toys rattle when shaken and give a kid something to hunt for.
Water beads need water to stay plump, and they are a choking hazard if they escape the bottle, so we super-glue the lid the instant we are happy with the mix.
Skip the liquid fillers entirely if you are building a dry bottle with rice, beans, or sand.

⚠️ CHECK DIMENSIONS AND 32 OZ CAPACITY BEFORE BUYING⚠️ BBQ Rub & Grilling: Each wide mouth seasoning container holds dry rub for ribs, brisket and wings, and empty seasoning bottles refill from the bag

Stainless steel, spill-proof BlenderBottle, for mixing supplements and smoothies, features an easy-open/easy-close push-button flip cap with a sliding lock to prevent accidental opening

Premium Quality: Our plastic spice containers are made of high-quality plastic, durable and lightweight, and not easily broken.
5. Seal the Bottle
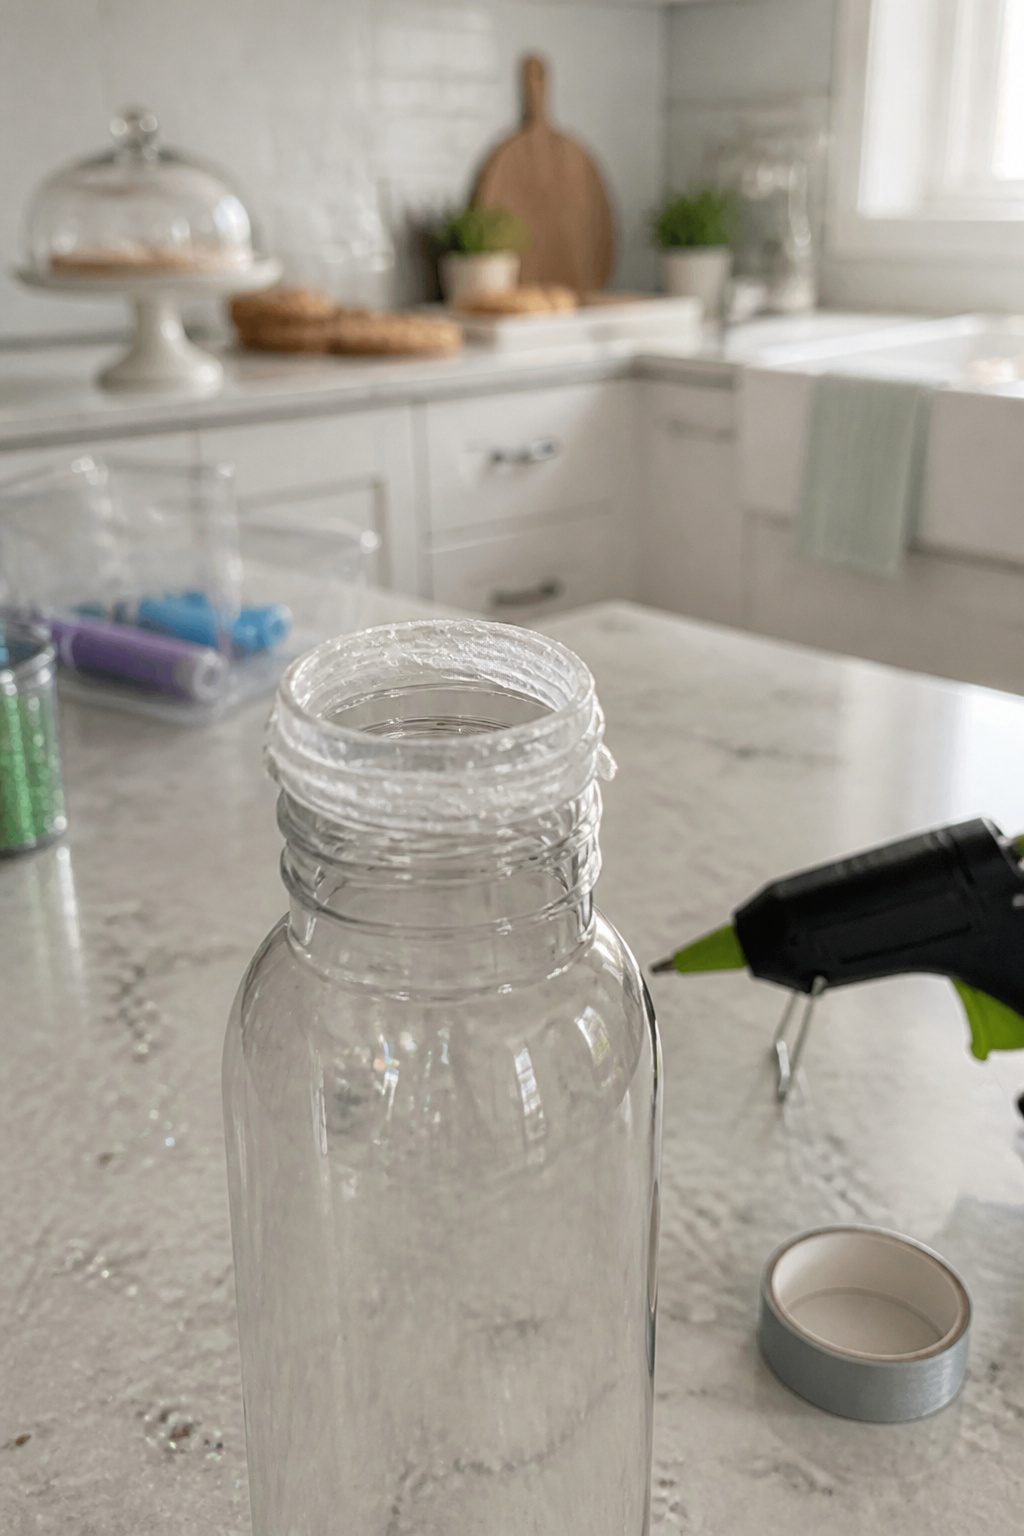
We learned this the hard way with our first batch: a bottle that looks sealed is not sealed.
Hot glue or super glue on the lid threads is what actually keeps the liquid inside, and for younger children this is non-negotiable.
A toddler who twists off a cap full of oil and glitter has a mess at best, a choking hazard at worst.
Run a solid line of glue around the inside rim of the cap, or work it into the threads, then tighten hard. Gorilla super glue sets fast; hot glue gives you a few seconds to align.
Either way, let the bottle sit untouched until the glue is fully cured, not just dry to the touch. Rushing this means finding the leak on your couch.
If the bottle contains liquid, plan on resealing it every few months.
Glue weakens with handling and temperature swings. Test the seal now and then by twisting the lid the way a small child would.
If it gives even slightly, strip the old glue and reapply. The five minutes of prevention beats the afternoon of cleanup.

Note: It's plastic, not glass.Elevate Your Beverage Experience: Introducing our premium plastic juice bottles, 12 oz smoothie Bottles are made from premium quality food-safe durable plastic with superior chemical and impact resistance, which is BPA free. , each bottle is equipped with leak proof stainless steel lids. Perfect for enjoying fresh juices, protein shakes, and creamy milk beverages, smoothie, brew, ice tea, iced coffee, nut milk, milkshakes, Kombucha or water these bottles are your go-to solution for staying refreshed and energized

Perfect for holding condiments in kitchens or in self-serve areas

Note: It's plastic, not glass.Elevate Your Beverage Experience: Introducing our premium plastic juice bottles, 12 oz smoothie Bottles are made from premium quality food-safe durable plastic with superior chemical and impact resistance, which is BPA free. , each bottle is equipped with leak proof stainless steel lids. Perfect for enjoying fresh juices, protein shakes, and creamy milk beverages, smoothie, brew, ice tea, iced coffee, nut milk, milkshakes, Kombucha or water these bottles are your go-to solution for staying refreshed and energized
6. Shake and Test
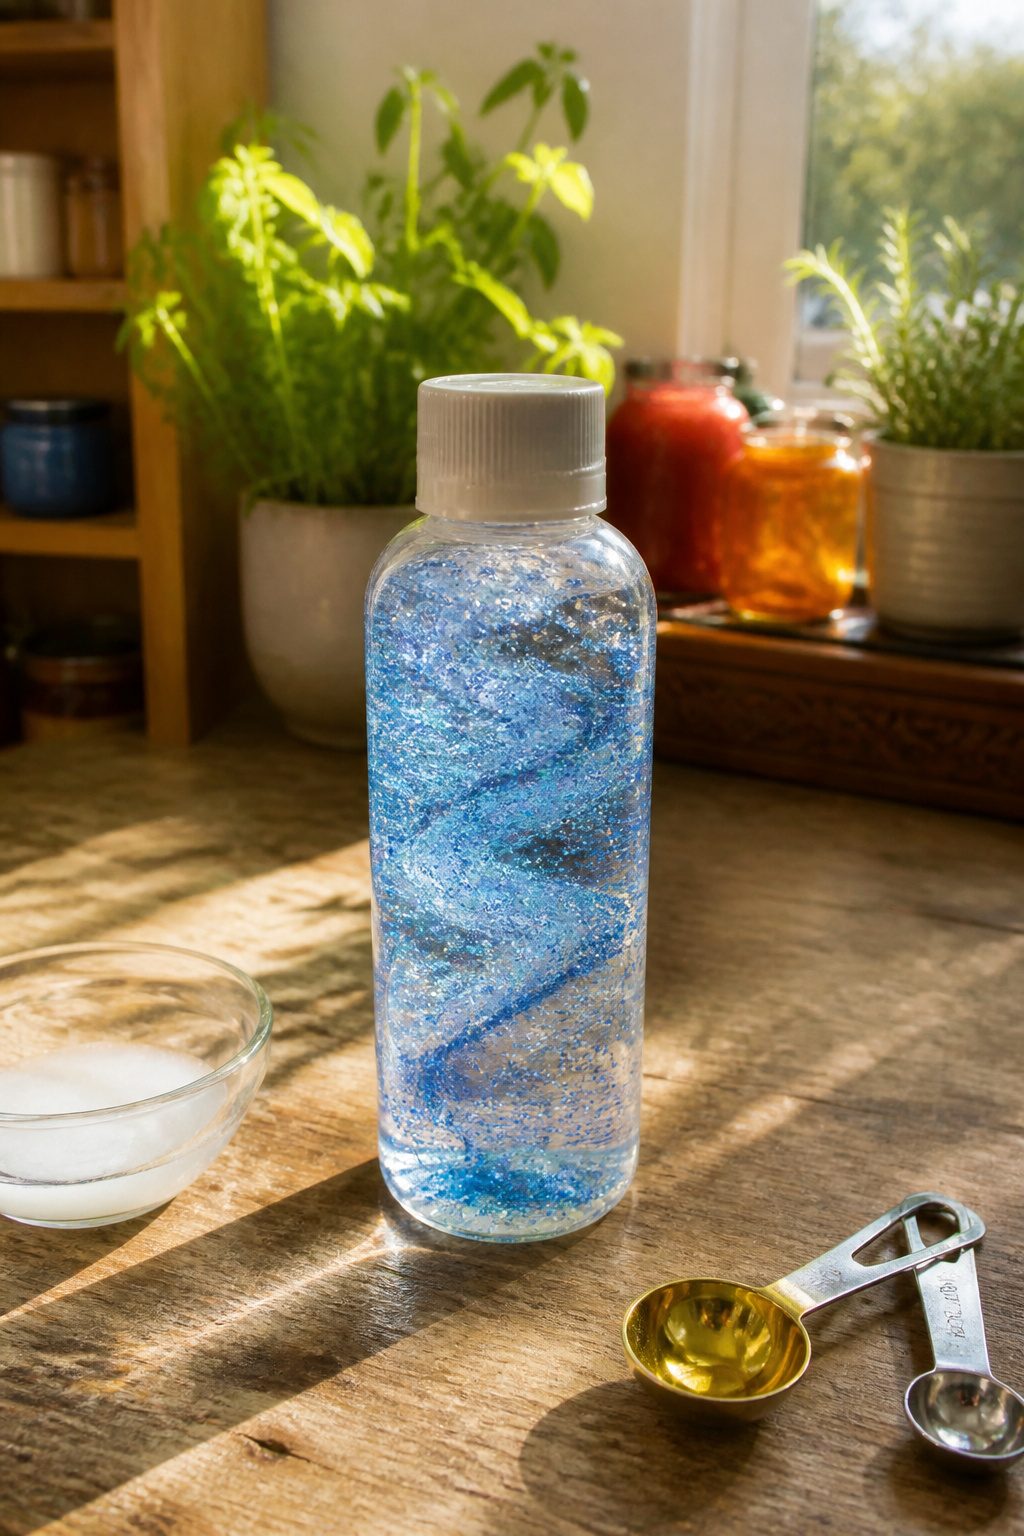
Screw the lid on tight and give the bottle a hard shake.
Set it down and watch how everything moves. If the glitter drops in a few seconds, you need more glue or glycerin; if it hangs suspended for minutes and barely shifts, add more water.
For bead bottles, the same rule applies with hand soap or dish soap instead. We usually start with about one-third glue to two-thirds warm water, then tweak from there.
Watch whether your fillers clump, float to the top, or sink straight to the bottom.
Baby oil slows glitter nicely, but heavier beads may still fall faster than you want. If the liquid looks cloudy or the motion feels off, pour out a small amount and replace it with whatever will fix the ratio.
Test again. Repeat until the fall speed looks right to you, because once the lid is sealed, you are committed.
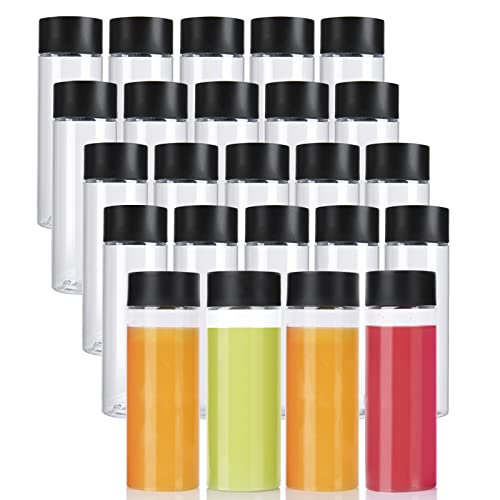
Package included: 24 Pack 10 oz(300ml) plastic juice PET bottles with black lids

Perfect Stocking Stuffers: Our Liquid motion tube doubles as a Sensory fidget , great stocking stuffers for kids with sensory interests, compact design fits stockings, delightful surprise for Christmas morning fun.

Full Bubble Kit – Iconic 4-Sphere Design for Focus: Experience the perfect blend of artistic expression and concentration with our signature bubble-shaped vessels. Featuring eight reusable empty containers, this DIY Sensory Bottle Kit allows you to craft personalized visual displays and decorative glitter bottles that promote relaxation and mental clarity. Designed with a unique, ergonomic 4-sphere grip, these professional tools are ideal for an adult mindfulness corner or a modern office setup, boosting creativity and visual wellness in any professional or home environment.
7. Glitter Bottles
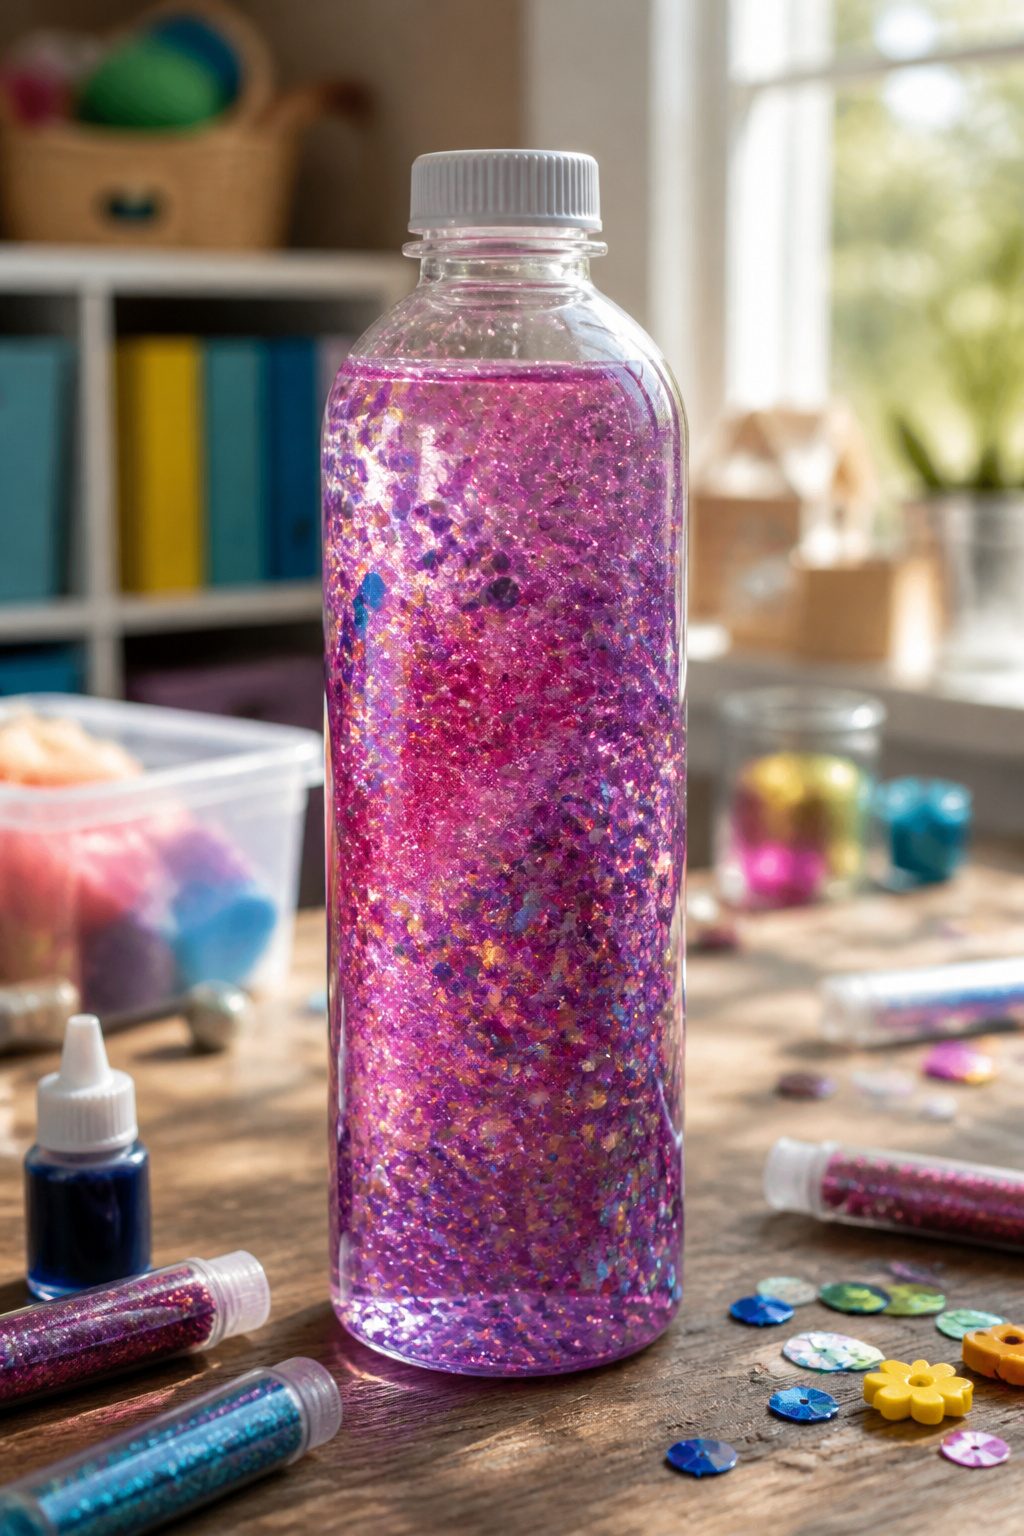
The classic glitter bottle is where most of us started, and it is still the one we reach for when a kid needs to actually calm down.
Clear glue is what makes it work. We fill about one-third of the bottle with clear glue or glitter glue, then add warm water to nearly the top.
The glue thickens the liquid just enough that glitter and sequins fall slowly, swirling for a minute or more instead of dropping instantly. That slow fall is what holds a child’s attention and lets their breathing slow with it.
Food coloring is optional, and we have learned to use a light hand. A few drops too many turns the bottle into muddy water once the glitter spreads out.
Fine glitter catches light better than the chunky craft kind, though either works if you already own it. Use glitter glue only if you have made a few bottles already; it is trickier to mix evenly than plain clear glue.
Seal the lid with super glue or hot glue after you get the swirl speed right, because once that lid is on, you do not want it coming off in small hands.

Leak-Proof Sensory & Storage Bottles: This 16-pack of clear plastic bottles with caps is perfect for creating mesmerizing sensory bottles. The guaranteed leak-proof design also makes them ideal as small water bottles or juice containers for kids’ lunches, ensuring no spills in backpacks or car cup holders.

Leak-Proof Sensory & Storage Bottles: This 16-pack of clear plastic bottles with caps is perfect for creating mesmerizing sensory bottles. The guaranteed leak-proof design also makes them ideal as small water bottles or juice containers for kids’ lunches, ensuring no spills in backpacks or car cup holders.

Rich in Quantity: Comes with 24 sensory bottles with lids, the sufficient quantity can easily meet your daily use and decoration needs for storing small items and drinking water. Please note: only support hand washing.
8. Water Bead Bottles
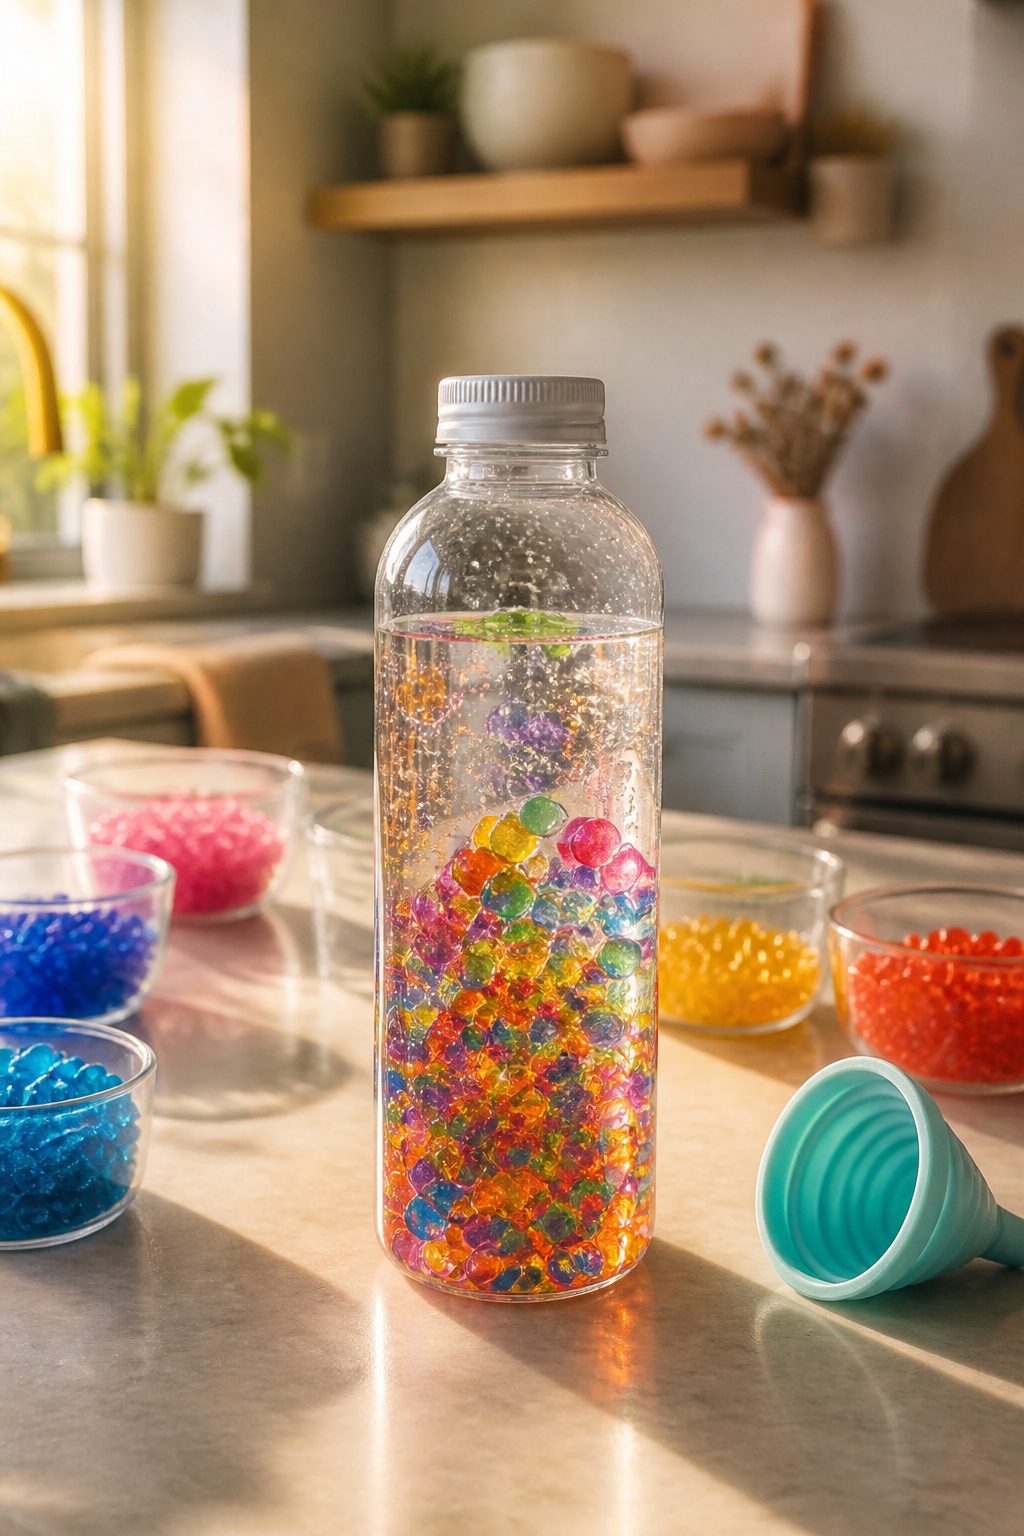
Water beads move nothing like glitter. Where glitter hangs suspended, catching light in slow drift, hydrated water beads sink and tumble with real weight, rolling over each other in layers you can stack by color.
We made the mistake of sorting ours after they had already swollen to marble size, and they shot across the kitchen like tiny escape artists.
Sort them dry, while they are still the size of pinheads, then add water and wait the several hours they need to reach full size.
You will find water beads in the floral section of most craft stores, sold for vase filler, or with the kids’ activity kits.
A funnel is the only way to get them into the bottle without chasing them across the floor.
We layered ours about an inch thick per color and still had to dump the first attempt and start smaller to fit six colors in.
The texture is the point here: slippery, cool, and solid enough that a child can track each bead’s path as it falls.
Seal the lid with superglue when you are done. The beads will keep for months if the bottle stays closed.

Bold colors

GLITTER GLUE: 6 classic glitter glue tubes, 0.67 Oz each, that bond and sparkle in one step, leaving a sparkly raised line of color.
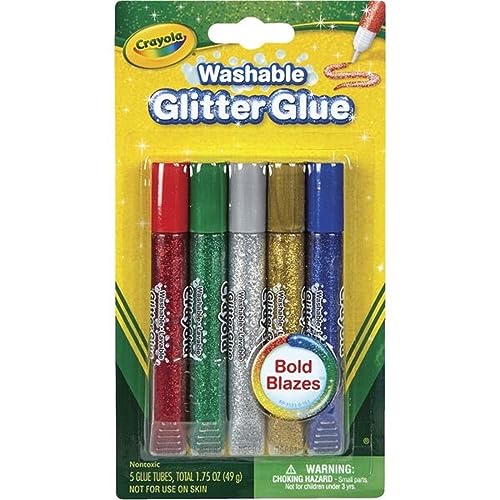
CRAYOLA GLITTER GLUE: Includes 5 Glitter Glues in assorted colors with an intense sparkling formula.
9. Glow-in-the-Dark Bottles
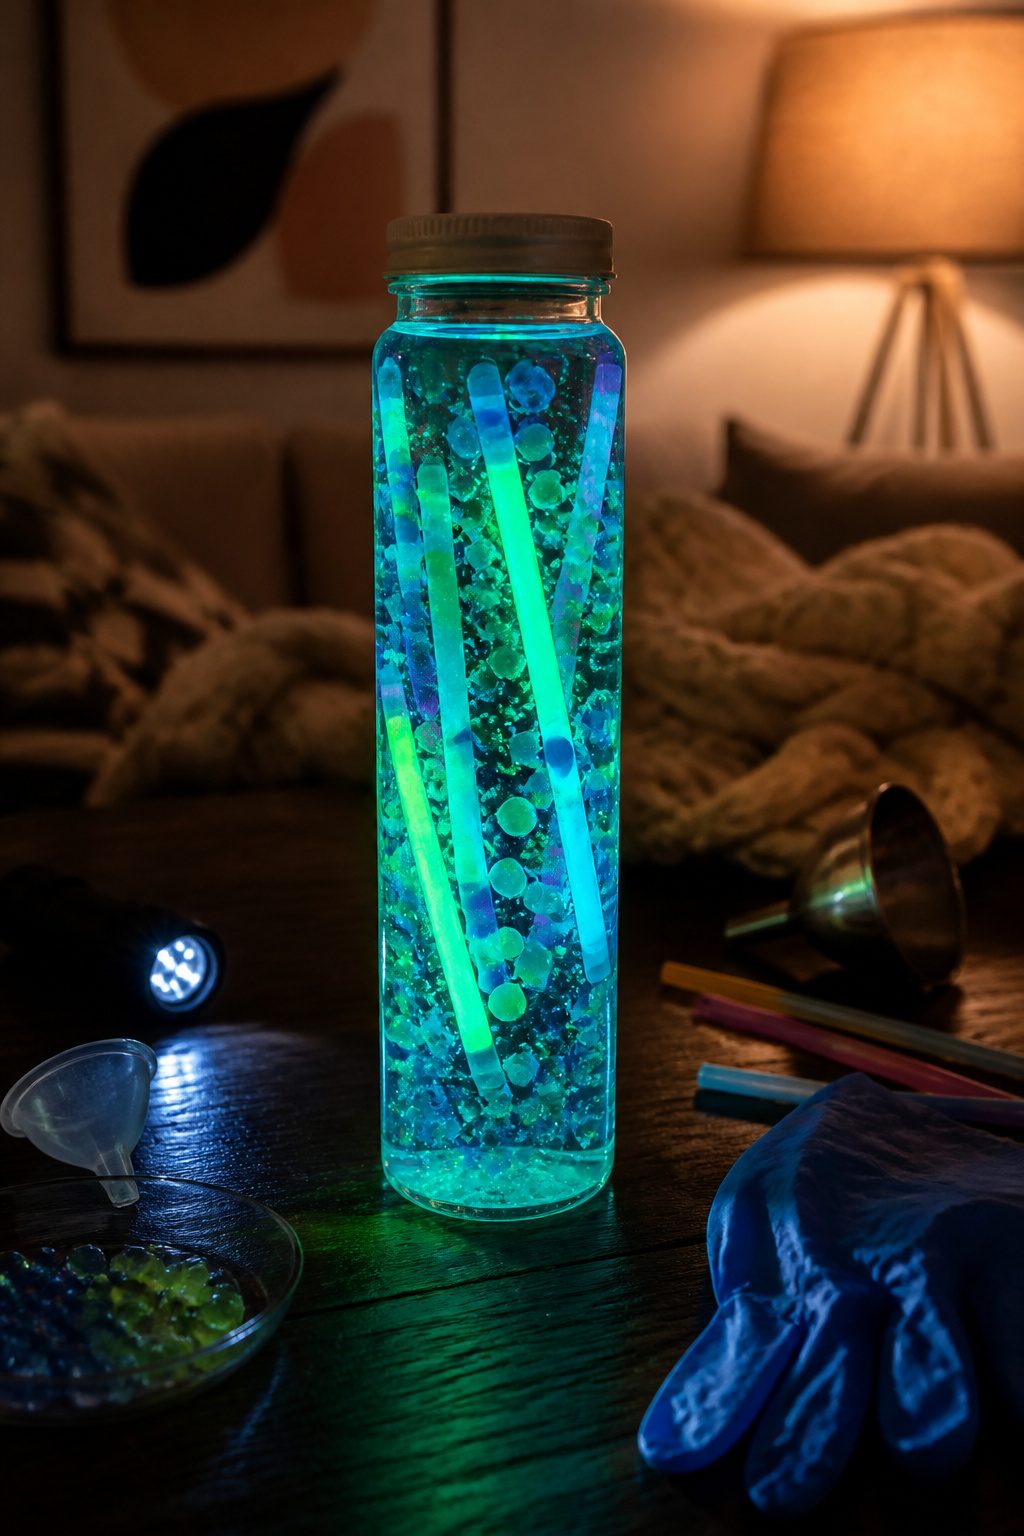
Glow sticks give you the brightest glow for a sensory bottle, and they last about four to six hours once you crack them.
We have also used glow-in-the-dark paint and water beads, but those need a charge under a lamp first and fade faster.
If you want the bottle to sit on a nightstand and actually stay useful through bedtime, go with glow sticks or glow bracelets instead of paint.
To activate a glow stick, bend it until you hear the inner capsule snap, then shake it so the chemicals mix.
You can drop the whole stick into the bottle, or cut it open and pour the liquid in for a stronger effect.
If you cut one, wear gloves and eye protection, and wipe any spill off skin immediately; the chemicals are low-toxicity but they irritate.
Seal the lid with hot glue or super glue either way, because a leak in the dark is a mess you will not notice until morning.
Clear hair gel keeps glow beads or paint flecks suspended where you put them, while water or diluted glue lets everything float to the top.
That suspension matters if you want the glow to read as a nightlight shape rather than a clump at the lid.

Stainless Steel Construction: Spill-proof shaker bottle made of BPA-free stainless steel for mixing supplements and smoothies.

Features: The spice bottle lids are two sided flip tops for shaking or pouring spices, one side has holes for a shaker, the other is for putting a measuring spoon into or pouring

Large Capacity: Our clear plastic jars have a 16oz capacity for storing a variety of dried spices, seasonings, herbs, powders, glitter, bath salts, crafts, and more.
10. Lava Lamp Bottles
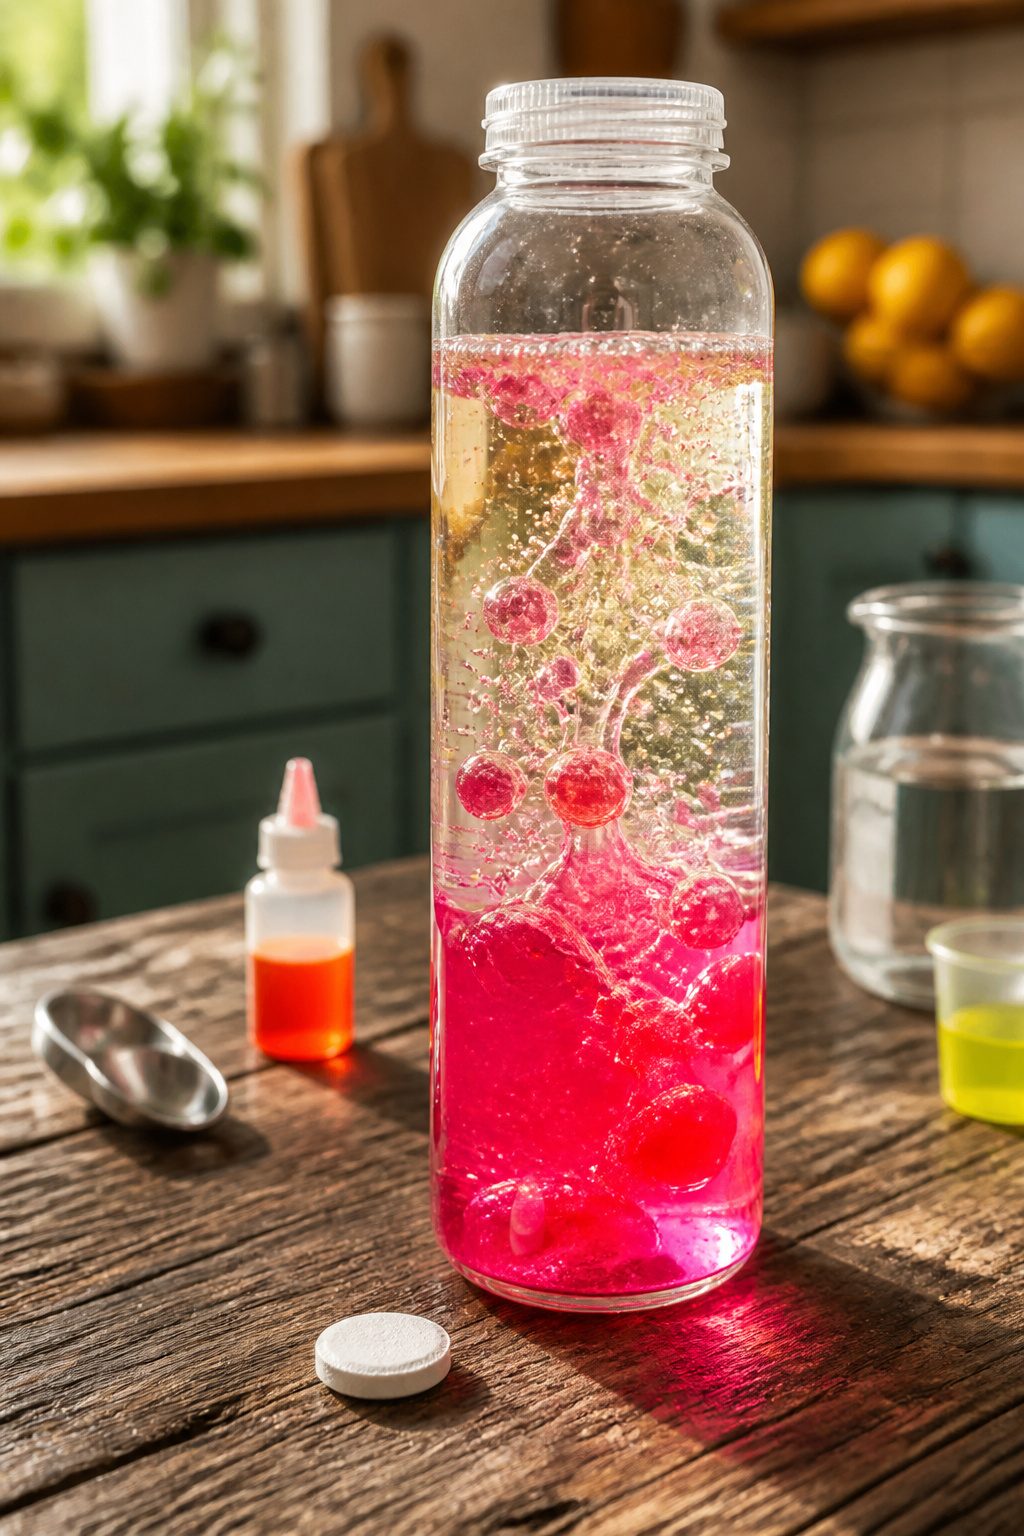
Baby oil and water do not mix, and that resistance is what drives the whole effect.
Fill a bottle roughly one-third with water, tint it with food coloring, then pour in baby oil until about an inch of space remains at the top.
The oil settles above the water in a clear layer because it is less dense.
Drop in an Alka-Seltzer tablet or a color tablet and it sinks to the water layer, fizzing out gas bubbles that grab some of the colored water on their way up.
Each bubble is a tiny elevator: water hitches a ride through the oil, reaches the surface, releases the gas, and the water droplet sinks back down.
The oil never mixes in because it is hydrophobic, so the cycle repeats until the tablet dissolves. Baby oil works better than cooking oil here because it stays crystal clear instead of adding a yellow cast that muddies the color.
For a glow version, add glow-in-the-dark glitter or beads and use neon food coloring before you seal the bottle.
The tablets run out, but the bottle stores fine at room temperature; just add another tablet whenever you want the motion back.

12 oz Capacity – Wide mouth for thicker sauces and ingredients

Package Contains:12 pack 12 oz plastic squeeze condiment bottles allows for a variety of kitchen & craft applications.

12 oz plastic bottles with caps made of plastic. Clear body makes it easy to see and grab what you want
11. I Spy Bottles
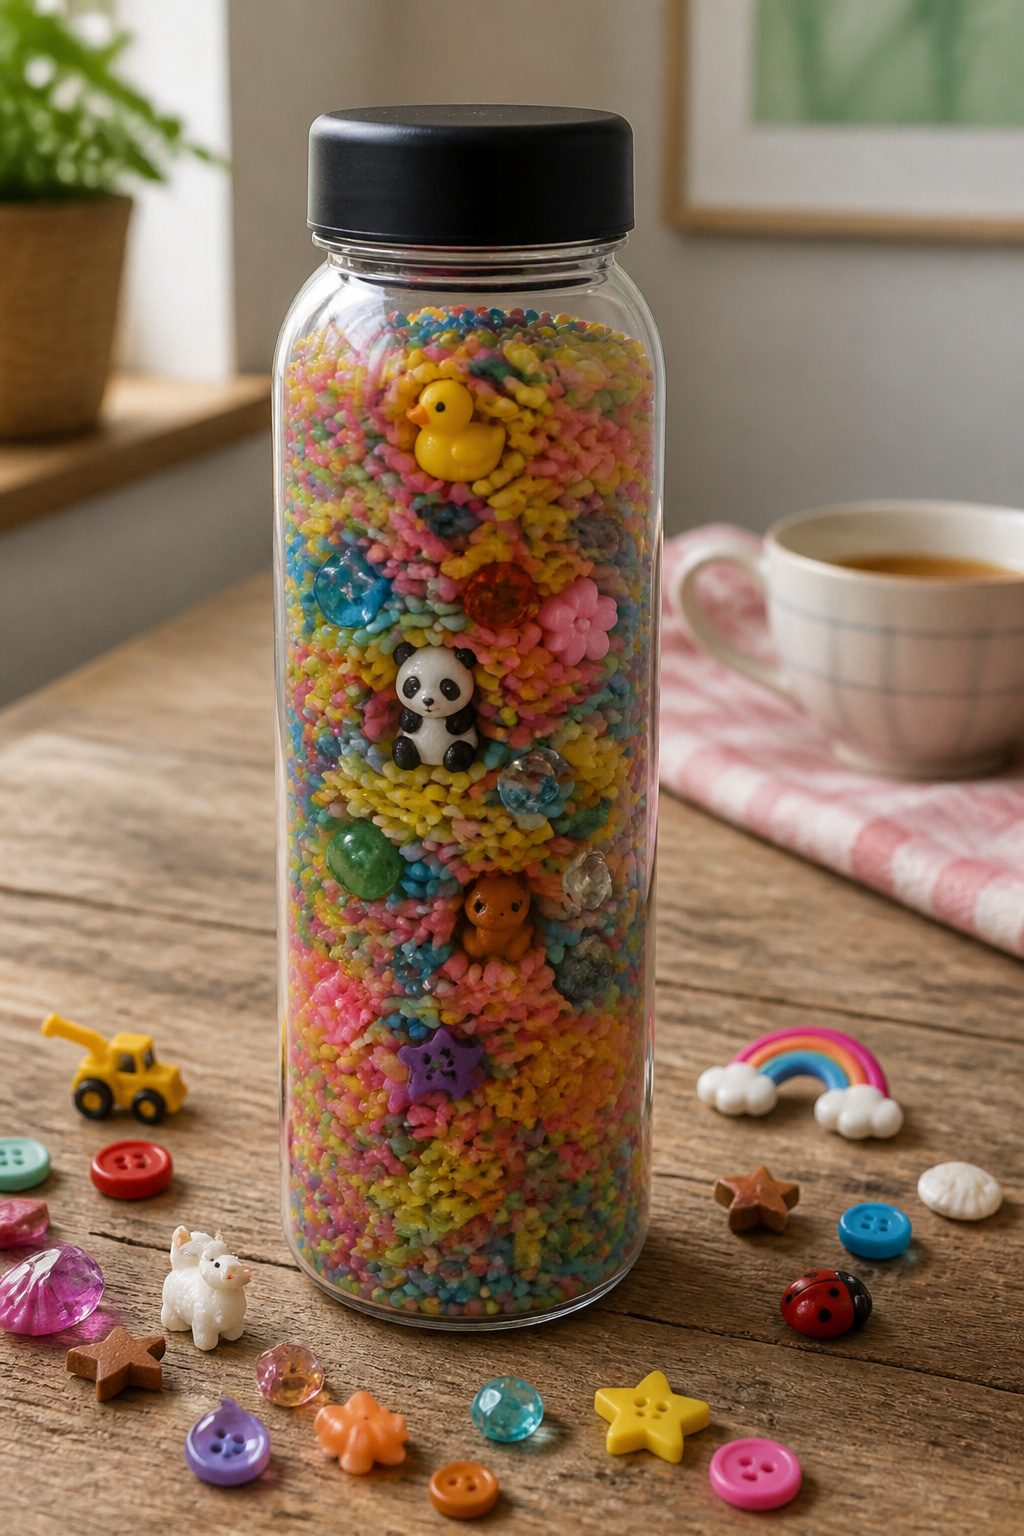
Rice or small beads make the best fill for an I Spy bottle because they hide the objects inside and create a satisfying rattle when shaken.
We learned the hard way that the bottle has to be completely dry first; any moisture left inside will cloud up once the rice starts moving around.
A funnel saves the mess we made the first time pouring rice straight from the bag.
Fill the bottle half to three-fourths full so the contents can still shift and tumble. Drop in your hidden items next, anything small and weighty enough to stay mixed in.
Buttons shaped like fish, stars, or dinosaurs work well, though anything heavier than glitter will need more glue to keep the lid secure. Test the shake before you seal it permanently.
Write out a checklist of what is hidden inside. The hunt shifts the bottle from calming to actively engaging, and the checklist lets you play together instead of just handing it over.
Super glue the lid, add duct tape over the seal if you want extra insurance, and let the glue dry before the first hunt begins.
What Sensory Bottles Do
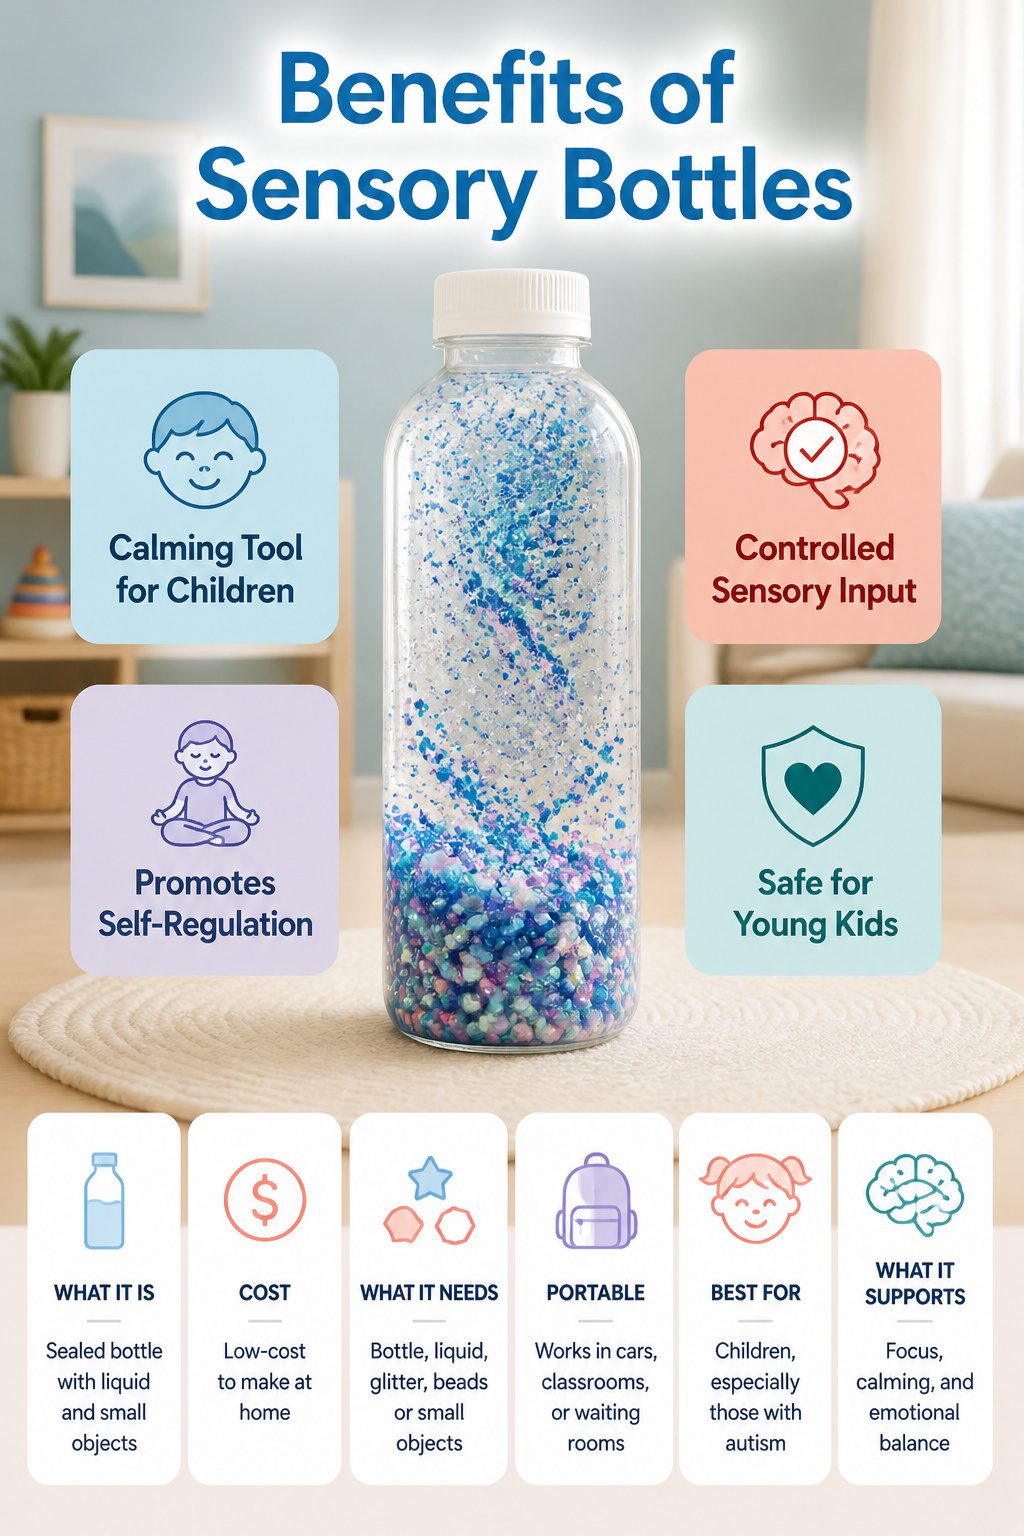
A sensory bottle is simply a sealed container, usually a plastic bottle, filled with liquid and small objects that drift or swirl when you shake it.
The motion holds attention without demanding anything back, which is why it works as a calming tool.
For children, the effect is practical. Watching glitter settle or beads float gives the mind a single point to rest on, which blocks outside distractions and lets emotions cool down.
Parents of children with autism often find this especially useful; the bottle offers controlled sensory input in a portable form that works in cars, classrooms, or waiting rooms where overstimulation hits hardest.
The bottles also serve younger kids who are not yet safe with loose small objects.
Beads, sequins, and pom poms that would be choking hazards become explorable when sealed inside liquid. That safety factor matters, but the real value is emotional.
A child who is upset can shake the bottle, then watch the contents settle, matching their own breathing to the slowing motion. It is a self-regulation technique they can manage alone.
Materials You Need
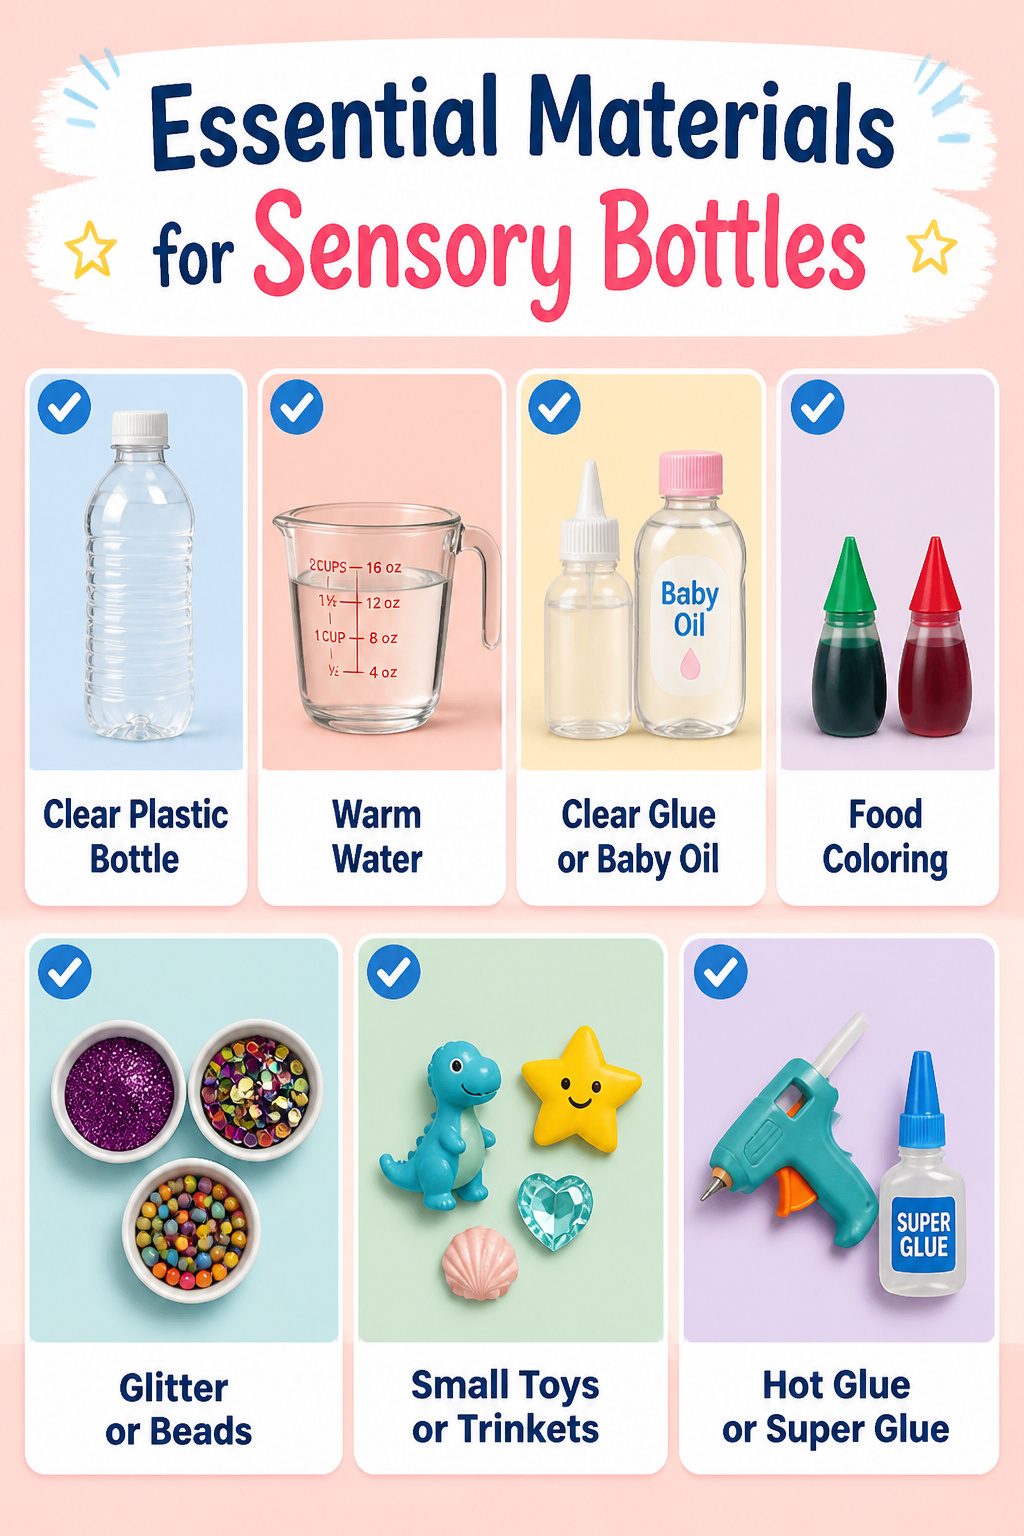
Most of what you need for a sensory bottle is probably already in a drawer or costs a dollar.
- Clear plastic bottle or jar with a tight-sealing lid — recycled water bottles work fine; Voss bottles stand upright on either end, which is useful
- Warm water — half the bottle, roughly; warm helps the glue mix without clumping
- Clear glue or baby oil — clear glue suspends glitter longer; baby oil or mineral oil lets items drift more slowly, though cooking oil tints everything yellow
- Food coloring — one or two drops, added early so you can dilute if you overshoot
- Glitter, sequins, or small beads — fine glitter swirls slower than chunky shapes
- Small toys or trinkets — optional; leave an inch or two of headroom if you load these in
- Hot glue or super glue — for sealing the lid once you are happy with the mix
We skip the craft-store markup by raiding the recycling bin and the dollar-store baby-oil shelf. The whole batch runs a few dollars, most of it reusable across several bottles.
Seal It Safe
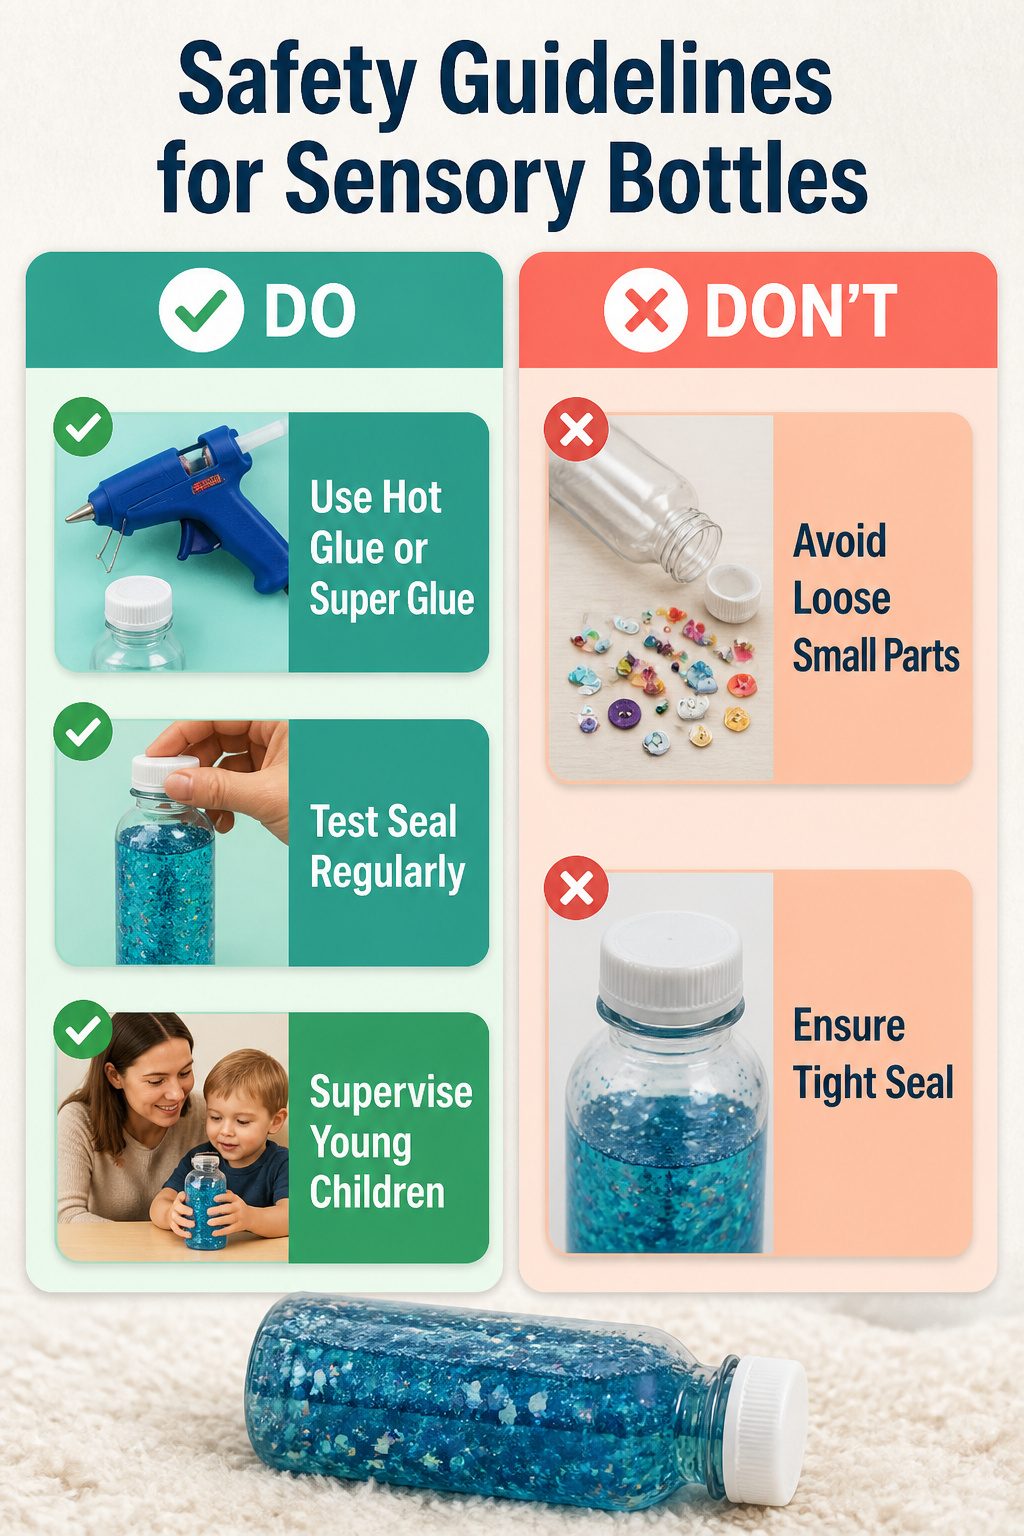
A sensory bottle is only as safe as its seal.
We have seen too many projects fail because the lid twisted off during play and glitter glue ended up on the carpet, or worse, a small child got the cap in their mouth.
Use a hot glue gun or Gorilla super glue to lock the lid in place, and do not rush the drying time.
If your bottle holds liquid, the glue will weaken over time, so test the seal every few months by twisting the lid gently. If it gives even a little, reapply glue before the bottle goes back into circulation.
For younger children, the sealed lid is still not a toy itself.
Supervision matters, especially with kids who tend to put things in their mouths. We would not hand a water bead bottle to a toddler without staying within arm’s reach, and the same rule applies here.
Check your seals the way you would check a car seat: periodically, carefully, and without assuming the last application still holds.
Frequently Asked Questions
What materials do I need to make a sensory bottle?
A clear plastic bottle with a tight lid, warm water, clear glue or baby oil, food coloring, glitter or sequins, and hot glue or super glue to seal the cap.
Most households already have several of these items, and the whole project runs a few dollars.
How do you seal a sensory bottle?
Run hot glue or super glue around the inside rim of the cap or into the threads, then tighten hard and let it cure fully.
Test the seal every few months by twisting the lid the way a child would; if it gives even slightly, strip the old glue and reapply.
What can I put in my sensory bottle?
Glitter, sequins, beads, buttons, tiny toys, water beads, rice, beans, sand, feathers, pom poms, seashells, or googly eyes. Fine and chunky glitter together give two speeds of motion, while small trinkets turn the bottle into an I Spy hunt.