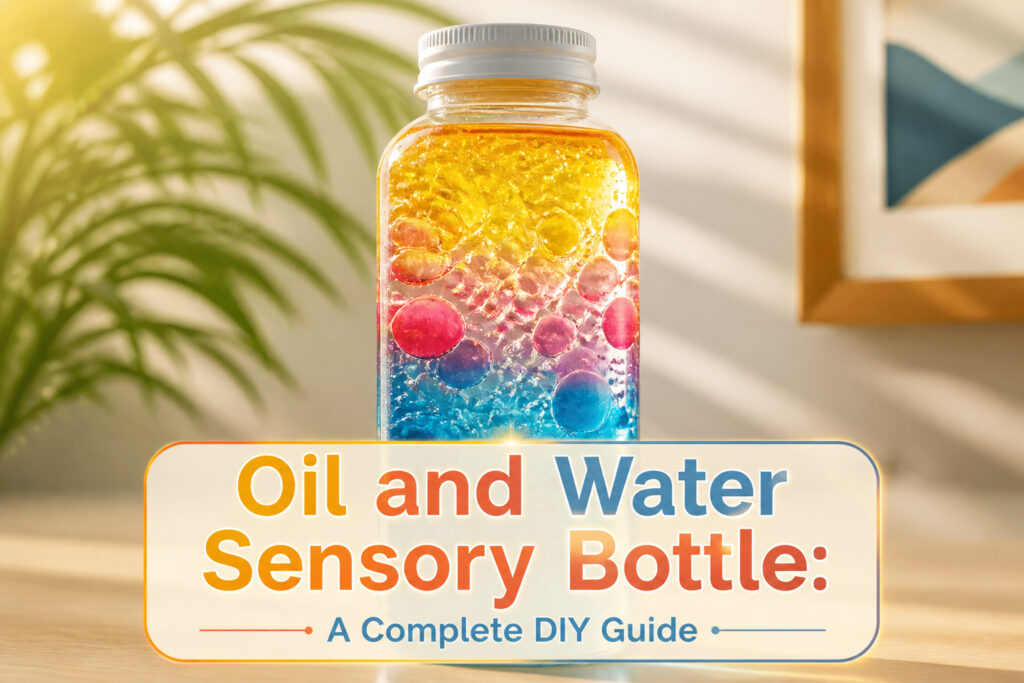
An oil and water sensory bottle is a sealed container of vegetable or baby oil and water that children shake to watch the two liquids separate back into layers. The effect only works because oil and water molecules repel each other, a property you can see in action when the oil rises in slow, pale blobs after a hard shake. Baby oil gives the clearest view and slowest movement, but vegetable oil from your pantry still works if you do not mind a yellow tint muting your colors.
[link-whisper-related-posts]What an Oil and Water Sensory Bottle Is
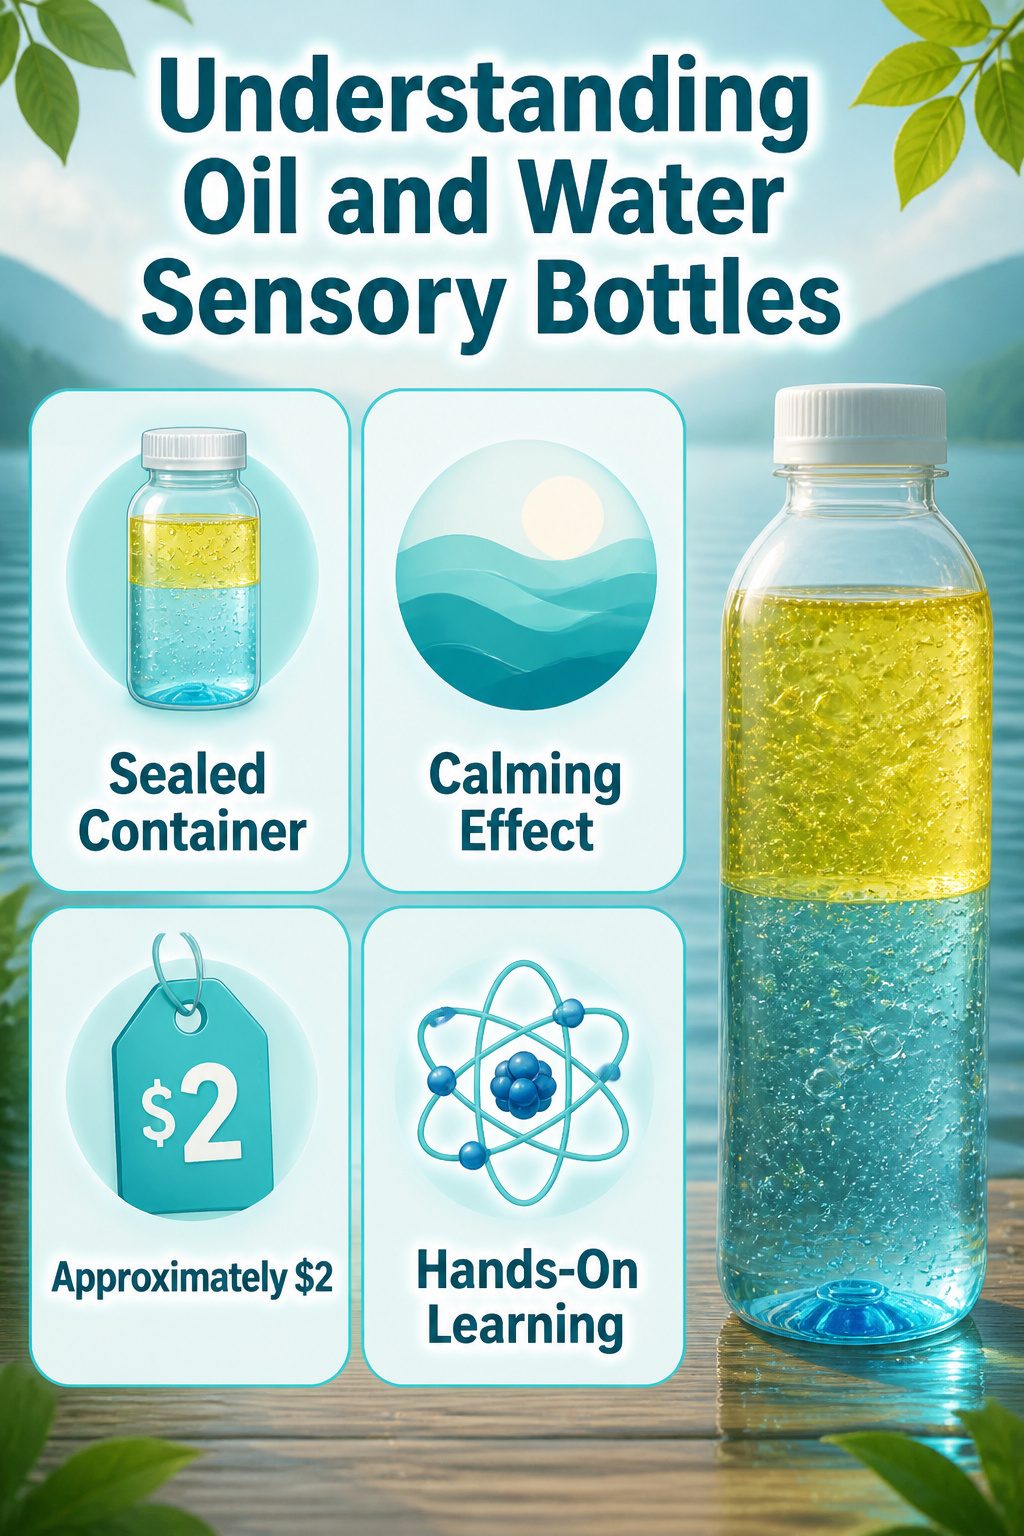
An oil and water sensory bottle is a sealed container, usually a plastic bottle or jar, that holds vegetable oil and water together so children can watch the two liquids refuse to mix. Water molecules and oil molecules are built differently, so they do not attract each other. That is why the oil floats in a layer on top no matter how long the bottle sits.
Shake it hard and the liquids will cloud together for a moment, then slowly separate back into two clear bands. The effect is calm to watch, almost like slow-motion waves, which is why some people keep these bottles on a desk as a stress toy, not just in a playroom. For kids, the draw is partly the visual and partly the small science lesson packed into something they can control with their own hands. They learn density by seeing it, not by reading about it.

Upgrade Style : Added pillars and spiral tracks, so that the water droplets move with the spiral track, and the neat and orderly water droplets move down at a certain speed, bringing visual enjoyment
![6-Pack Bulk Empty Plastic Juice Or Water Bottles with Caps Reusable 400ml Durable Smoothie [Bottle]s with Black Lids Great Calming great for [Sensory] Crafts](https://m.media-amazon.com/images/I/41SZToLqAEL._SL500_.jpg)
LEAK PROOF- Unlike our competitors, our empty plastic bottles are leakproof by design, including a slip that helps seal the bottle when closed

Practical Sensory Bottle Supplies: there are 16 pieces of empty plastic sensory bottles with 8 different colors of lids, including white, pink, purple, black, orange, green, blue and brown, enough quantity and capacity for you to use or place in daily life, family gatherings, dinner parties, picnics, BBQ or other activities
Materials You Need
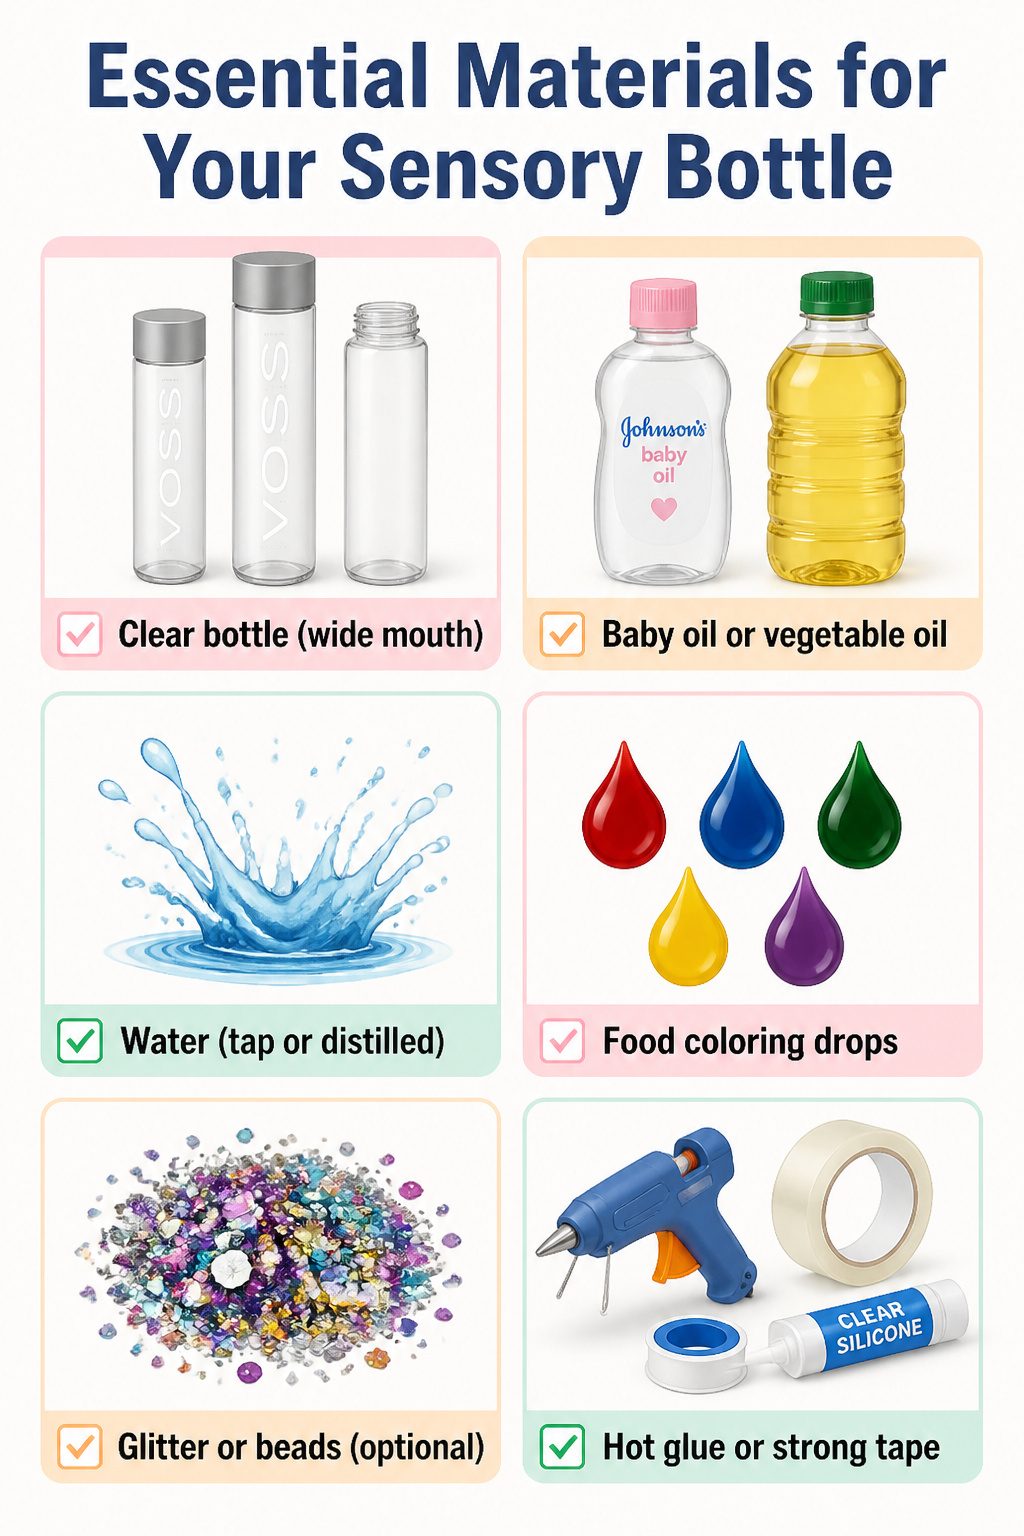
We keep the list short because most of these items are already in the kitchen or the bathroom cabinet.
- A clear bottle with a wide mouth. Voss water bottles come up often for this; the labels peel clean if you go slowly, and the opening is wide enough to pour through without a funnel.
- Baby oil or vegetable oil. Baby oil wins for clarity and slower movement through the bottle. Vegetable oil is cheaper and easier to grab on a regular grocery run, but it carries a yellow tint that will shift whatever color you add.
- Water. Tap water works; distilled keeps the bottle from turning cloudy after a few months.
- Food coloring. Liquid drops, any brand.
- Glitter or small beads, optional. Go with larger-cut glitter. Fine and extra-fine sizes clump against the sides of the bottle and stay there.
- Hot glue or strong tape for the lid. Thread seal tape plus clear silicone is another way to lock it down if you already have hardware-store supplies on hand.

【Quantity Assurance】The packaging includes 600 pieces of shrink bands, ensuring an ample supply to meet your packaging needs.

Size and Material: These sample containers with lids measure about 1.2 inch/3cm in diameter,0.6 inch/1.6cm in height.Made of high quality plastic material,resistant to breaking and leaking out,durable and convenient to use.Large quantity for different use and serve for a long time
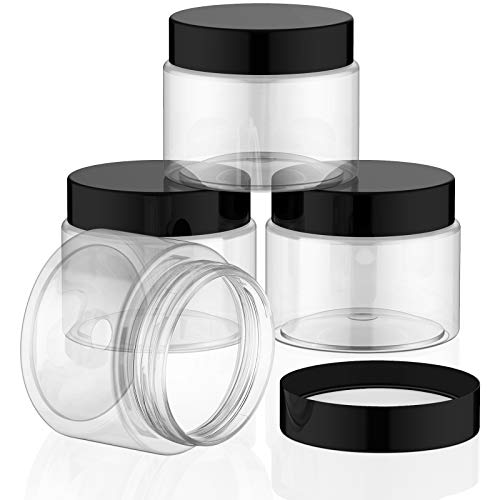
What You Receive: there are 4 pieces plastic jars with black screw-on lids; They are durable and refillable, measuring about 5.2 cm/ 2.05 inches in diameter, 4.3 cm/ 1.7 inches in height
Filling the Bottle
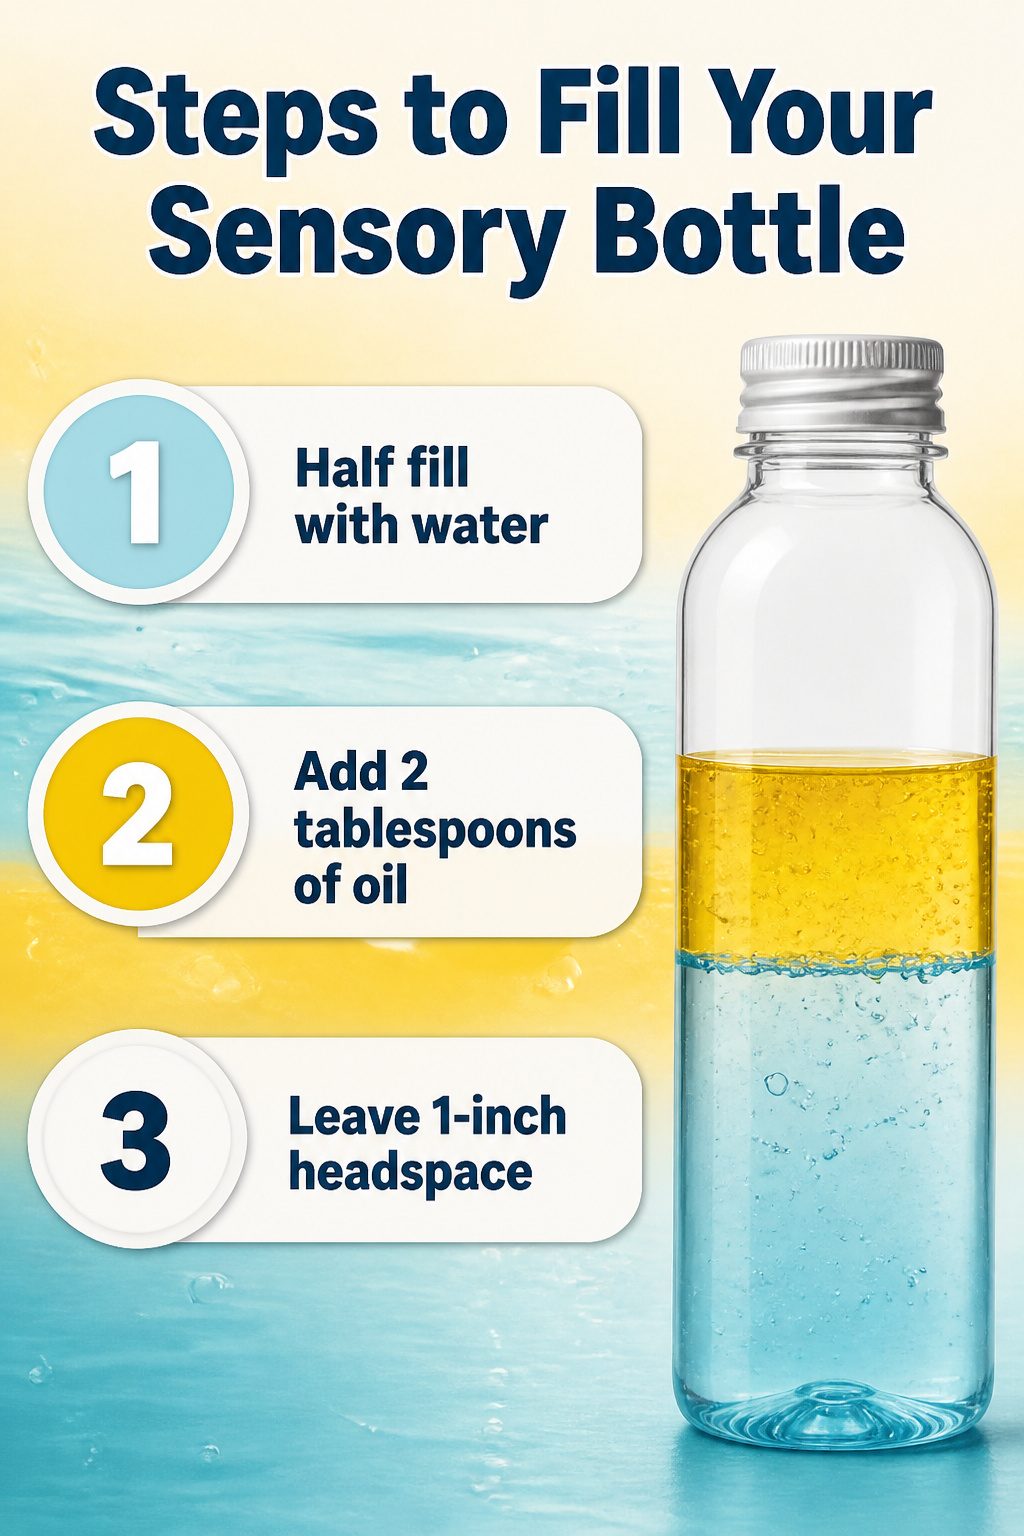
- Fill your bottle halfway with water. This is your base layer, and getting the proportion right matters more than the exact ounce count.
- Add about 2 tablespoons of oil, pouring slowly so it stays on top rather than mixing in. We have found vegetable oil and baby oil both work here; the oil will sit above the water no matter which you choose.
- Leave roughly an inch of headspace at the top. Without that gap, the bottle has no room to slosh. The oil and water need space to move past each other when you tip or shake it, and a full bottle just locks everything in place.

Accurate Scale: Each dropper has a clear scale: 1ml, 2ml, 3ml, 4ml, 5ml. The scales are engraved, not printed, very clean, sanitary, wear-resistant and durable.

Sensory bottles: Sensory bottles are a safe and soothing sensory aid for children. They are filled with sensory materials that provide visual stimulation and can help children self-regulate their bodies and emotions. It is a perfect tool to promote relaxation and calm in babies, young children and preschoolers.

Captivating Visual Sensory Toy – Swirling glitter and gently moving liquid capture baby's attention and naturally draw curious little eyes. This visual stimulation toy supports early tracking, visual focus, and attention development from as young as 0 months — an engaging and developmentally supportive sensory toy from the very start.
Adding Color and Effects
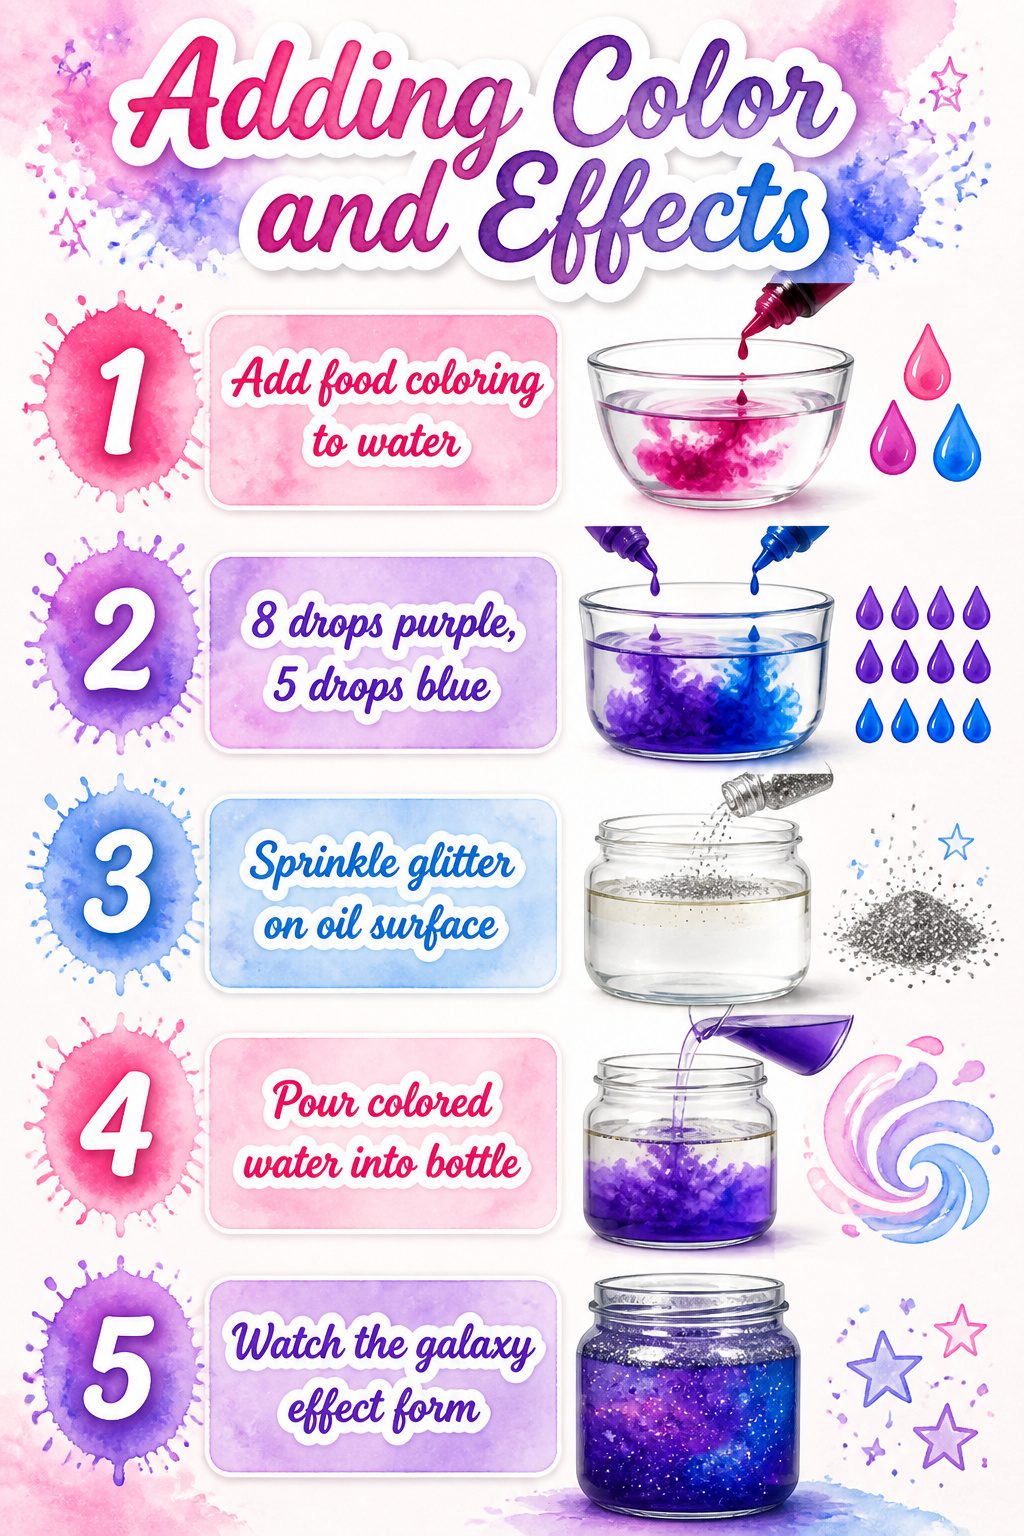
- Add food coloring only to the water, never to the oil. Standard grocery-store food coloring is water-based, so it will sink through the oil and color the water layer beneath while the oil stays clear. If you see the oil itself turning color, you may have picked up an oil-based dye by mistake; Wilton’s Candy Colors are one example that will tint oil.
- For a galaxy effect, we use 8 drops of purple food coloring and 5 drops of blue stirred into the water before you pour it in. Watch the drops bead on the oil’s surface for a few seconds, then break through and billow downward into the water layer. The purple hue will fill the lower half while the upper half stays transparent.
- Silver glitter is optional. If you want it, sprinkle a decent layer across the oil surface before you add the colored water. Finer glitters have a tendency to cling to the bottle sides, so we reach for a 1/24 size when we have it. The glitter will drift through the oil and settle slowly into the colored water when the bottle sits still.

Different Sensory Experience: One Liquid motion bubbler timer contains 2 colors inside, When they coincide, a 3 color will appear; another one running down the stepped like slime or pea, and there are two more The wheel turns with it, is very interesting, giving you different sensory experience

Motion Fidget Toy – Wrapped in a soft silicone outer casing with unique carwash texture, our Liquid Motion Bubblers creates a stunning visual effect while offering a fun experience that brings smiles to both kids and adults.

Mesmerizing and Meditative | Highly beneficial for individuals dealing with Autism, ADHD, and Anxiety. The enchanting movement of colors and patterns serves as a powerful visual tool, promoting relaxation and enhancing concentration.
Sealing It Shut
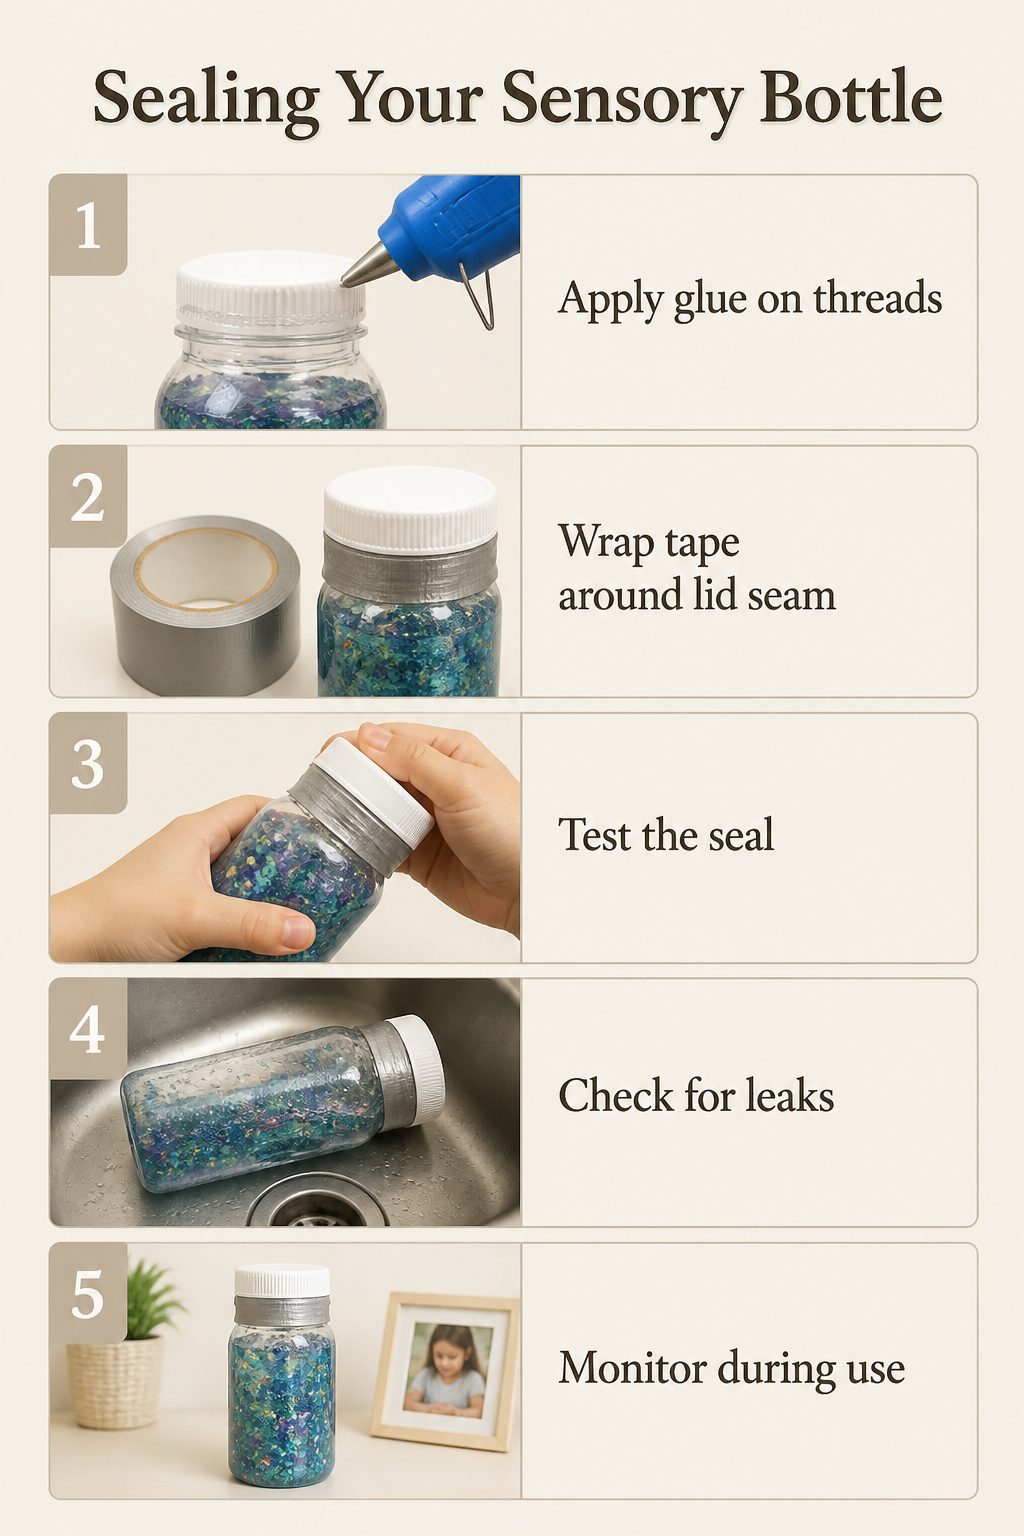
- Run a line of hot glue or super glue around the threads of the bottle, then screw the lid on tight while the glue is still workable. This bonds the plastic threads together and keeps small hands from twisting it open.
- If you do not want to commit to permanent glue, wrap strong adhesive tape around the seam where the lid meets the bottle. Duct tape works for this; it seals the gap and adds enough friction that a child cannot grip and turn.
- Test the seal by gripping the body and trying to twist the lid with about the force a determined four-year-old would use. If it shifts at all, add another layer of tape or strip it and reapply the glue.
- Lay the bottle on its side over a sink for a few minutes and watch for any slow seep of oil. A leak you miss here ends up on carpet later, so this check is worth the extra minute.
- Keep the bottle in sight during the first few uses even after a clean test. Glue can fail at a weak spot, and tape loosens over time with handling.

Leak-proof Cap: Our condiment squeeze bottles are built with a high-tech leak-proof design. Perfect as oil bottle, syrup bottle, oil dispenser, salad dressing bottle, ketchup squirt bottle.
【Fine Mist Spray Bottle】Yolaist small spray bottle delivers even, gentle spray for face toner, facial mist, hair styling, and makeup setting spray. The ergonomic curved finger space and spring-loaded button make it easy to pump evenly. Ideal as a facial mister, hair water spray bottle, or daily skincare spritzer

★Package Includes: 4 pack 1oz (30ml) clear glass eye dropper bottles + 1 stainless steel funnels + 4 labels. Size - 1.3 inch wide, 4 inch height.
Using and Observing
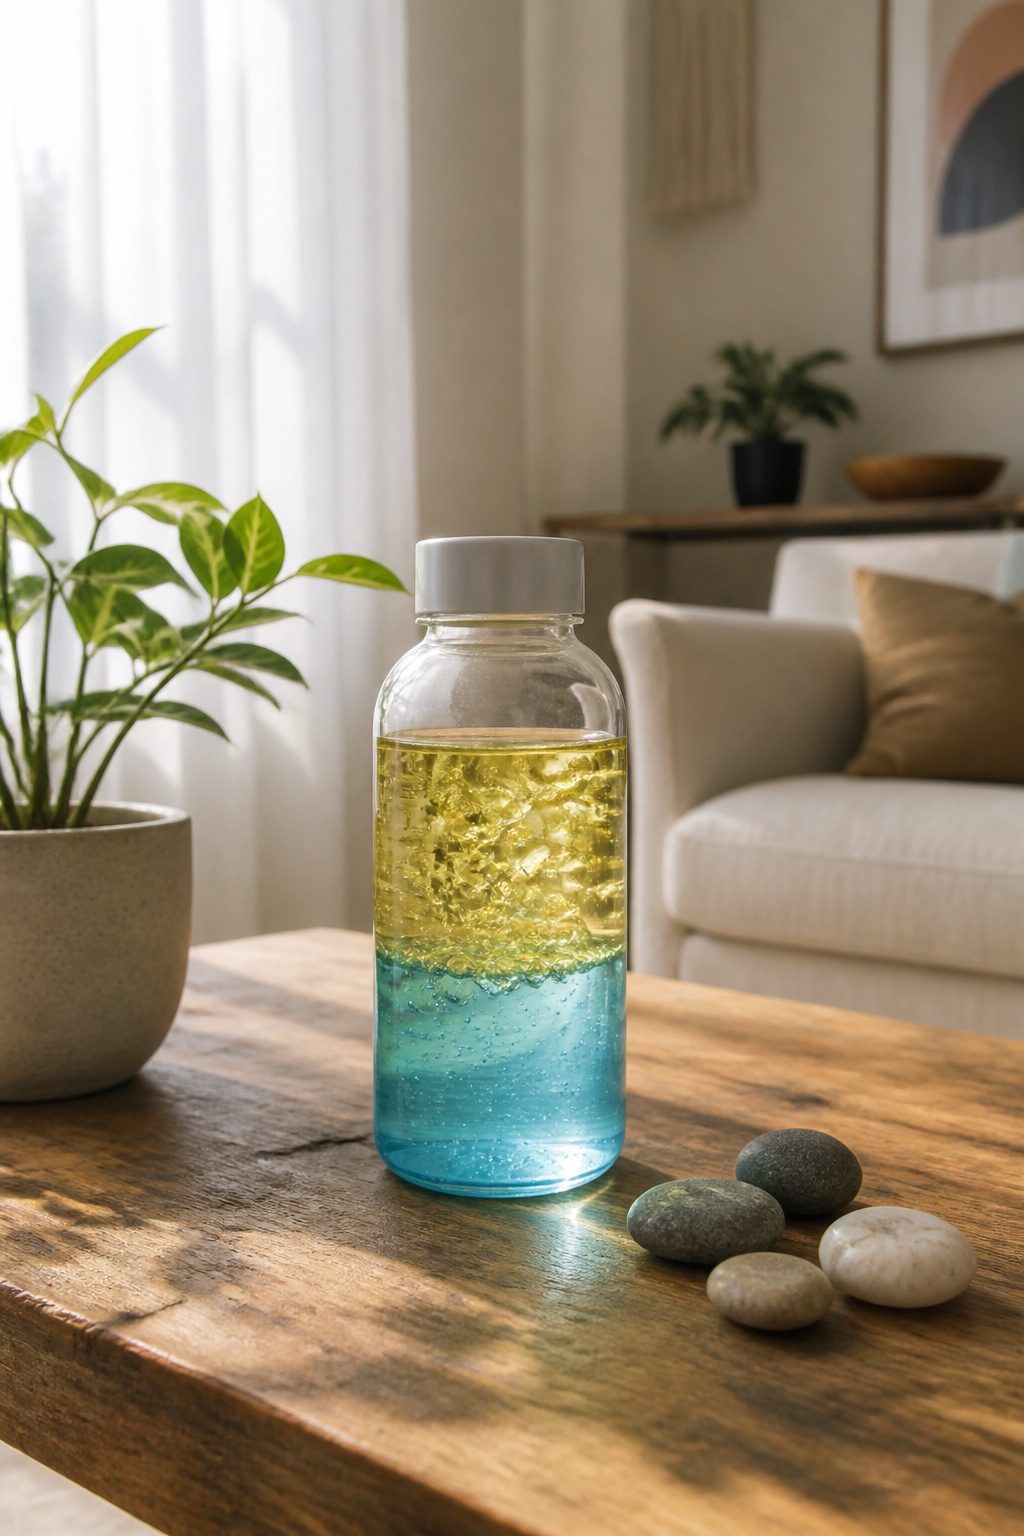
- Give the bottle a hard shake and watch the oil and water turn into a cloudy, churning mix. It will not stay that way.
- Set the bottle down and wait. The two liquids begin pulling apart almost immediately, oil rising to the top in large pale blobs while the water sinks. With baby oil, this separation happens slowly enough that children can track individual bubbles climbing and merging, which is why we reach for it over vegetable oil when we want the observation to last.
- Point out what is happening. The oil and water do not recombine into one liquid because their molecules do not attract each other; they are immiscible. The oil floats because it is less dense.
- Let your child tip the bottle gently after the layers have reformed. The liquids slide past each other but stay separate, which is different from the shaken state and worth comparing.
- Add a drop of food coloring if you have not already, then shake again. Watch the color travel down through the oil and only mix into the water layer, taking a few seconds to make the trip. That visible delay helps a child see where the boundary sits.

Rich in Quantity: Comes with 24 sensory bottles with lids, the sufficient quantity can easily meet your daily use and decoration needs for storing small items and drinking water. Please note: only support hand washing.

Ultimate Creativity Kit for Focus & Balance: Discover the benefits of a versatile DIY set designed to enhance concentration and artistic expression. Featuring eight reusable empty clear vessels, this kit allows you to craft personalized visual displays and decorative glitter bottles that support relaxation and mental clarity. Perfect for a mindfulness corner or a modern office setup, these tools are designed to boost creativity and visual wellness in any professional or home environment.
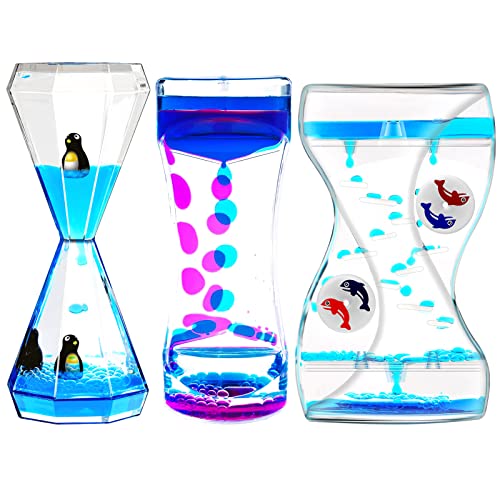
1、【Bubbler Timer Sensory Toy】 - Liquid Timer Filled With Bright & Colorful Liquid Bubbles That Drip & Drop As They Move About. Bubbler Timer Provide You With Hours Of Calming Entertainment At Home Or Even At The Office.
Vegetable Oil or Baby Oil
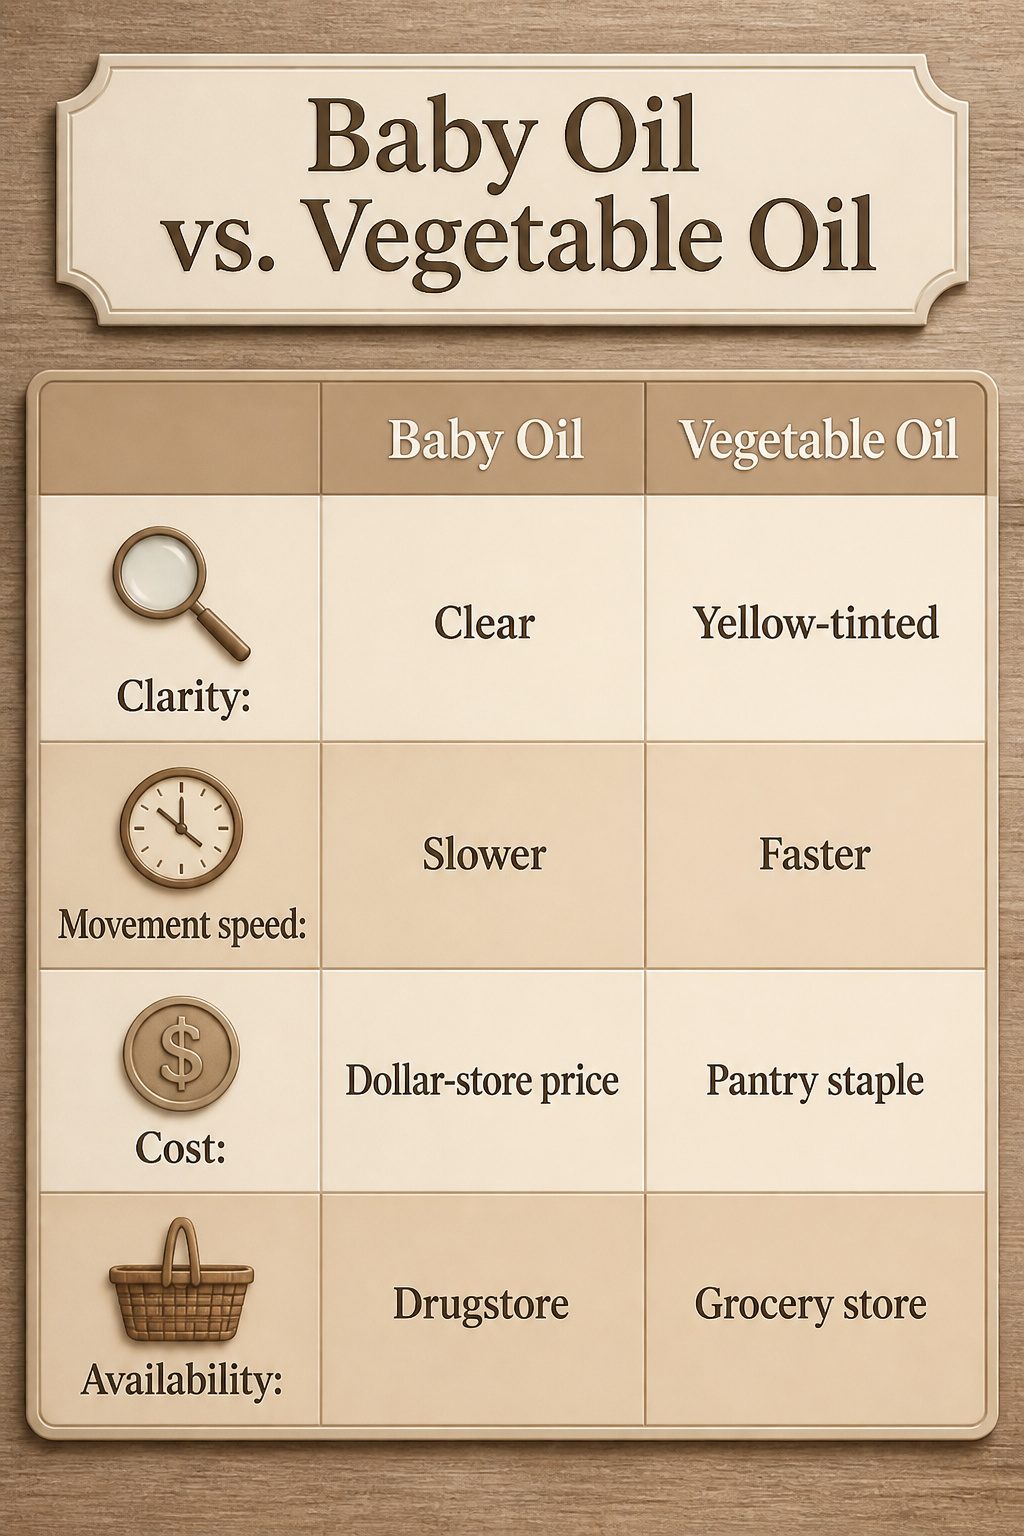
We have tried both oils in our own bottles, and the difference is real enough that you should decide before you pour. Baby oil gives you a crystal-clear view and slower, more mesmerizing movement as the water globules drift and merge. Vegetable oil, on the other hand, carries a yellow tint that mutes your colors, but it costs less and is probably already sitting in your pantry.
| Baby Oil | Vegetable Oil | |
|---|---|---|
| Clarity | Clear | Yellow-tinted |
| Movement speed | Slower, more relaxing | Faster |
| Cost | Dollar-store price for a big bottle | Already in most kitchens |
| Availability | Drugstore, dollar store | Grocery store |
Neither choice will ruin the bottle. If you want the calmest, prettiest result and do not mind buying something extra, baby oil is the better pick. If you are building this on a whim with what you have, vegetable oil still works; just expect warmer, quicker waves.

LABORATORY-GRADE MATERIALS: Precision-molded polypropylene construction delivers chemical resistance, shatter-proof durability, and autoclavable performance from -40°C to 121°C for dependable lab use.

What you receive: there are 4 pieces plastic jars with white screw-on lids; They are reliable and refillable, measuring about 16 oz in capacity

Plastic or Glass Bottles
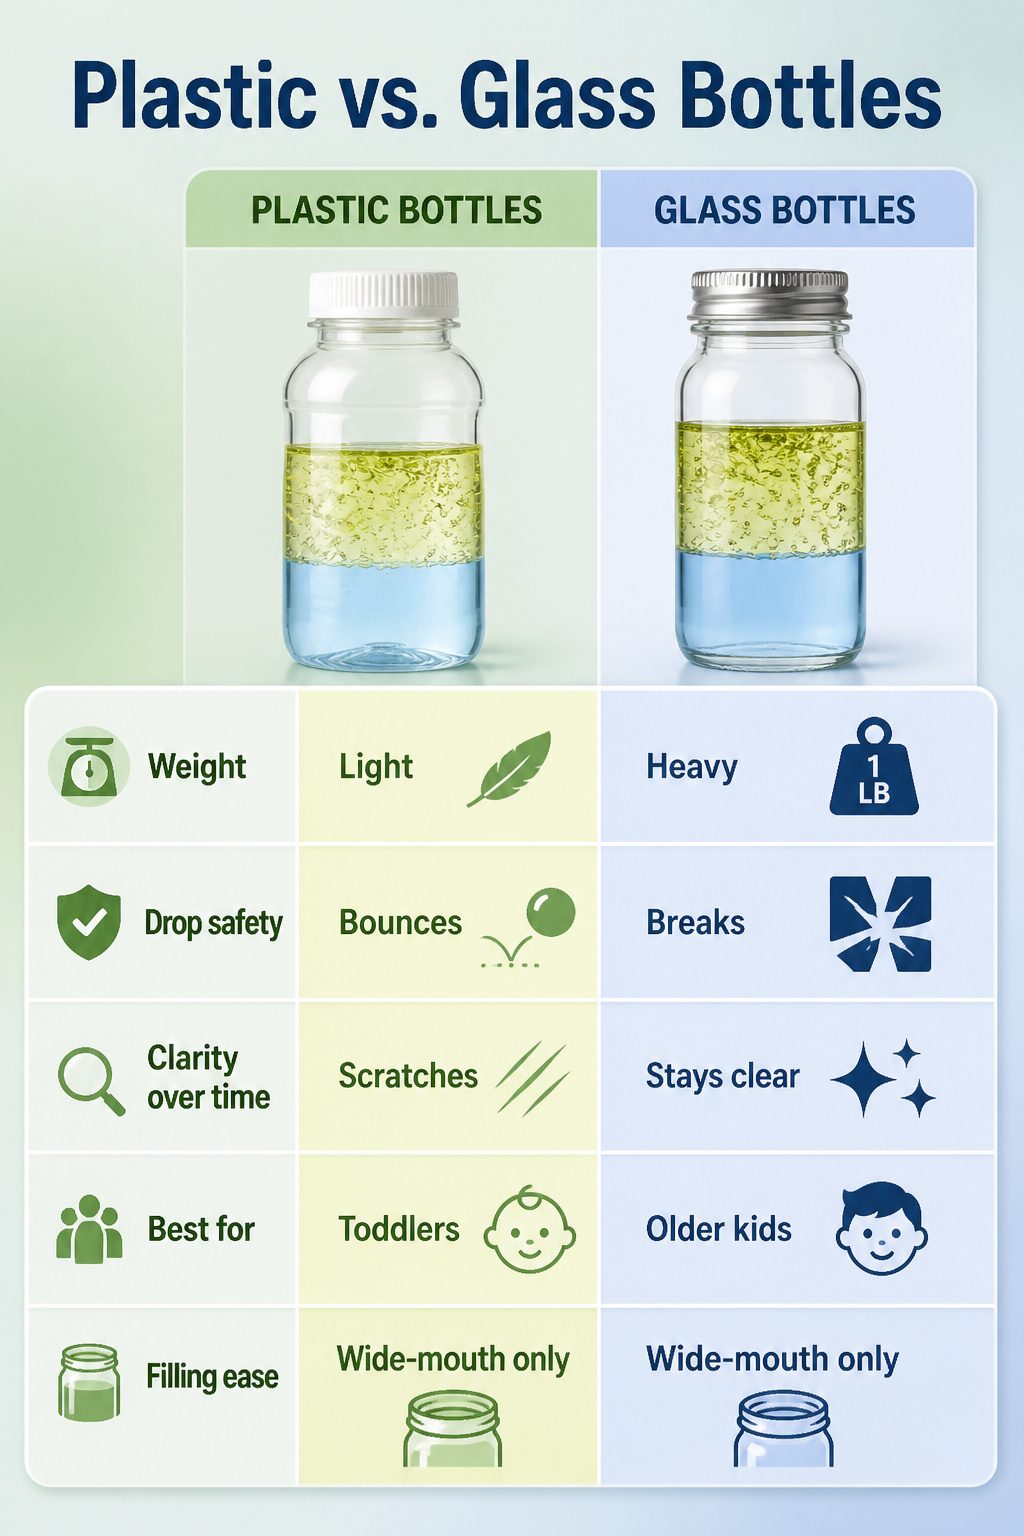
We have made these bottles with both materials, and the choice comes down to who will be holding them. Plastic bottles are the safer pick for toddlers because they weigh almost nothing and bounce instead of shatter. The downside is that they scratch easily, so the view turns cloudy after a few months of hard use. Glass stays crystal-clear longer and gives you that clean, slow drift of the oil bubbles, but a full glass bottle hits about a pound and will crack on tile or concrete.
Wide-mouth bottles save real frustration when you are pouring oil and water in layers. A standard soda-bottle neck means funnels and spills; a jar with a mouth wider than two fingers lets you pour straight from the measuring cup.
| Attribute | Plastic | Glass |
|---|---|---|
| Weight | Light | Heavy |
| Drop safety | Bounces | Breaks |
| Clarity over time | Scratches | Stays clear |
| Best for | Toddlers, travel | Older kids, display |
| Filling ease | Wide-mouth only | Wide-mouth only |
For renters and parents watching a budget, we keep a few glass bottles for calm-down bottles used at a table, and plastic ones for the car or the diaper bag.

Accurate Dosage: Each dropper has clear engraved scales for precise measurements (1ml, 2ml, 3ml, 4ml, 5ml)

Complete DIY Sensory Bottle Kit – Including 8pcs 100ML clear plastic sensory bottles and a vibrant array of decorative fillers (water beads, pom poms, feathers, glitter, buttons, and more). Helping kids to calm down and concentrate. The sensory bottle of this version has a smaller capacity than the other styles.

Full Bubble Kit – Iconic 4-Sphere Design for Focus: Experience the perfect blend of artistic expression and concentration with our signature bubble-shaped vessels. Featuring eight reusable empty containers, this DIY Sensory Bottle Kit allows you to craft personalized visual displays and decorative glitter bottles that promote relaxation and mental clarity. Designed with a unique, ergonomic 4-sphere grip, these professional tools are ideal for an adult mindfulness corner or a modern office setup, boosting creativity and visual wellness in any professional or home environment.
Safety and Cleanup
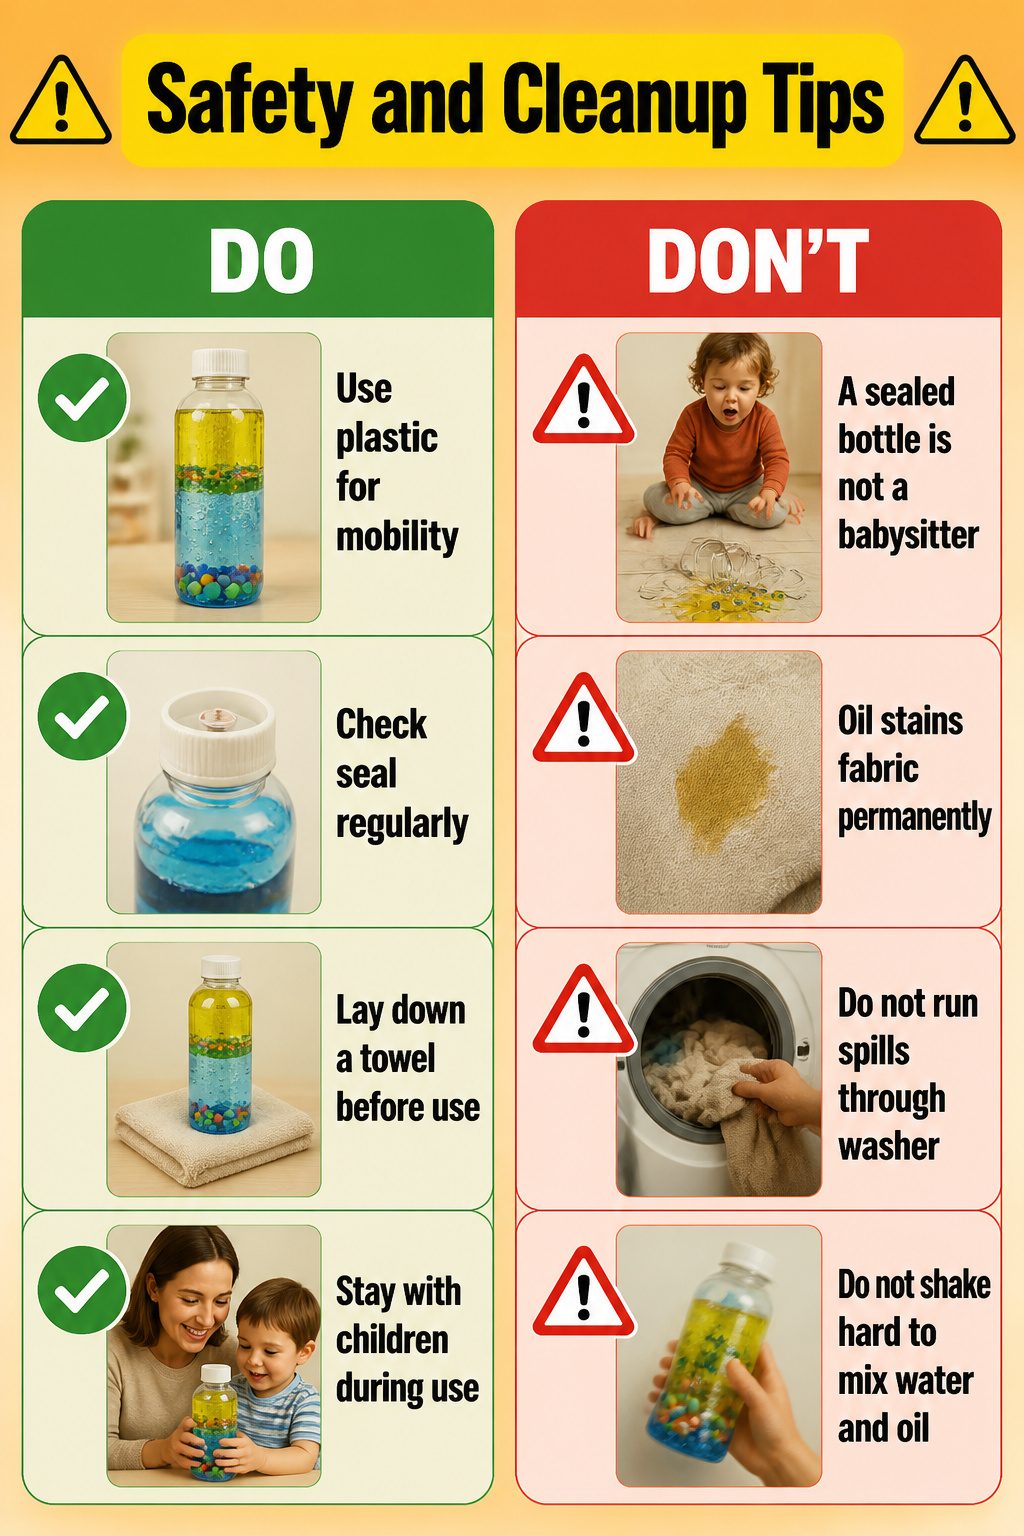
A sealed bottle is not a babysitter. We have seen a toddler drop a glass jar on tile, and that is the end of both the calm afternoon and the bottle. Use plastic if the bottle will leave the table, and stay nearby while a young child is using it. If the bottle gets heavy daily use, check the seal every few weeks; glue loosens, and a lap full of colored oil is not the sensory experience anyone wanted.
Oil stains fabric permanently. Lay down a towel or work on a surface you can wipe before you hand the bottle over. If it does spill, blot with paper towels and dish soap right away; do not run it through the washer and hope.
While the bottle is in use, talk through what is happening. Water and oil do not mix because their molecules are different and do not attract each other, so no matter how hard you shake, they settle back into two layers. That explanation turns the bottle from a distraction into a quick science moment they will remember.
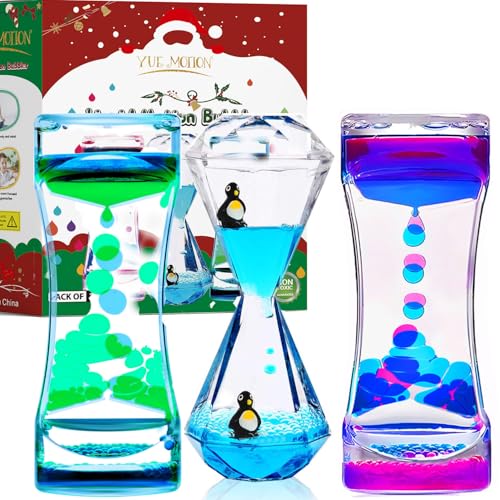
Style toys for everyone need: Great desk top toy for all ages ranging from children to adults. Fidget toy never runs out of energy. Endless hours of calming entertainment. Great as therapy toys and stress relief toys.

Colorful toys: Our sensory liquid bubbler three piece set is composed of colorful mineral oil and water. When inverted, the colored mineral oil inside will fall to the bottom like water droplets, creating a very calm landscape

Great and Fascinating Visual Effects- Great Colorful liquid motion timer is an excellent visual stimulant which will entertain children for hours. It has a mesmerizing effect when you watch the bubbles travel down in slow motion.Our bubblers work by letting gravity guide the colored droplets from top to bottom at a slow and steady speed
Frequently Asked Questions
How do you make an oil and water sensory bottle?
Fill a clear bottle halfway with water, add about 2 tablespoons of oil, and leave an inch of headspace at the top. Add food coloring only to the water layer, then seal the lid with hot glue or strong tape so children can shake and watch the liquids separate.
What type of oil is best for sensory bottles?
Baby oil is the better choice for clarity and slower, more mesmerizing movement. Vegetable oil works too and costs less, but it carries a yellow tint that shifts your colors and the liquids separate faster. Either one will float on top of the water because it is less dense.
How do you seal a sensory bottle?
Run hot glue or super glue around the bottle threads and screw the lid on tight while the glue is still workable. If you prefer a non-permanent seal, wrap strong adhesive tape around the lid seam. Always test by twisting with about the force a determined four-year-old would use, then lay the bottle on its side over a sink for a few minutes to check for seepage.